How to Treat a Bump in Earring Hole: Expert Troubleshooting Guide
Discover how to identify, treat, and prevent a bump in earring hole. Expert advice on jewelry materials, gauge sizes, and aftercare routines.

Understanding the Anatomy of a Piercing Bump
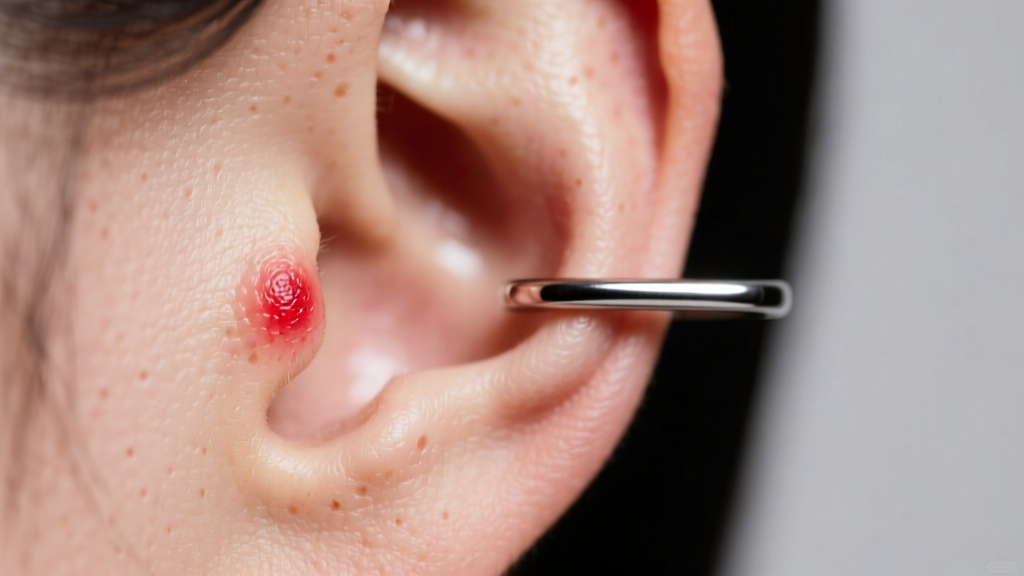
Discovering a bump in earring hole is one of the most common frustrations for both newly pierced individuals and seasoned jewelry collectors. Before you can effectively troubleshoot the issue, you must accurately identify what type of bump has formed. Not all bumps are created equal, and treating a keloid like an irritation bump will only exacerbate the problem.
Irritation Bumps (Hypertrophic Scarring)
The vast majority of bumps that appear near the earring hole are hypertrophic scars or localized irritation bumps. These are caused by physical trauma, friction, or chemical irritation. They typically present as small, raised, flesh-colored or pinkish nodules directly adjacent to the piercing channel. They stay within the boundaries of the original wound and will resolve once the source of irritation is removed.
Piercing Granulomas
Granulomas are overactive immune responses that manifest as fleshy, red, and highly vascular bumps. They tend to bleed very easily when brushed with a towel or hair. Unlike standard irritation bumps, granulomas require a more delicate approach to reduce inflammation without triggering further vascular growth.
Keloids
True keloids are genetically predisposed, benign fibrous tumors that grow far beyond the original boundaries of the piercing hole. They are firm, rubbery, and often darker than the surrounding skin. If you suspect a keloid, over-the-counter troubleshooting will not work; you must consult a board-certified dermatologist for corticosteroid injections or cryotherapy.
The 4 Primary Culprits Behind the Bump
To eliminate a bump in earring hole, you must play detective and identify the mechanical or chemical failure causing the tissue distress. Here are the most common offenders:
- The Butterfly Back Trap: Traditional friction-backed earrings (butterfly clutches) are notorious for trapping dead skin cells, sebum, and moisture against the earlobe. Furthermore, they apply uneven, localized pressure to the back of the fistula, forcing the tissue to swell around the earring post.
- Improper Jewelry Angle: If a cartilage piercing was done at an angle that does not sit perfectly flush and perpendicular to the tissue, the body will attempt to reject or adjust to the uneven pressure, resulting in a persistent irritation bump on the entry or exit point.
- The 'Cheese Cutter' Effect: Wearing earrings that are too thin (22-gauge or 24-gauge wire) creates a high-pressure focal point. Much like a wire cutting through a block of cheese, ultra-thin jewelry slowly migrates through the earlobe, causing micro-tears, inflammation, and subsequent bump formation.
- Nickel Contact Dermatitis: Many commercial earrings are made from 316L surgical steel, which contains up to 10% nickel. When sweat and moisture interact with the alloy, nickel salts leach into the skin, triggering an allergic reaction that mimics an irritation bump.
Step-by-Step Troubleshooting Protocol
Once you have identified the potential cause, follow this clinical troubleshooting protocol to encourage the bump to recede. According to the Association of Professional Piercers, consistency and gentle care are paramount.
- Implement the LITHA Method: 'Leave It The Hell Alone' is a cornerstone of piercing aftercare. Stop touching, twisting, or sleeping on the earring. Every time you rotate the jewelry, you tear the fragile epithelial cells lining the fistula, resetting the healing clock and fueling the bump.
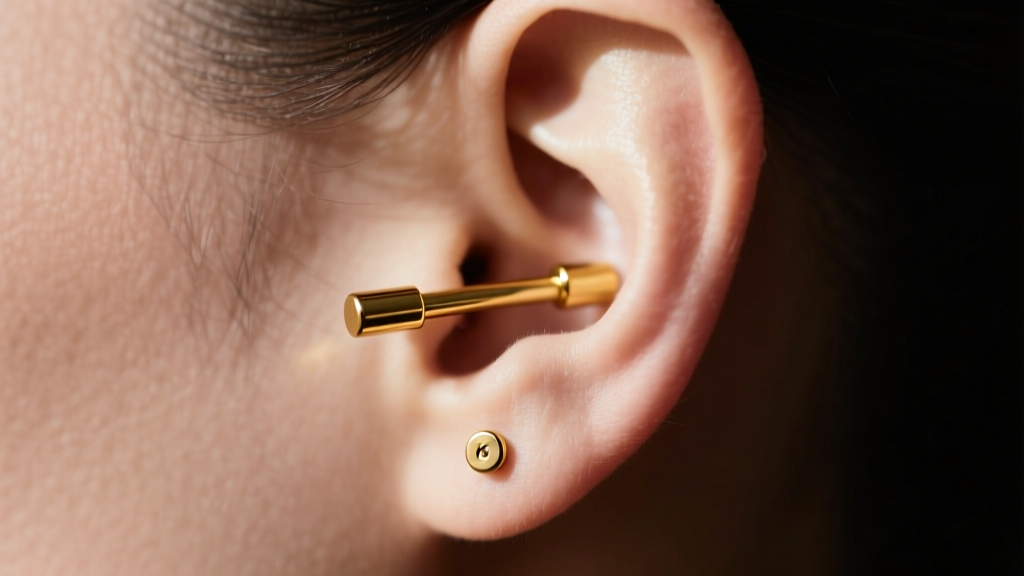
- Switch to Implant-Grade Titanium: Remove any surgical steel, sterling silver, or plated jewelry. Replace it with an internally threaded or threadless flat-back labret made from ASTM F136 implant-grade titanium. This alloy contains zero nickel and is biocompatible, eliminating the risk of allergic contact dermatitis.
- Sterile Saline Soaks: Spray the area twice daily with a sterile 0.9% sodium chloride wound wash. Ensure the only ingredients listed are water and sodium chloride. Avoid any sprays containing benzalkonium chloride or preservatives, as these are cytotoxic to healing cells.
- Apply Warm Compresses: For stubborn granulomas or deep irritation bumps, soak a sterile non-woven gauze in warm (not hot) distilled water and hold it against the ear for 3 to 5 minutes. The gentle heat increases localized blood flow, bringing white blood cells to the area to flush out trapped lymph fluid.
- Assess the Post Length: If the flat-back post is too long, it will snag on hair and clothing, creating leverage that angles the jewelry inside the hole. Visit a professional piercer to downsize the post so the back sits flush—without compressing—against the tissue.
Jewelry Material & Gauge Comparison Chart
Choosing the correct metal and thickness is critical for resolving and preventing a bump in earring hole. Use this reference chart to audit your current jewelry collection.
| Material | Alloy / Grade Standard | Nickel Content | Best Use Case |
|---|---|---|---|
| Implant-Grade Titanium | ASTM F136 | 0% (Nickel-Free) | Active irritation bumps, fresh piercings, highly sensitive lobes |
| Niobium | Unalloyed Elemental Metal | 0% (Nickel-Free) | Cartilage hoops, alternative to titanium for custom bends |
| Solid 14k/18k Gold | Alloyed (Nickel-Free formulations) | 0% (If reputable) | Long-term wear, decorative ends, healed fistulas |
| Surgical Steel | 316L / ASTM F138 | Up to 10% | Strictly for fully healed, non-allergic ears (Avoid during bump treatment) |
Note on Gauge Sizes: For standard earlobes, 18-gauge (1.02mm) or 16-gauge (1.29mm) provides the necessary surface area to prevent migration and the cheese-cutter effect. Standard fashion earrings are often 20-gauge (0.81mm) or thinner, which is a primary trigger for lobe irritation bumps.
The Hall of Shame: What to Avoid
When desperate to get rid of a bump in earring hole, many people turn to harsh home remedies that cause chemical burns and worsen the scarring. The American Academy of Dermatology warns against using aggressive chemicals on compromised skin barriers.
"Applying tea tree oil, aspirin pastes, or rubbing alcohol to a piercing bump will not shrink the scar tissue. Instead, these substances destroy the acid mantle, cause contact dermatitis, and trigger a secondary inflammatory response that makes the bump larger and more painful."
Harmful Agents to Ban from Your Aftercare Routine:
- Tea Tree Oil: Highly caustic and known to cause severe chemical burns on delicate fistula tissue.
- Hydrogen Peroxide: Fizzes away healthy, newly formed epithelial cells, delaying healing and encouraging hypertrophic scarring.
- Antibiotic Ointments (Neosporin): Thick petroleum bases block oxygen flow to the wound and trap bacteria inside the earring hole.
- Dial Soap / Antibacterial Soaps: Too harsh for daily use; strips the skin of natural lipids required for cellular repair.
When to Seek Professional Medical Help
It is vital to distinguish between a benign irritation bump and a localized bacterial infection. While an irritation bump is usually firm, localized, and only slightly tender, an infection presents with systemic and spreading symptoms.
Schedule an appointment with a physician or dermatologist if you experience:
- Excessive heat radiating from the earlobe or cartilage.
- Thick, foul-smelling pus (green, dark yellow, or brown) discharging from the hole.
- Red streaks spreading outward from the piercing site.
- A fever, chills, or swollen lymph nodes in your neck or jawline.
If an infection is confirmed, a doctor will prescribe a targeted oral antibiotic. Never remove the earring if you suspect an active infection unless directed by a medical professional. Removing the jewelry can cause the surface of the hole to close, trapping the abscess inside the tissue and leading to a severe cyst or systemic infection.
Preventative Maintenance for Healthy Lobes and Cartilage
Once your bump in earring hole has fully resolved, maintaining the structural integrity of the fistula is essential to prevent a recurrence. Transition entirely to flat-back labrets or seamless, continuous hoops that do not put pressure on the piercing channel. Cleanse your earrings regularly with warm water and mild, fragrance-free soap to remove sebum buildup, and always ensure your hands are washed before adjusting your jewelry. By respecting the biology of the piercing channel and investing in high-quality, biocompatible metals, you can enjoy your favorite styles without the frustration of persistent irritation bumps.


