Troubleshooting Earring Post Types: Fix Loose, Irritating, or Bent Backs
Discover how to troubleshoot common earring post types. Learn fixes for loose backs, bent posts, and allergic reactions with expert jewelry advice.

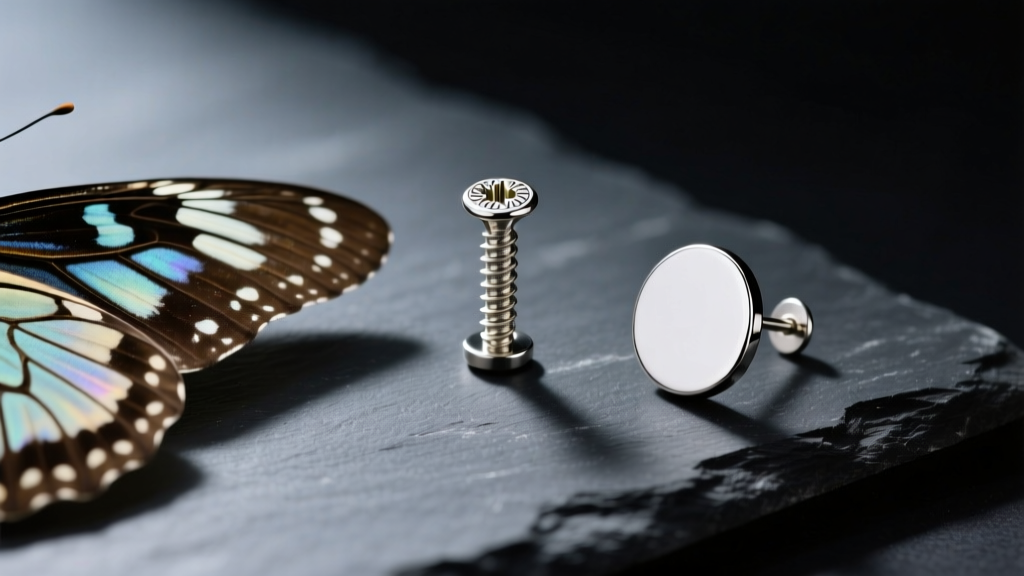
There are few things more frustrating in jewelry wear than a favorite pair of earrings becoming unwearable due to mechanical failure or physical irritation. Whether your studs keep falling off in transit, your screw backs refuse to thread, or your earlobes are red and swollen by midday, the root cause almost always traces back to the hardware. Understanding the mechanics and metallurgy of different earring post types is the first step toward solving these daily annoyances.
This comprehensive troubleshooting guide bypasses generic advice to deliver specific, actionable solutions for the most common earring post failures. From restoring tension to friction clutches to decoding implant-grade metallurgy, we will address the exact reasons your earrings are failing and how to fix them.
The Anatomy of Earring Post Failures
Before applying a fix, it is crucial to understand why earring hardware fails. The vast majority of issues stem from three categories: mechanical fatigue (metal losing its spring or thread integrity), dimensional mismatch (incorrect gauge or length for the piercing), and metallurgical incompatibility (alloys reacting with skin chemistry). Standard commercial jewelry often cuts corners on post thickness and clutch tension, leading to a high failure rate within the first year of wear.
Friction and Butterfly Posts: Solving the "Lost Back" Epidemic
The standard butterfly clutch (or scroll back) relies on two curled metal prongs that grip the grooved notches on a friction post. Over time, the repetitive action of pushing and pulling the back causes metal fatigue, widening the prongs and destroying the gripping tension.
Troubleshooting Loose Friction Backs
If your butterfly backs are sliding off too easily, do not immediately discard them. You can often restore the tension using a simple mechanical adjustment:
- The Prong Pinch: Using a pair of flat-nose jewelry pliers, gently squeeze the two outer metal scrolls of the butterfly back toward the center hole. Apply pressure in 1-millimeter increments, testing the fit on the post after each squeeze. Over-tightening will warp the baseplate.
- The Silicone Upgrade: If the metal clutch is beyond repair, switch to medical-grade silicone O-rings or silicone friction clutches. These provide superior grip on smooth 20-gauge (0.81mm) or 18-gauge (1.02mm) posts and eliminate the metallic clicking sound that can wake you up if you sleep in your earrings.
Screw Backs and Flat Backs: Dealing with Cross-Threading and Embedment
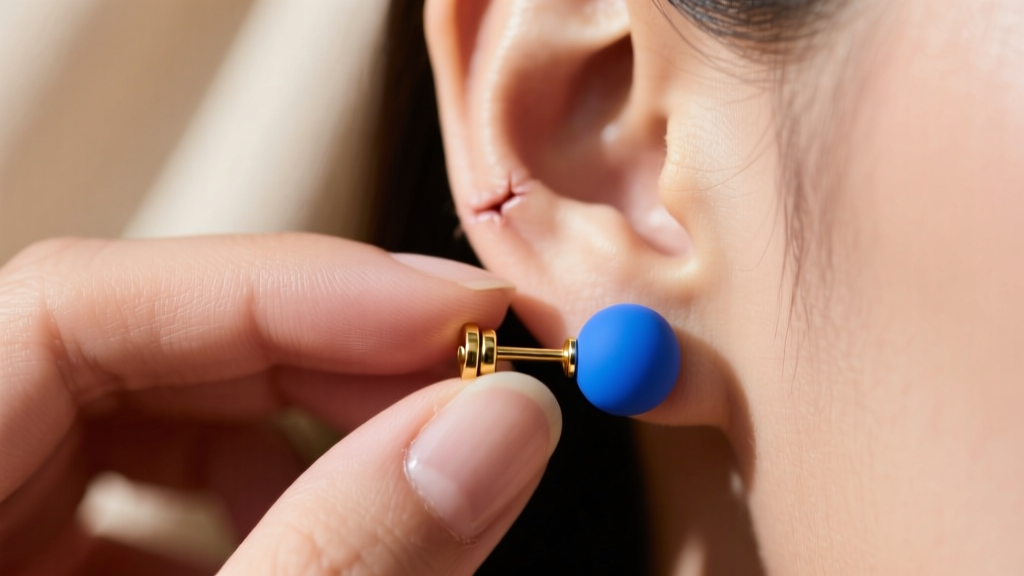
Screw backs and flat back labrets are engineered for security, utilizing a precision 0.9mm internal or external threading system. However, this precision makes them highly susceptible to user error and swelling issues.
The Cross-Threading Fix
Cross-threading occurs when the male thread is forced into the female receiver at an incorrect angle, stripping the microscopic grooves. If your screw back feels "stuck" or grinds when turning, stop immediately. Forcing it will permanently ruin the threading.
Expert Technique: To fix a cross-threaded screw back, place the post and back together and turn the back counter-clockwise (the unscrewing direction) until you feel a subtle "click" or drop. This click indicates the threads have realigned. Once you feel it, reverse direction and screw clockwise. This simple realignment saves hundreds of dollars in ruined fine jewelry.
Flat Back (Labret) Embedment Issues
Flat back posts are the gold standard for cartilage and tragus piercings, but they can cause severe issues in standard lobe piercings if the post length is miscalculated. If the earlobe swells due to heat, salt intake, or sleeping pressure, a post that is too short will cause the decorative end to embed into the tissue.
The Fix: Always keep a 16-gauge (1.29mm) or 14-gauge (1.63mm) insertion taper on hand. If a flat back becomes embedded, do not pull the front gem, as this will tear the fistula. Instead, unscrew the flat back plate from the rear, lubricate a steel taper with sterile saline, and gently push the taper through the front to stretch the tissue and expel the post safely.
Failure Mode Comparison Chart
| Earring Post Type | Primary Failure Mode | Troubleshooting Solution |
|---|---|---|
| Friction / Butterfly | Prong fatigue leading to lost backs | Pinch prongs with flat-nose pliers; upgrade to silicone clutches |
| Screw Back | Cross-threading and stripped grooves | Reverse-turn realignment technique; avoid overtightening |
| Flat Back (Labret) | Tissue embedment from short posts | Use an insertion taper for safe removal; size up post length by 2mm |
| Leverback / Latch | Hinge warping preventing closure | Gently bend the wire catch inward with chain-nose pliers |
Material Allergies: When the Post Itself is the Problem
If your earlobe is itchy, weeping, or developing a dark spot where the post enters the skin, the issue is not mechanical—it is metallurgical. According to the Mayo Clinic, nickel allergy is one of the most common causes of contact dermatitis, and it is frequently hidden in commercial jewelry marketed as "hypoallergenic."
Decoding Metal Grades
The term "surgical steel" is largely a marketing myth in the jewelry industry. Most commercial stainless steel (like 316L) contains up to 14% nickel, which leaches into the skin when exposed to sweat and body oils. To permanently troubleshoot allergic reactions, you must audit your earring post types for specific metallurgical standards:
- ASTM F-136 Implant-Grade Titanium: This is the exact alloy used in medical joint replacements. It contains zero nickel and is highly polished to a mirror finish, preventing bacterial adhesion. If you have sensitive piercings, this should be your only post material.
- Niobium: A highly reactive metal that is anodized rather than plated, making it an excellent, nickel-free alternative for friction posts and captive bead rings.
- Solid 14k or 18k Gold: Ensure the gold is alloyed with palladium or silver, not nickel or zinc. White gold is particularly notorious for containing nickel to achieve its color; always verify the alloy mix with the jeweler.
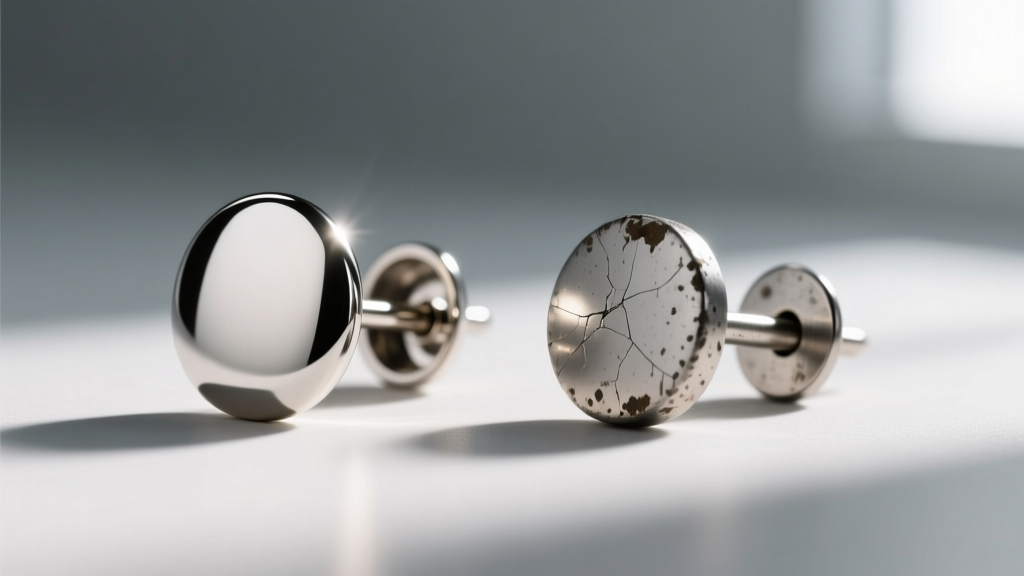
The Association of Professional Piercers (APP) strictly advises against using plated jewelry for fresh or irritated piercings, as the microscopic pores in the plating harbor bacteria and the base metal will eventually leach through. If your gold-plated earring posts are causing irritation, the plating has likely worn through to the brass or steel core.
Gauge and Length Mismatches: Sizing Troubleshooting
Forcing an earring post through a piercing is a primary cause of micro-tearing and subsequent scar tissue buildup (hypertrophic scarring). Earring post types are manufactured in specific wire gauges, and assuming a "one size fits all" approach will damage your fistula.
- 20-Gauge (0.81mm): The standard for commercial friction posts and lightweight studs. Ideal for fully healed, older lobe piercings.
- 18-Gauge (1.02mm): A slightly thicker post that provides better structural integrity for heavier dangles and drop earrings, preventing the post from bending under the weight of the gemstone.
- 16-Gauge (1.29mm): The industry standard for cartilage, helix, and tragus piercings. Using a 20-gauge post in a 16-gauge cartilage piercing will cause the "cheese-cutter effect," where the thin wire slowly migrates and slices through the dense cartilage tissue over time.
Troubleshooting a Tight Fit: If a post will not slide in easily, do not use brute force. The piercing has likely shrunk or developed a minor blockage of sebum and dead skin cells. Soak the earlobe in a warm saline solution for five minutes to soften the tissue, apply a water-based lubricant to the post tip, and insert at the exact angle the piercing was originally created. If resistance persists, the post gauge is simply too thick for that specific fistula.
Summary Checklist for Post Maintenance
To ensure the longevity of your jewelry and the health of your piercings, implement this quick maintenance routine:
- Inspect Threads: Run your fingernail over screw back threads monthly. If they feel jagged, replace the back immediately before it strips the internal receiver.
- Sanitize Clutches: Soak butterfly and silicone backs in 70% isopropyl alcohol weekly to dissolve sebum buildup that degrades silicone and traps bacteria against the skin.
- Check Post Straightness: Roll friction posts on a flat glass surface. If they wobble, the metal has bent. Attempting to bend them back will weaken the structural integrity, risking a break inside the ear canal. Replace bent posts immediately.
By treating your earring hardware with the same precision as fine watchmaking, you can eliminate the daily frustrations of lost backs, irritated lobes, and ruined threading, ensuring your favorite pieces remain secure and comfortable for years to come.