Dirty Earrings Explained: Why They Smell and How to Clean Them
Discover why your dirty earrings smell, what causes ear gunk, and step-by-step cleaning methods for gold, silver, and titanium jewelry.

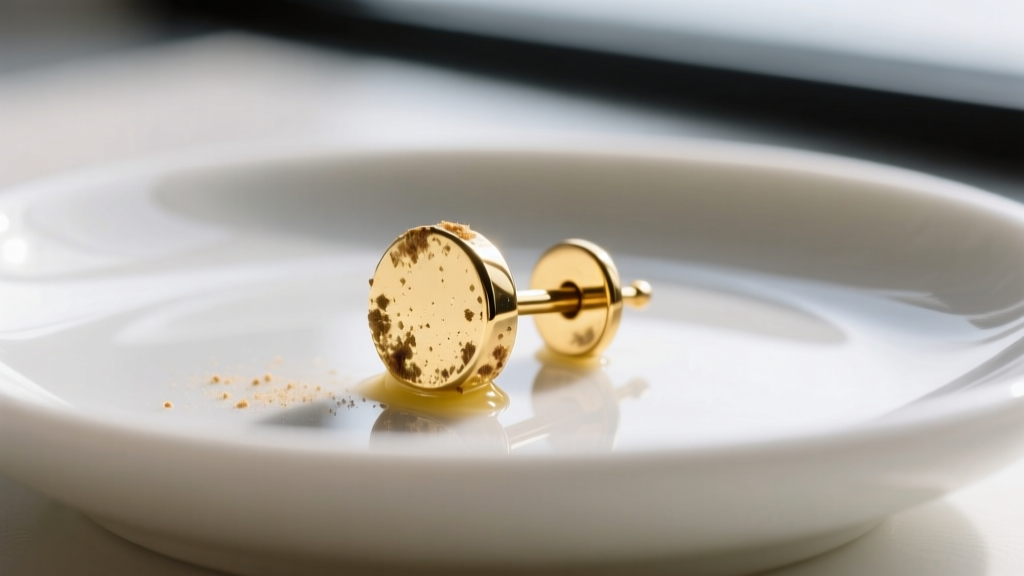
There is a universal, albeit slightly embarrassing, rite of passage for anyone with pierced ears: taking out a pair of stud earrings, bringing them close to your face, and noticing a distinctly unpleasant, cheesy odor. If you have experienced this, you are not alone, and more importantly, your hygiene is likely not the issue. The phenomenon of dirty earrings and the accompanying odor—colloquially known as "ear cheese"—is a completely natural biological process combined with the physical properties of the jewelry you wear.
In this beginner-friendly guide, we will break down the exact science of why your earrings get gunked up, which materials are the worst offenders, and how to properly clean and sanitize your jewelry without damaging delicate metals or gemstones.
The Science of the Smell: Why Do Dirty Earrings Stink?
To understand why your earrings accumulate buildup, you first need to understand the anatomy of a piercing. A healed piercing is a fistula—a tube of skin that connects the front of your earlobe or cartilage to the back. Just like the surface of your skin, the inside of this tube is lined with epithelial cells that continuously shed and regenerate.
When you wear earrings, especially styles with thick posts or tight friction backs, you trap three primary elements inside the fistula:
- Sebum: The natural oil produced by your sebaceous glands to lubricate the skin.
- Dead Skin Cells: The shed epithelial cells from the piercing tract.
- Bacteria and Yeast: Naturally occurring microorganisms on the skin, specifically Corynebacterium and Malassezia, which feed on the sebum and dead cells.
As the bacteria break down the lipids in the sebum and the proteins in the dead skin, they release volatile organic compounds (VOCs), primarily isovaleric acid. This is the exact same compound responsible for the smell of certain pungent cheeses and foot odor. When this mixture dries on the post of your earring, it forms the grayish-green, waxy buildup commonly seen on dirty earrings.
Material Matters: Which Earrings Get the Dirtiest?
Not all jewelry materials interact with your body chemistry in the same way. Micro-porous metals and reactive alloys will trap bacteria and oxidize, making them significantly harder to clean. According to the Association of Professional Piercers (APP), choosing biocompatible, non-porous materials is the first line of defense against chronic buildup and contact dermatitis.
| Material Grade | Porosity | Tarnish Risk | Cleanability & Notes |
|---|---|---|---|
| Implant-Grade Titanium (ASTM F136) | Non-porous | None | Excellent. Highly biocompatible; resists all biological buildup. |
| 14k or 18k Solid Gold | Non-porous | Low | Excellent. Avoid lower karats (10k) as alloyed metals can react with sebum. |
| Sterling Silver (925) | Micro-porous | High | Fair. Reacts with sulfur in sebum to form black silver sulfide tarnish. |
| Surgical Steel (316L) | Micro-porous | Low | Good. Contains trace nickel; can cause allergic reactions that increase weeping and gunk. |
| Acrylic / Bioflex | Highly Porous | N/A | Poor. Absorbs bacteria and body oils; cannot be fully sterilized. Discard when cloudy. |
Step-by-Step Cleaning Guide for Dirty Earrings
Now that you know what the buildup is, it is time to remove it. The cleaning method you choose must be tailored to the material of your jewelry to avoid scratching soft metals or dissolving delicate gemstones like opals, pearls, or turquoise.
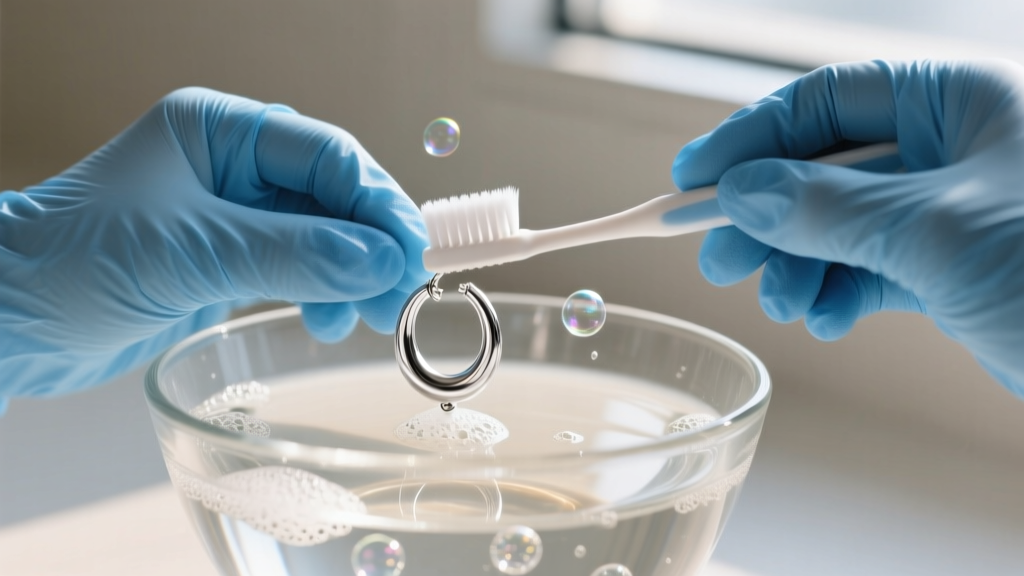
Method 1: The Mild Soap Soak (Best for Gold and Gemstones)
- Mix a few drops of mild, fragrance-free dish soap (like Dawn) into a bowl of warm distilled water.
- Submerge your dirty earrings for 5 to 10 minutes to soften the hardened sebum.
- Using a brand-new, ultra-soft baby toothbrush, gently brush the post, the backing, and the crevices of the setting.
- Rinse thoroughly under warm running water and pat completely dry with a lint-free microfiber cloth.
Method 2: The Alcohol Sanitize (Best for Plain Titanium and Steel)
If your earrings are solid metal without porous gemstones, 70% Isopropyl Alcohol is highly effective. While 99% alcohol evaporates too quickly to kill certain bacteria, 70% alcohol contains enough water to penetrate bacterial cell walls and denature their proteins. Simply soak the metal components in a small glass of 70% isopropyl alcohol for 10 minutes, then wipe clean. Never use alcohol on pearls, opals, or plated jewelry, as it will strip the nacre and the plating.
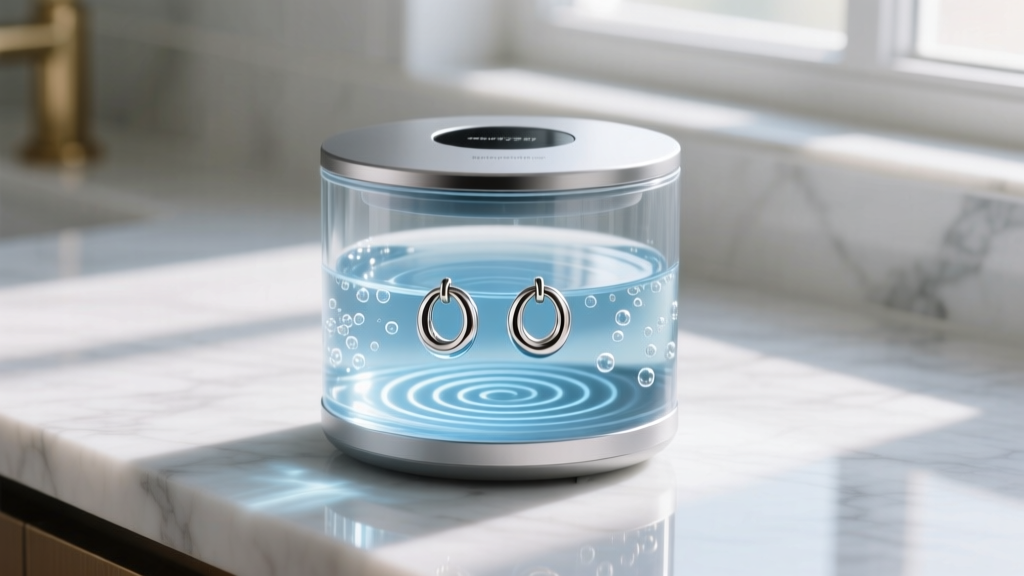
Method 3: Ultrasonic Cavitation (For Intricate Designs)
For heavily textured earrings, vintage filigree, or huggie hoops with hidden hinges, a 40kHz ultrasonic jewelry cleaner is a game-changer. These devices use high-frequency sound waves to create microscopic vacuum bubbles in the water. When these bubbles collapse against the metal (a process called cavitation), they blast away dirt and sebum from microscopic crevices that a toothbrush cannot reach.
Piercing Aftercare vs. Jewelry Cleaning: Know the Difference
A critical mistake beginners make is confusing the cleaning of the jewelry with the aftercare of the piercing tract. If your piercing is less than a year old (or up to 18 months for cartilage), the fistula is still fragile and healing.
According to the American Academy of Dermatology (AAD), you should never use harsh chemicals, alcohol, or hydrogen peroxide on a healing piercing, as these destroy the newly forming epithelial cells and cause chemical burns. For healing piercings, the only recommended cleaning agent is sterile 0.9% sodium chloride (saline) wound wash. Spray the saline directly onto the entry and exit points, let it sit for a minute, and gently wipe away any softened crusties with a non-woven gauze pad.
Expert Tips to Prevent Future Buildup
Preventing dirty earrings is far easier than scrubbing them clean. Implement these structural and habitual changes to keep your jewelry fresh:
- Ditch the Butterfly Backs: Traditional friction backs (butterfly clutches) feature tight coils that act as traps for dead skin and shampoo residue. Upgrade to flat-back labret studs or secure screw-backs, which offer a smooth surface that leaves nowhere for gunk to hide.
- Remove Earrings for Showers: While water alone will not ruin most metals, the combination of hard water minerals, shower gels, and conditioners creates a sticky film on earring posts that accelerates sebum adhesion.
- Dry the Puncture Tract: After showering, moisture gets trapped behind the earlobe. Use a hairdryer on the "cool" setting to gently dry your earlobes and the backs of your earrings to prevent yeast overgrowth.
- Rotate with Caution: The old advice to "twist your earrings daily" is outdated and can cause micro-tears in the fistula. Instead, simply ensure you are taking your earrings out at least once a week to manually clean the posts and allow the piercing tract to breathe.
When to Throw Them Away: Signs of Irreversible Damage
Sometimes, dirty earrings cannot be saved. If you are wearing gold-plated or gold-vermeil earrings and the base metal (usually brass or copper) begins to show through, the exposed reactive metals will continuously oxidize against your skin, causing green discoloration and persistent odors. Similarly, if acrylic or bioflex jewelry becomes cloudy, scratched, or warped, the micro-fissures are permanently colonized by bacteria. In these cases, the only safe, hygienic option is to retire the jewelry and invest in solid, implant-grade alternatives.
By understanding the biology of your piercings and the chemistry of your jewelry, you can easily banish odors and keep your favorite studs, hoops, and dangles looking—and smelling—pristine.


