How to Wear Headphone Earrings: A Step-by-Step Fitting Guide
Learn how to measure, adjust, and style headphone earrings and over-ear cuffs. Our step-by-step guide ensures a secure, pain-free fit for all ear shapes.

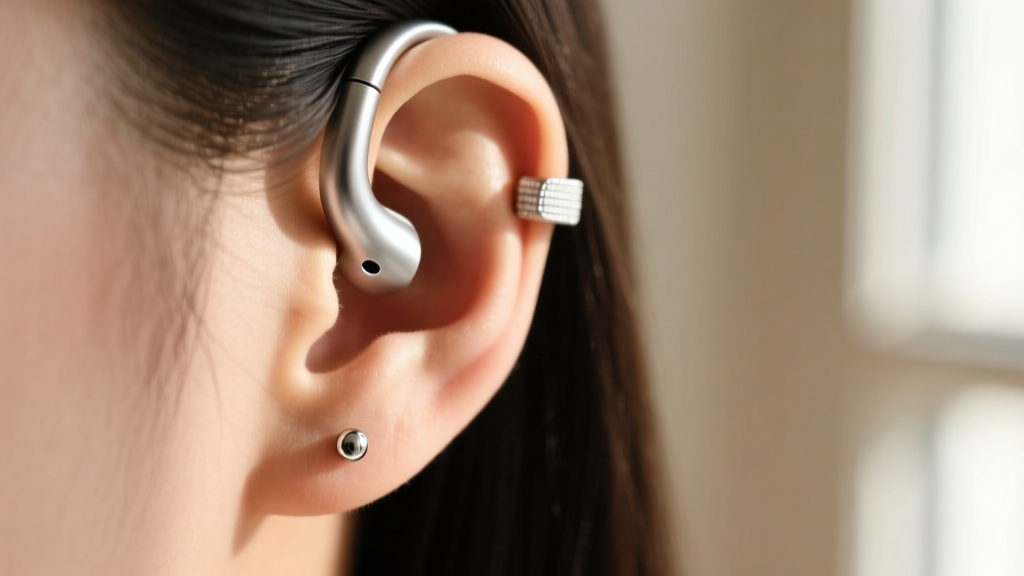
The Rise and Anatomy of Headphone Earrings
Headphone earrings—often referred to as over-ear cuffs, auricle wraps, or cyber-cuffs—have evolved from niche cyberpunk accessories into a mainstream staple of modern ear curation. Unlike traditional ear cuffs that clip onto a single point of the cartilage, headphone earrings mimic the sweeping, wrap-around silhouette of over-ear headphones. They typically trace the entire outer rim of the ear, anchoring at the helix and sometimes connecting to the lobe via a rigid wire or delicate chain.
While visually striking, the structural complexity of headphone earrings presents unique fitting challenges. A poorly adjusted cuff can cause cartilage fatigue, restrict blood flow to the auricle rim, or slip off entirely when you turn your head. To master this trend in 2026, you must treat your ear jewelry not just as an accessory, but as an ergonomic device. According to the Association of Professional Piercers (APP), understanding the distinct topography of your ear anatomy is the first step toward achieving a secure, pain-free fit.
Step 1: Mapping Your Auricle for Precision Fit
Before purchasing or adjusting a headphone earring, you need to map the exact dimensions of your outer ear. Ears vary wildly in their helix curvature, scapha depth, and lobe attachment.
Measuring the Helix-to-Lobe Drop
Take a flexible tailor’s measuring tape (or a piece of string and a standard ruler). Place the zero mark at the very top apex of your helix. Gently press the tape along the outer rim, following the natural curve of your ear down to the intertragic notch (the small indent just above your earlobe). Note this measurement in millimeters. Most standard headphone cuffs are designed for a 65mm to 85mm drop. If your measurement falls outside this range, you will need a custom-bent piece or an adjustable tension-wire design.
Assessing Cartilage Thickness
Run your fingers along the outer rim of your ear. Is the cartilage thick and rigid, or thin and pliable? Thick cartilage requires a cuff with a wider internal diameter and a softer metal alloy to avoid excessive clamping pressure, which can lead to ischemia (throbbing caused by restricted blood flow).
Step 2: Material Selection and Tension Adjustment
The most common failure mode of headphone earrings is improper tension. If the cuff is too loose, it slides down the anti-helix; if it is too tight, it causes acute cartilage pain within twenty minutes. Adjusting the spine of the earring requires an understanding of metallurgy.
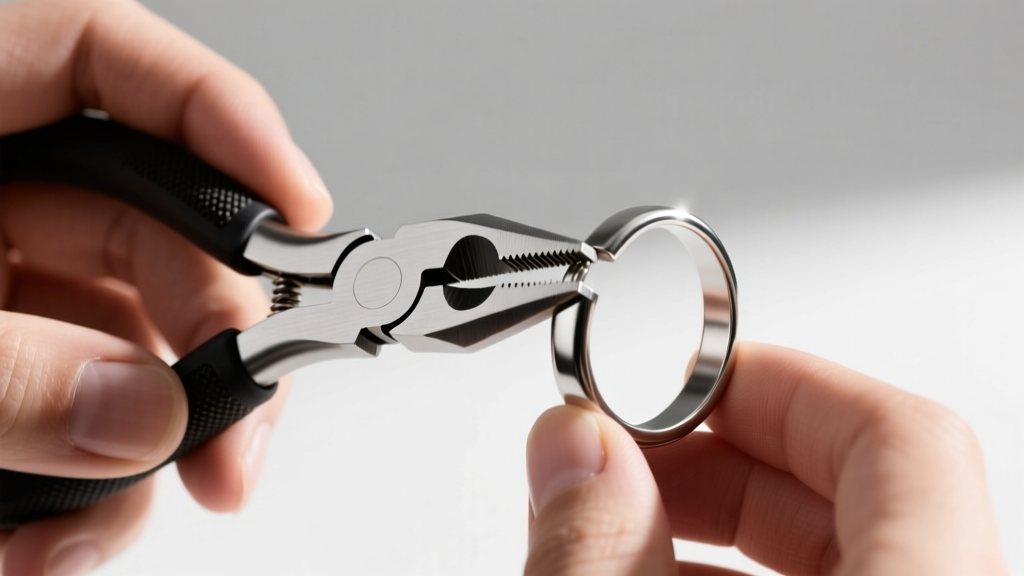
The 3-Point Tension Adjustment Method
Never use standard steel jewelry pliers on your over-ear cuffs; the metal teeth will permanently mar the finish and strip any gold or rhodium plating. Instead, invest in a pair of nylon-jaw pliers. To adjust the fit, identify the three primary tension points: the top helix hook, the mid-ear scapha bridge, and the lower lobe anchor.
- The Helix Hook: Gently squeeze the top curve inward using your nylon pliers until it snugly cups the upper rim without pinching the skin.
- The Scapha Bridge: If the middle of the cuff bows outward away from your ear, apply gentle, sustained pressure to bend the 18-gauge or 16-gauge wire spine closer to the head. Do not bend it back and forth repeatedly.
- The Lobe Anchor: Adjust the lower clasp or wire loop so it rests flush against the side of your neck or lobe without pulling.
Understanding Work Hardening
Metals like 316L stainless steel and brass are subject to 'work hardening.' When you bend these alloys, their crystalline structure locks up, making them brittle. If you bend a stainless steel headphone earring back and forth to find the right fit, the wire will eventually snap. According to material science principles documented by institutions like the Gemological Institute of America (GIA), repeated stress on jewelry alloys compromises their structural integrity. Always make slow, deliberate, one-way adjustments.
Step 3: Comparing Cuff Materials for Comfort
Choosing the right material is critical for all-day wear. Below is a breakdown of the most common metals used in headphone earring spines and how they behave under pressure.
| Material | Typical Gauge | Malleability | Skin Safety & Notes |
|---|---|---|---|
| Grade 23 Titanium | 16G - 14G | High | Biocompatible, lightweight, holds bends well without snapping. Ideal for sensitive skin. |
| 316L Stainless Steel | 18G - 14G | Medium | Heavy, prone to work hardening. Best for pre-shaped cuffs rather than DIY bending. |
| Memory Wire (Carbon) | 14G+ | Low (Rigid) | Cannot be bent. Relies on spring tension. Can cause severe pinching on smaller ears. |
| Sterling Silver (925) | 20G - 18G | Very High | Extremely soft. Bends easily for custom fits but warps out of shape if bumped. |
Step 4: Styling and Visual Weight Distribution
Headphone earrings are inherently heavy on visual weight. They command attention and dominate the side profile. The key to styling them in 2026 is deliberate contrast and balance.
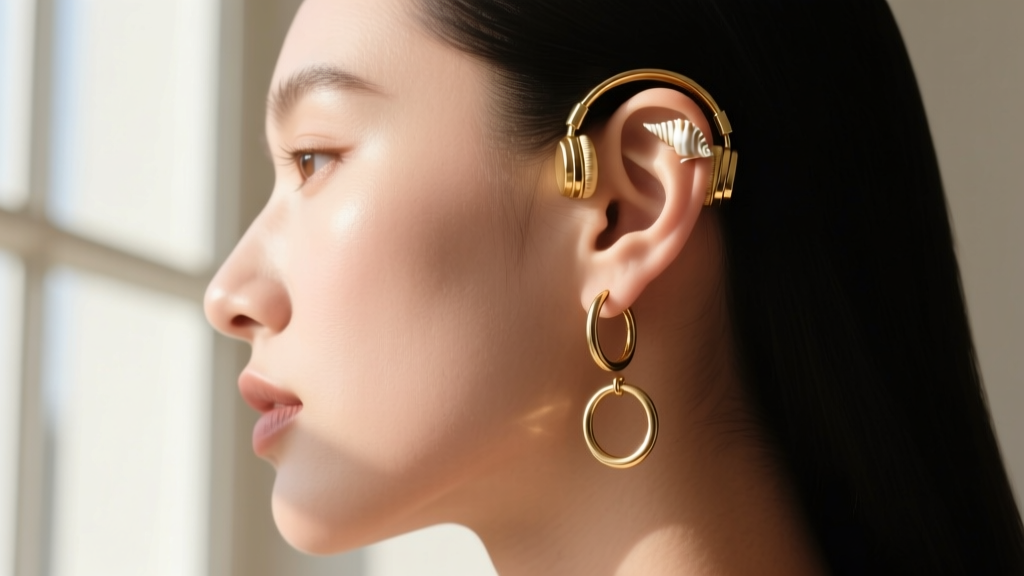
Stylist's Rule of Thumb: When wearing a full-wrap headphone earring, treat it as the 'hero' piece. Anchor the earlobe with minimalist huggies or a single flush-set diamond stud. Avoid large dangles or heavy chandelier earrings on the same ear, as the combined physical weight will drag on the lobe and create a cluttered aesthetic.
Pairing with Cartilage Piercings
If you have an active ear curation, a headphone earring can beautifully connect the dots between your piercings. For example, a cuff that sweeps from the helix down to a conch piercing creates a cohesive, armored look. Ensure that the internal spine of the cuff does not press directly against the protruding ends of your cartilage jewelry posts, as this friction will cause irritation and delay healing in newer piercings.
Troubleshooting Common Fit Failures
Even with careful measuring, you may encounter issues. Here is how to troubleshoot the most common headphone earring failures:
- The 'Slip-Down' Effect: If the cuff slowly slides down the anti-helix throughout the day, the top helix hook is too wide. Use your nylon pliers to tighten the upper curve by 2-3 millimeters, ensuring it grips the thickest part of the upper cartilage rim.
- Cartilage Throbbing (Ischemia): If your ear turns red and begins to throb after 30 minutes, the clamping pressure is too high. Gently widen the mid-ear bridge. Alternatively, switch to a cuff lined with medical-grade silicone tubing to distribute the pressure across a wider surface area.
- Hair Snagging: Over-ear cuffs with intricate filigree or exposed prongs are notorious for catching on loose hair. If you wear your hair down, opt for a sleek, high-polish tubular wire design rather than textured or gemstone-heavy cuffs.
- Asymmetry Issues: Human ears are rarely perfectly symmetrical. A headphone earring that fits your left ear perfectly may slip on your right. Always adjust each cuff individually to the specific ear it will adorn; never assume a 'one-size-fits-all' approach will work for both sides.
Final Thoughts on Over-Ear Jewelry
Mastering the headphone earring trend requires a blend of anatomical awareness, basic metallurgy, and styling intuition. By taking the time to measure your auricle, selecting a malleable and skin-safe alloy like Grade 23 titanium, and making deliberate tension adjustments, you can transform a novelty accessory into a comfortable, signature piece of your daily jewelry rotation. Treat your ear cuffs with the same precision you would apply to fine pierced jewelry, and they will reward you with a striking, pain-free silhouette.


