How to Make Dollar Bill Earrings: Step-by-Step Guide
Learn how to craft durable, waterproof dollar bill earrings with our step-by-step origami and resin sealing guide. Perfect for hypoallergenic wear.

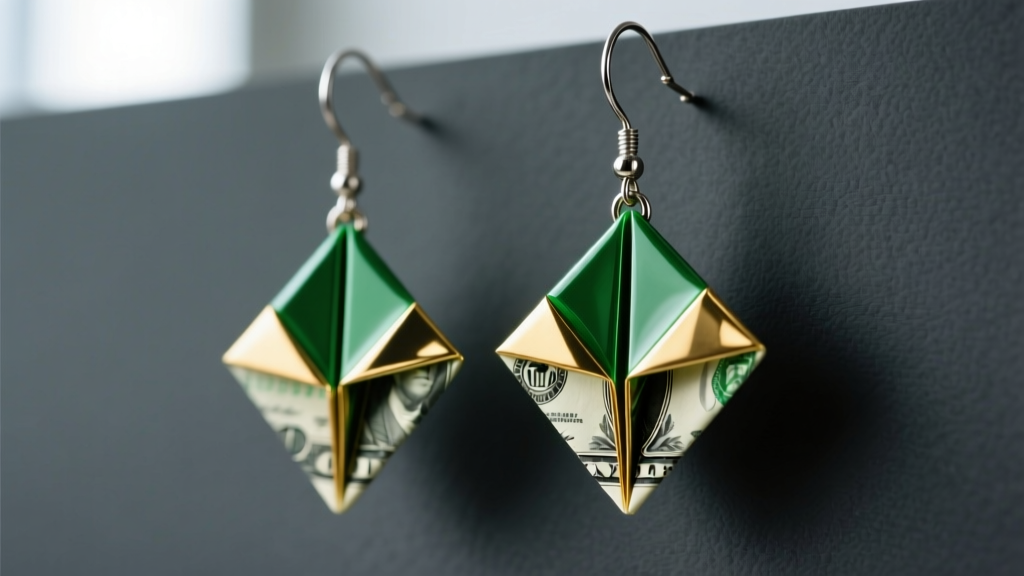
The Intersection of Streetwear and High-Craft Jewelry
In 2026, the boundary between DIY streetwear accessories and fine jewelry continues to blur. Among the most striking examples of this fusion are dollar bill earrings—intricate origami folds transformed into lightweight, conversation-starting ear pieces. While folding paper into jewelry might seem like a simple craft project, creating a pair that is durable, waterproof, and safe for sensitive ear piercings requires a deep understanding of jewelry sealing techniques, micro-hardware, and metallurgy.
This comprehensive, step-by-step guide will teach you how to elevate a simple folded paper star or geometric shape into a professional-grade accessory. We will cover everything from the legalities of altering currency to the precise application of UV resin and the selection of implant-grade ear wires.
Before You Begin: The Legal and Ethical Nuances
Before folding real currency, it is vital to understand the law. According to the US Currency Education Program, defacing currency is illegal if the intent is to render it unfit to be reissued or to commit fraud. While folding a bill into a star does not inherently violate this, encasing it permanently in epoxy or UV resin technically prevents it from re-entering circulation.
Expert Tip: To remain strictly within legal and ethical boundaries, many professional jewelry makers opt for high-quality 'prop money' or novelty bills that feature the iconic green and white aesthetic without utilizing actual government-issued tender.
Materials and Tools: Engineering for Longevity
The biggest point of failure in paper jewelry is moisture degradation. Paper is highly hygroscopic, meaning it absorbs humidity from the air and skin, leading to warping and mold. You must create an impermeable moisture barrier.
Sealing Methods Compared
| Sealer Type | Pros | Cons | Best For |
|---|---|---|---|
| UV Resin (Hard) | Glass-like finish, 100% waterproof, cures in minutes | Can yellow over time if exposed to direct UV sunlight, rigid | High-end, glossy statement pieces |
| Mod Podge (PVA) | Inexpensive, flexible, matte/satin options | Tacky feel, not fully waterproof, degrades with skin oils | Temporary crafts, kids' projects |
| Two-Part Epoxy | Extremely durable, thick doming capability | Long cure time (24hrs), toxic fumes during mixing, bubbles | Large pendants, thick paper layers |
For professional-grade dollar bill earrings, hard-formula UV resin is the undisputed champion. Brands like Padico or Let's Resin offer non-yellowing formulas that cure under a 365nm-405nm UV lamp in under 60 seconds. You will also need:
- Crisp, uncirculated bills (or premium novelty bills)
- A Teflon-coated bone folder for razor-sharp creases
- A 365nm UV LED lamp
- 0.8mm micro drill bit or a sewing needle and lighter
- 6mm 20-gauge jump rings
- Hypoallergenic ear wires (detailed below)
Step 1: The Precision Fold
The structural integrity of your earring begins with the fold. Paper has a grain, and folding against the grain can cause micro-tears that become glaringly obvious once magnified by a glossy resin dome.
Start by scoring your fold lines lightly with the bone folder before committing to the full crease. If you are folding the classic origami lucky star or a complex geometric heart, ensure every corner meets with mathematical precision. Any gaps or uneven edges will trap air bubbles during the resin pouring phase, creating cloudy imperfections in your final piece. Keep your hands clean and dry; the natural sebum from your fingertips can leave permanent smudges on the paper fibers before they are sealed.
Step 2: Resin Application and Waterproofing
Sealing paper with UV resin requires a specific technique to avoid the 'bleed-through' effect, where the resin soaks into the paper and creates dark, greasy-looking spots.
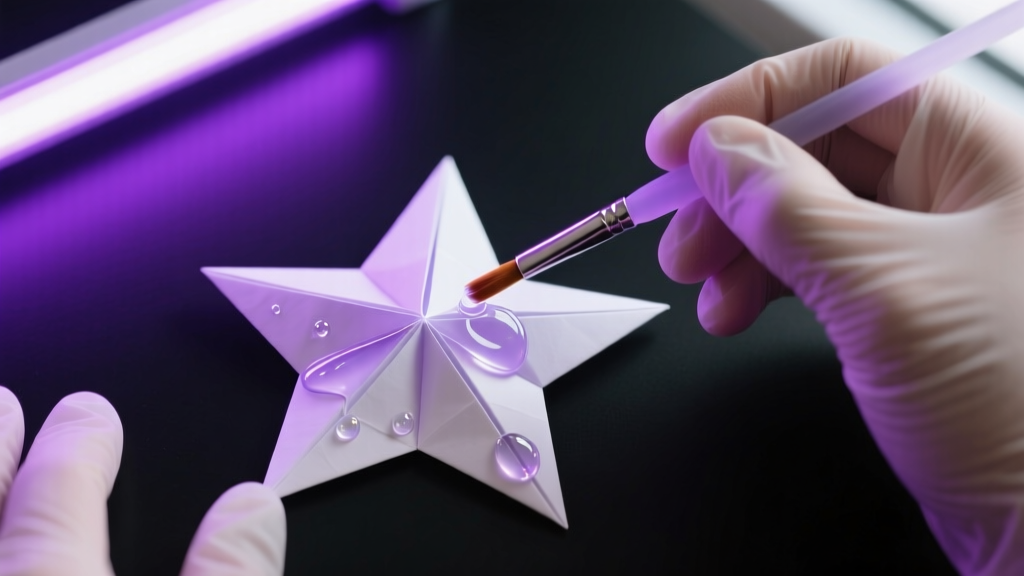
The Base Coat (Sealing the Fibers)
Apply a microscopically thin layer of UV resin using a fine silicone brush. Do not attempt to dome the piece yet. Your goal is simply to saturate the outer layer of paper fibers. Cure this base layer under your UV lamp for 30 seconds. This creates a non-porous shell that prevents subsequent layers from soaking into the bill.
The Dome Coat (Creating the Lens)
Once the base coat is cured, apply a thicker layer of resin. Utilize the surface tension of the liquid to create a smooth, convex dome over the earring. If micro-bubbles appear, pass a butane torch or heat gun quickly over the surface to pop them before curing. Cure for 60 to 90 seconds. Flip the piece and repeat the process on the reverse side to ensure total encapsulation. According to Resin Obsession, keeping your resin layers under 3mm per cure prevents the exothermic reaction from scorching the paper inside.
Step 3: Drilling and Attaching Findings
Never rely on glue-on bails for paper jewelry; the bond will inevitably fail due to the flexibility of the paper core and the sheer drop-weight of the earring. Instead, you must drill a clean hole through the cured resin and paper.
Use a 0.8mm micro drill bit attached to a rotary tool or a pin vise. If you lack a drill, heat the eye of a sewing needle with a lighter until it is red-hot, then push it cleanly through the top point of your folded shape. The heat cauterizes the paper fibers, preventing fraying. Once the hole is made, thread a 6mm, 20-gauge jump ring through it. Use two pairs of flat-nose pliers to twist the jump ring open and closed laterally—never pull it apart outward, as this warps the circle and weakens the metal.
Step 4: Selecting Hypoallergenic Ear Wires
Because dollar bill earrings are inherently lightweight, you have the freedom to use delicate, high-quality ear wires without worrying about the metal sagging. However, because these pieces often sit close to the skin and are popular in streetwear where sweat is a factor, metal choice is critical.
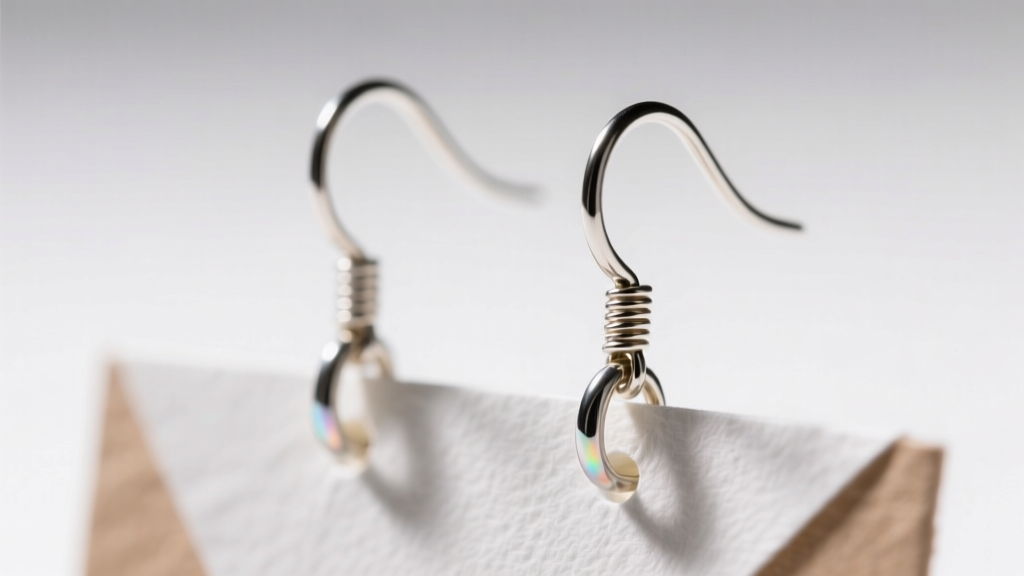
Metallurgy for Sensitive Lobes
Avoid standard 'surgical steel' at all costs. Surgical steel is an alloy that frequently contains nickel, which causes contact dermatitis in up to 20% of the population. Instead, source your findings from reputable jewelry suppliers like Rio Grande and opt for one of the following:
- Grade 23 Titanium (Ti-6Al-4V ELI): This is implant-grade titanium, the exact metal used in medical joint replacements. It is entirely biocompatible, incredibly strong, and lightweight.
- Niobium: An elemental metal that is 100% nickel-free and lead-free. Niobium has the added benefit of being anodizable, meaning you can use a simple electrical bath to color-match your ear wires to the green hues of the dollar bill.
For the wire thickness, 20-gauge (0.81mm) is the industry standard for standard lobe piercings, providing a perfect balance of structural strength and comfort. If your target audience has freshly pierced or delicate lobes, step down to a 22-gauge (0.64mm) wire.
Maintenance and Long-Term Care
Even perfectly sealed dollar bill earrings require specific care to maintain their optical clarity. UV resin, while durable, can develop micro-scratches if cleaned with abrasive materials. Instruct wearers to clean the resin dome using only a damp microfiber cloth. Avoid alcohol-based cleaners or ultrasonic jewelry baths; while the resin itself might survive, the alcohol can degrade the jump ring's metal finish over time and seep into any microscopic pinholes left during the curing process.
By mastering the intersection of origami precision and professional jewelry sealing, you can create dollar bill earrings that are not just novelty items, but enduring, high-quality accessories capable of withstanding the rigors of daily wear.


