The Ultimate Guide to Choosing an Earring That Goes Up the Ear
Discover how to choose the perfect earring that goes up the ear. Learn about tension fits, metal grades, and gauge sizes for all-day cartilage comfort.

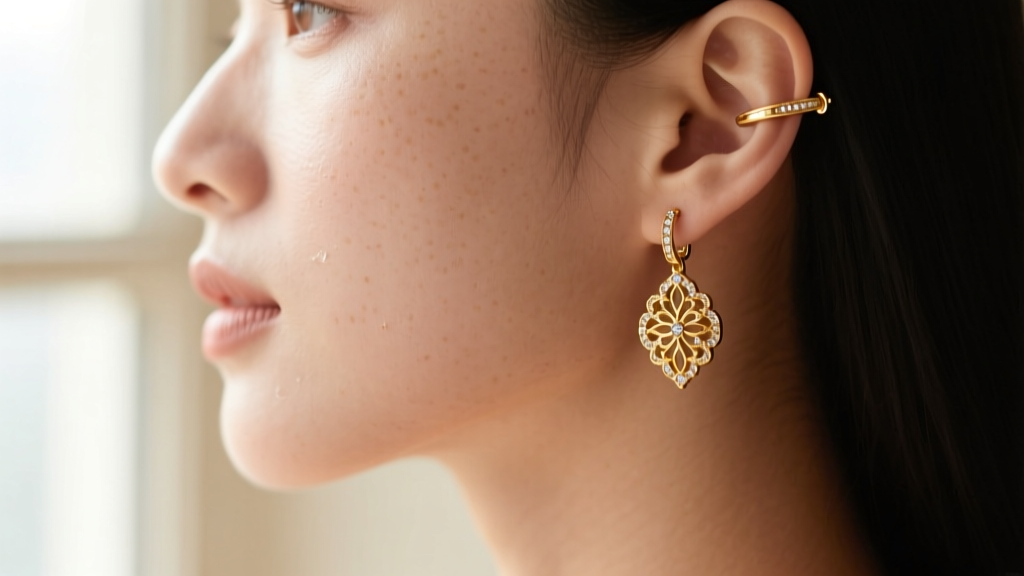
When you want the look of a meticulously curated, multi-pierced ear without the commitment, pain, or healing time of additional needle punctures, the earring that goes up the ear is your ultimate solution. Commonly referred to as ear climbers or ear crawlers, these ingenious pieces of jewelry utilize a single standard lobe piercing as an anchor, extending upward along the helix or scapha to create the illusion of a complex ear stack. Whether you are preparing for a high-stakes corporate event, a wedding, or simply elevating your daily work-from-home uniform, understanding the engineering behind these pieces is crucial. A poorly designed earring that goes up the ear will slip, pinch, or cause contact dermatitis within hours. In this comprehensive buying guide, we break down the exact metallurgy, gauge specifications, and structural mechanics you need to look for to ensure a secure, comfortable, and stylish fit.
The Mechanics: How an Earring That Goes Up the Ear Stays Secure
Unlike standard studs that rely on a friction back or a screw-back post, an earring that goes up the ear must battle gravity and the natural curvature of your cartilage. There are two primary mechanical designs you will encounter when shopping:
- The S-Wire Tension Climber: This design features a post that goes through the lobe, attached to a curved, S-shaped wire that gently pinches the outer edge of the ear. The tension must be precisely calibrated—too loose, and it slides down; too tight, and it restricts blood flow.
- The C-Clamp Cuff Hybrid: This style uses a standard post and butterfly back for the lobe, while a separate, adjustable C-cuff grips the upper cartilage. These are connected by a rigid or semi-flexible vertical bar. They offer more security for heavier, gemstone-encrusted designs.
Wire Gauge and Post Dimensions: The Foundation of Fit
The most common failure point for cheap ear crawlers is the base post. Standard earlobe piercings are typically done at 20-gauge (0.81mm) or 18-gauge (1.02mm). If the base post of your climber is a flimsy 22-gauge (0.64mm) wire, the weight of the upward extension will cause the post to bend inside your piercing, leading to irritation and an angled, sloppy appearance.
Expert Rule of Thumb: Always verify that the base post is at least 18-gauge (1.0mm) and made of a rigid metal. Furthermore, the post length should be a minimum of 6mm to accommodate standard lobe thickness plus the backing mechanism. If you have thicker lobes, look for brands that offer 8mm or 10mm post options.
Metallurgy and Material Grades: What to Look For
Because the climbing wire rests directly against the delicate skin of your outer ear cartilage for extended periods, material purity is non-negotiable. The friction and body heat can accelerate metal degradation and trigger allergic reactions. According to the Association of Professional Piercers, only specific implant-grade metals should be worn in prolonged contact with the skin.
| Material Grade | Nickel Risk | Durability & Tension Retention | Price Range (USD) | Best For |
|---|---|---|---|---|
| ASTM F136 Implant-Grade Titanium | Zero | Excellent (Holds S-curve tension perfectly) | $45 - $90 | Sensitive skin, daily wear, active lifestyles |
| 14k or 18k Solid Gold (Nickel-Free) | Zero (if alloyed correctly) | Good (18k is softer, may require occasional reshaping) | $150 - $350+ | Fine jewelry collectors, luxury styling |
| 925 Sterling Silver (Rhodium Plated) | Low (if plated well) | Fair (Prone to bending and tarnishing over time) | $30 - $75 | Occasional wear, budget-conscious buyers |
| Plated Brass or Copper Base | High | Poor (Plating wears off, causing green skin and allergies) | $10 - $25 | Avoid entirely for cartilage contact |
How to Measure Your Ear for the Perfect Climber Length
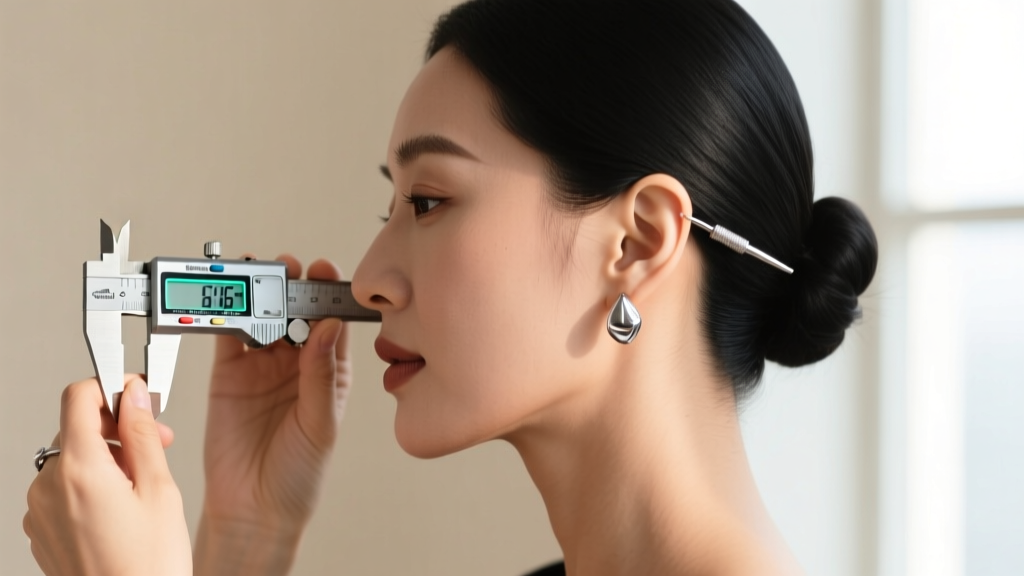
An earring that goes up the ear is not one-size-fits-all. Ears vary drastically in vertical length from the lobe to the apex of the helix. A climber that is too long will poke into the upper folds of your ear, while one that is too short will look awkwardly disconnected from your anatomy.
The Measurement Framework
- Take a flexible sewing tape measure or a piece of string.
- Start at the exact center of your existing lobe piercing.
- Measure straight up along the outer edge (the helix rim) to the point where you want the earring to terminate.
- Most standard ear climbers range from 25mm to 35mm in length. If your measurement falls outside this range, you will need to seek out specialized jewelers who offer petite (under 20mm) or extended (over 40mm) crawlers.
Common Failure Modes and Troubleshooting
Even high-end jewelry can fail if the biomechanics of the design clash with your specific ear shape. Here is how to troubleshoot the most common issues reported by wearers:
1. Cartilage Ischemia (The Pinch Effect)
If the S-wire grips the cartilage too tightly, it restricts localized blood flow (ischemia). This manifests as a throbbing ache or a cold sensation in the upper ear after 2-3 hours of wear. Solution: Gently stretch the S-wire gap to roughly 4mm using your thumbs, or look for designs that feature a small, clear silicone sleeve over the tension wire to distribute pressure.
2. Gravity Slip and Rotation
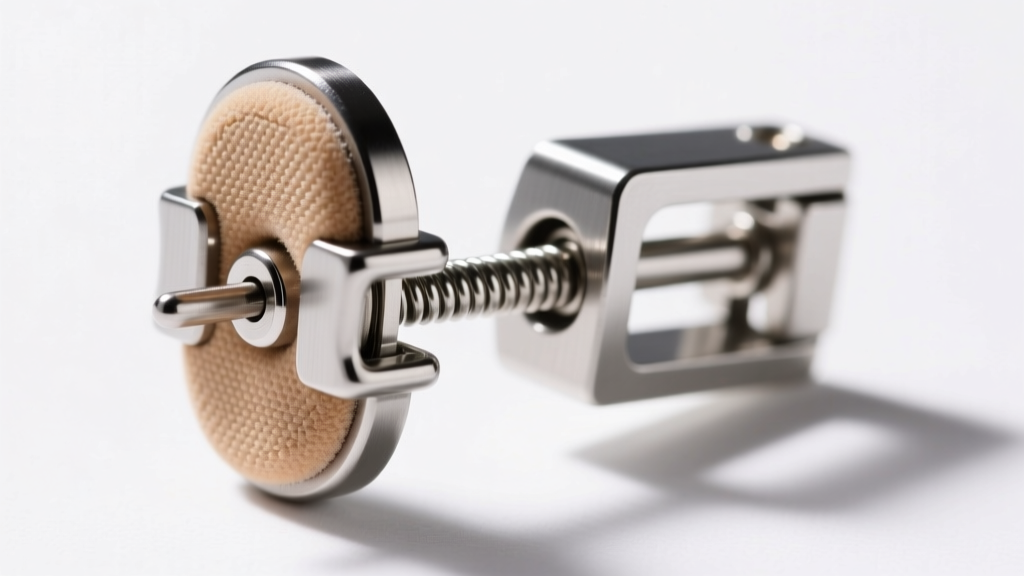
Heavy gemstone climbers often rotate forward, causing the earring to stick straight out rather than lying flush against the ear. The American Academy of Dermatology (AAD) also notes that constantly adjusting heavy, slipping jewelry can lead to friction-induced contact dermatitis. Solution: Purchase a climber that utilizes a silicone O-ring disc behind the lobe post instead of a traditional butterfly back. The high-friction silicone locks the post in place, preventing the entire piece from rotating downward.
Pro-Tip from Master Jewelers: "If your favorite 14k gold ear climber keeps sliding down, do not bend the wire tighter against your ear. Instead, rough up the back of the lobe post slightly with a fine-grit emery board to increase friction against your silicone backing."
Final Styling Framework for 2026
As ear curation trends continue to evolve, the minimalist, architectural ear climber has taken center stage. When styling an earring that goes up the ear, balance is critical. Because the climber commands significant visual real estate on one side of your face, pair it with a simple, flush-set diamond or sapphire stud in the upper helix or tragus to create a diagonal line of symmetry. Avoid wearing large, dangling earrings in the same ear, as the visual clutter will detract from the elegant, sweeping line of the crawler.
Furthermore, consider your face shape when selecting the motif of the crawler. For those with rounder face shapes, a sharp, angular, geometric ear climber helps to elongate the profile and add structural definition. Conversely, if you have a more angular or square jawline, opt for an earring that goes up the ear featuring organic, flowing curves or a vine-like motif to soften the overall aesthetic. By prioritizing implant-grade metals, precise gauge thicknesses, and anatomical measurements, you can confidently invest in an ear climber that looks custom-made for your unique ear architecture.


