How to Take the Back of an Earring Off Safely and Easily
Learn how to take the back of an earring off safely. Expert troubleshooting for stuck push backs, screw backs, and friction clutches.

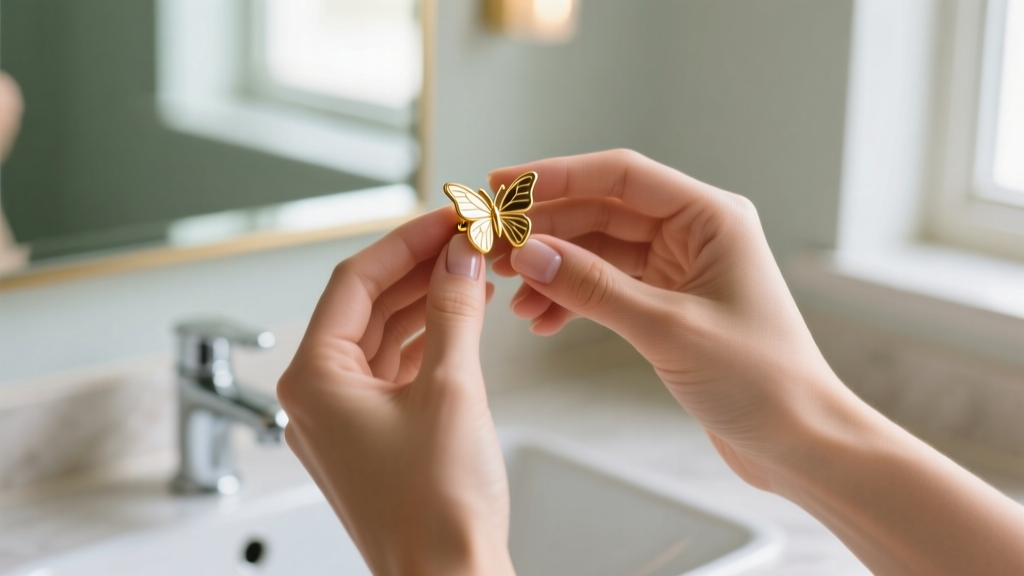
There are few beauty struggles as universally frustrating as a stubborn earring back. Whether you are dealing with a brand-new piercing that has swollen slightly or a vintage pair of studs that haven't been removed in months, trapped jewelry can quickly turn from a minor annoyance into a painful ordeal. If you are searching for exactly how to take the back of an earring off without pinching your skin, bending the post, or causing an infection, you need a strategy rooted in jewelry mechanics and dermatological safety.
In this comprehensive guide, we break down the science behind why earring backs get stuck, provide step-by-step removal techniques for every major clutch type, and share professional troubleshooting methods used by expert piercers.
The Anatomy of a Stuck Earring Back
Before attempting removal, it is crucial to understand why the back is stuck in the first place. Standard lobe earrings typically feature a 20-gauge (0.81mm) or 18-gauge (1.02mm) post. The clearance between the post and the hole in the earring back is microscopic—often less than a tenth of a millimeter.
Over time, this tiny gap becomes a trap for sebum (natural skin oils), dead keratinocytes (skin cells), and environmental debris. When mixed with daily hair products like aerosol hairspray or heavy conditioning masks, this debris creates a hardened, glue-like resin. Furthermore, if your earring backs are made of low-quality brass or nickel-containing alloys, they can trigger contact dermatitis. This localized allergic reaction causes the earlobe tissue to swell, effectively swallowing the post and pressing the friction back tightly against the skin, making removal incredibly painful.
Step-by-Step: How to Take the Back of an Earring Off by Type
Different earring backs require entirely different removal mechanics. Using the wrong technique can permanently damage the jewelry or tear the delicate fistula (the piercing hole).
Friction / Butterfly Backs
The classic butterfly clutch relies on two small metal loops that grip the grooved post via tension. To remove them, do not simply pull straight back, as this can bend a soft 14k gold or 24k gold post. Instead, use the 'pinch and wiggle' method. Pinch the butterfly back firmly between your thumb and index finger. Apply a gentle, micro-millimeter wiggling motion side-to-side while slowly pulling away from the earlobe. This side-to-side motion breaks the seal of any dried sebum trapped inside the clutch.
Screw Backs
Screw backs are prized for their security, but they are highly susceptible to cross-threading. If forced at an angle, the delicate 0.8mm threads will strip. To remove a screw back, grip the front of the earring stud securely to prevent it from spinning. With your other hand, rotate the back strictly counter-clockwise. If you encounter sudden, hard resistance, stop immediately. Do not force it, as you are likely dealing with cross-threading or debris lodged in the threading.
Silicone O-Rings and La Pousette Locks
Silicone O-rings provide immense friction and are often used for heavy dangle earrings. Never pull these straight off, as the friction can yank the earring post painfully through the lobe. Instead, use your fingernail to gently 'roll' the silicone ring up and over the end of the post. For La Pousette locking backs (which feature two tiny side tabs), you must pinch the tabs inward to retract the internal locking pin before sliding the back off.
Troubleshooting: When the Back Simply Won't Budge
If the standard techniques fail, you are likely dealing with severe product buildup, a bent post, or tissue swelling. According to guidelines from the Association of Professional Piercers, patience and proper lubrication are your best tools to avoid tissue trauma.
One of the most effective, piercer-approved tricks is the rubber glove method. Human skin is naturally oily, making it difficult to grip a tiny metal butterfly back. By wearing a pair of clean, textured nitrile or latex medical gloves, you multiply your grip friction exponentially, allowing you to twist and pull the back off without slipping and scratching your neck.
If grip isn't the issue, you need to dissolve the biological 'glue' holding the back in place. Below is a troubleshooting matrix for safe removal solvents and methods:
| Method / Solvent | Best For | Risk Level | How to Apply |
|---|---|---|---|
| Warm Water Soak | Sebum & dead skin buildup | Very Low | Submerge the earlobe in a small cup of warm saline or water for 3-5 minutes to soften debris. |
| Nitrile Gloves | Slippery friction backs | Low | Wear textured gloves to grip the back firmly, allowing for precise twisting without sliding. |
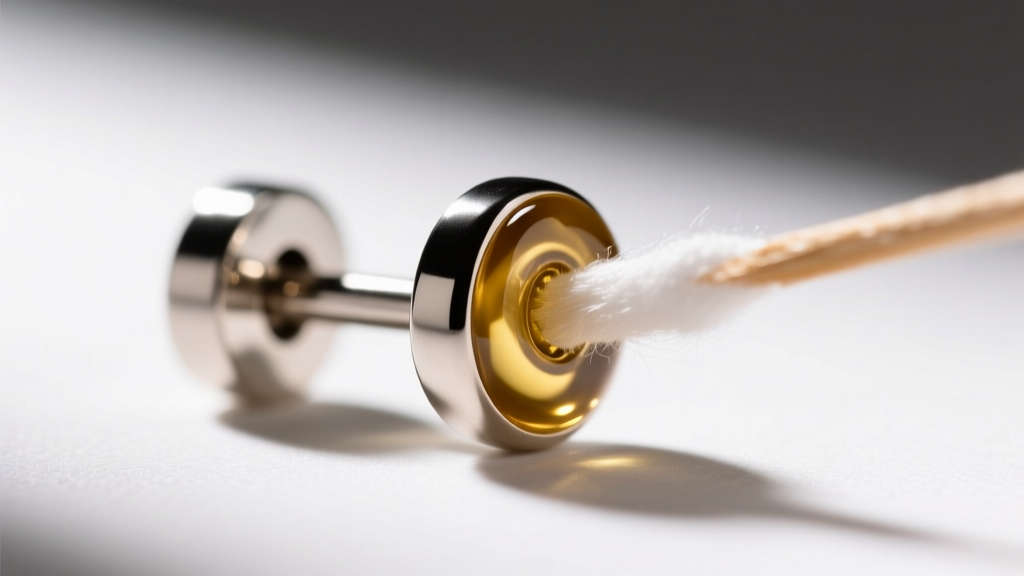
| Jojoba / Mineral Oil | Dried hairspray or lotion | Low | Apply a single drop to the post joint with a cotton swab; let sit for 2 minutes before wiggling. |
| Padded Jewelry Pliers | Severely bent or stripped posts | High | Only use nylon-jaw pliers as a last resort to grip the back without crushing the metal post. |
Tools to Avoid at All Costs
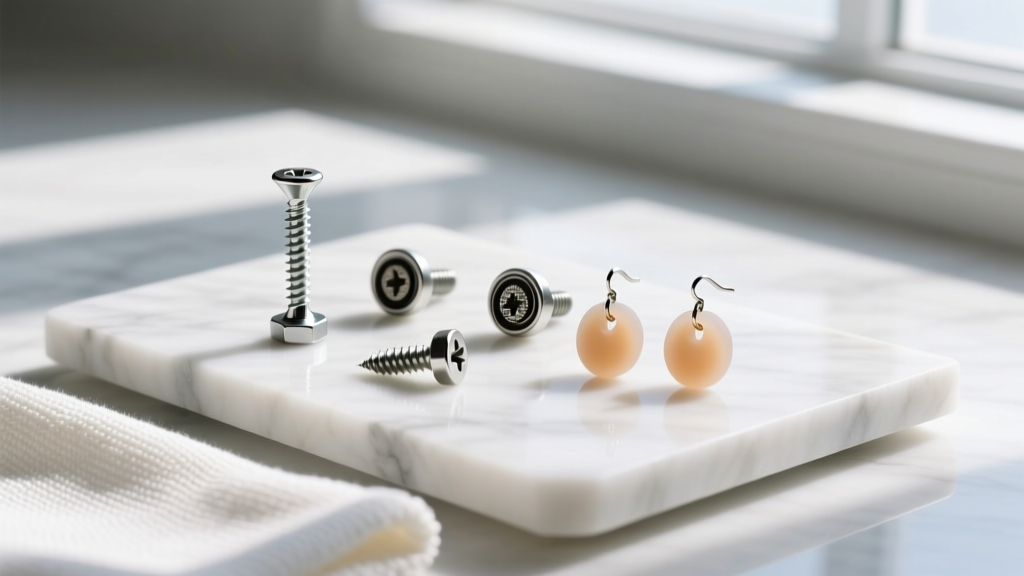
When frustration sets in, many people reach for household tools. Never use standard metal needle-nose pliers, tweezers, or wire cutters. Standard steel tools are significantly harder than 14k gold, 18k gold, and even implant-grade titanium (ASTM F136). Using metal pliers will instantly scratch precious metals, crush the delicate threading on screw backs, and permanently bend the post, rendering the earring unwearable. Furthermore, slipping with a sharp metal tool near the eye or jugular vein is a severe laceration risk.
Preventative Maintenance for Smooth Removal
The American Academy of Dermatology emphasizes that keeping the skin and jewelry clean prevents the buildup of irritants and biological debris. To ensure your earring backs slide off effortlessly every time:
- Weekly Soaks: Once a week, remove your daily studs and soak the posts and backs in a small dish of warm water with a drop of mild, fragrance-free dish soap.
- Upgrade to Titanium: Swap out cheap alloy butterfly backs for implant-grade titanium (ASTM F136) or solid 14k gold. These non-porous metals resist tarnish and do not trigger the swelling associated with nickel allergies.
- Check the Post: Inspect your posts monthly. If a 20-gauge post is visibly bent, take it to a jeweler to be straightened or replaced, as a bent post will perpetually jam inside the clutch.
When to See a Professional Piercer
There is a distinct line between a stubborn earring back and a medical emergency. If the earlobe is hot to the touch, throbbing, or leaking yellow/green exudate, you may have an active infection. If the skin has completely grown over the back of the earring (a condition known as embedding), do not attempt to cut or dig it out yourself.
Visit a reputable, APP-certified professional piercer. Piercers possess specialized, sterilized taper tools and the anatomical knowledge to safely relieve the pressure and remove embedded jewelry without causing scar tissue. In cases of severe, spreading infection or systemic fever, bypass the piercing studio and head directly to an urgent care clinic or emergency room.
Pro Tip: If you frequently struggle with removing small jewelry due to limited dexterity or long acrylic nails, invest in a specialized 'earring back remover tool.' These inexpensive, pen-like devices feature a soft silicone tip designed to grip and push off butterfly clutches without requiring precise fingernail leverage.
By understanding the mechanics of your jewelry and utilizing the right combination of grip, lubrication, and patience, you can master how to take the back of an earring off safely, preserving both your precious metals and your piercing health for years to come.


