How Long to Leave In Earrings After Piercing: Healing Timeline Guide
Discover exactly how long to leave in earrings after piercing. Our step-by-step healing guide covers lobe vs. cartilage timelines, metals, and aftercare.

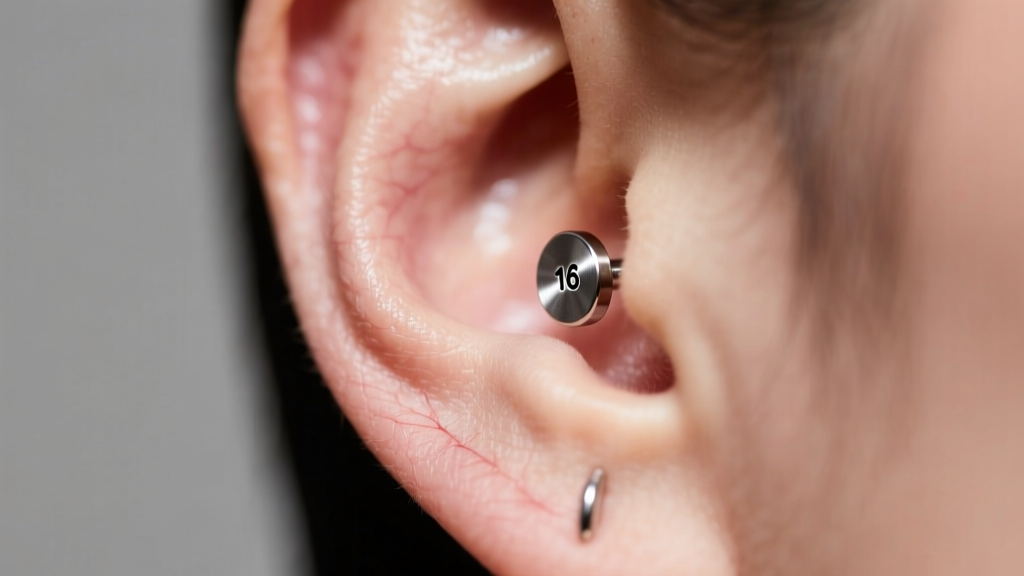
Getting your ears pierced is a thrilling milestone, but the aftercare phase requires strict discipline. The most common question new piercees ask is: how long to leave in earrings after piercing? The answer is not a simple number of days; it depends entirely on the anatomical location of the piercing, the gauge of the jewelry, and the biological phases of wound healing. Removing your initial jewelry too early can lead to fistula collapse, severe irritation bumps, or embedded jewelry. This comprehensive, step-by-step guide breaks down the exact timelines, material science, and troubleshooting protocols you need to ensure a flawless healing process.
The Short Answer: Timelines for Lobe vs. Cartilage
Before diving into the biological stages of healing, it is crucial to understand that different ear tissues heal at vastly different rates. Earlobes are highly vascularized soft tissue, meaning they receive abundant blood flow to transport white blood cells and nutrients to the wound site. Cartilage, on the other hand, is avascular; it relies on the surrounding perichondrium for nutrient delivery, making the healing process significantly slower and more prone to complications.
| Piercing Location | Minimum Time to Leave In | Full Maturation Period | Standard Professional Gauge |
|---|---|---|---|
| Standard Earlobe | 6 to 8 Weeks | 3 to 4 Months | 16g (1.2mm) or 14g (1.6mm) |
| Upper Lobe / High Lobe | 8 to 10 Weeks | 4 to 6 Months | 16g or 14g |
| Helix / Forward Helix | 3 to 6 Months | 6 to 12 Months | 16g (1.2mm) |
| Conch / Daith / Rook | 6 to 9 Months | 9 to 18 Months | 16g or 14g |
| Industrial (Scaffold) | 9 to 12 Months | 12 to 24 Months | 14g (1.6mm) |
Step-by-Step: Managing Your Initial Healing Phase
Understanding the biological stages of wound healing will help you understand why you must leave your earrings in undisturbed. According to the Association of Professional Piercers (APP), a piercing is essentially a controlled puncture wound that must form a fistula (a permanent tube of scar tissue).
Weeks 1-4: The Inflammatory and Proliferative Stages
During the first month, your body is in high gear. Blood vessels dilate, causing localized swelling, redness, and the secretion of lymph fluid (often mistaken for pus). This lymph dries into a harmless crust around the jewelry. Action step: Do not twist or rotate the jewelry. Twisting tears the delicate new cellular matrix forming inside the fistula. Instead, use a sterile saline wound wash (0.9% sodium chloride with no additives) twice daily, gently softening the crusties before wiping them away with non-woven gauze.
Weeks 5-12: The Downsizing Window (Lobes Only)
For lobe piercings, weeks 5 through 8 mark the transition where initial swelling has completely subsided. If you were pierced with a standard flat-back labret, the initial post is intentionally long (usually 8mm or 5/16 inch) to accommodate peak swelling. Leaving this long post in indefinitely creates a lever effect; the jewelry catches on hair and clothing, pulling at the healing angle and causing hypertrophic scarring (irritation bumps). Action step: Visit your piercer around week 6 to have the post downsized to a shorter, snugger fit (usually 5mm or 6mm).
Why You Must Not Remove Your Initial Jewelry
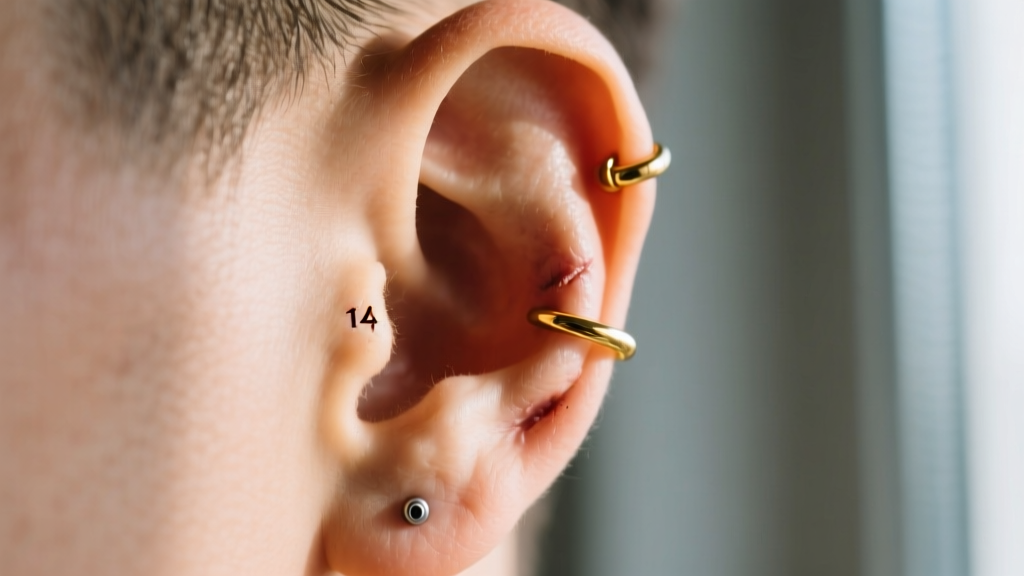
A common misconception is that taking earrings out 'just for a minute' to clean them or show a friend is harmless. This is a critical error. During the first six months, the fistula is incredibly fragile. If you remove the jewelry, the tissue can begin to contract and close within minutes, especially in cartilage piercings. Furthermore, reinserting the jewelry without professional tapering tools will scrape the interior of the fistula, stripping away weeks of cellular progress and introducing surface bacteria deep into the wound tract. Always leave the initial jewelry in until your piercer confirms the fistula is stable.
Choosing the Right Metal for the Healing Period
The metal sitting inside your open wound dictates how smoothly your healing timeline will progress. Many commercial jewelry brands market 'surgical steel' as hypoallergenic, but this is a dangerous misnomer for fresh piercings. Standard 316L surgical stainless steel contains up to 10% nickel. When exposed to the saline environment of a healing wound, nickel ions leach into the tissue, triggering contact dermatitis, chronic swelling, and delayed healing.
For the entire duration of your initial healing period, you must wear metals that are biologically inert. The APP Jewelry Guidelines strictly recommend the following for fresh piercings:
- ASTM F-136 Implant-Grade Titanium (Ti6Al4V ELI): The gold standard. It contains zero nickel, is highly polished to a mirror finish (preventing bacterial adhesion), and is the same metal used in orthopedic joint replacements.
- Niobium: A highly reactive metal that forms a protective oxide layer, making it completely biocompatible and nickel-free.
- Solid 14k or 18k Gold (Nickel-Free): Must be alloyed for biocompatibility (avoid white gold, which often contains nickel or palladium). Gold-plated or gold-filled jewelry is strictly prohibited, as the thin layer of gold will wear away inside the fistula.
How to Safely Change Your Earrings After Healing
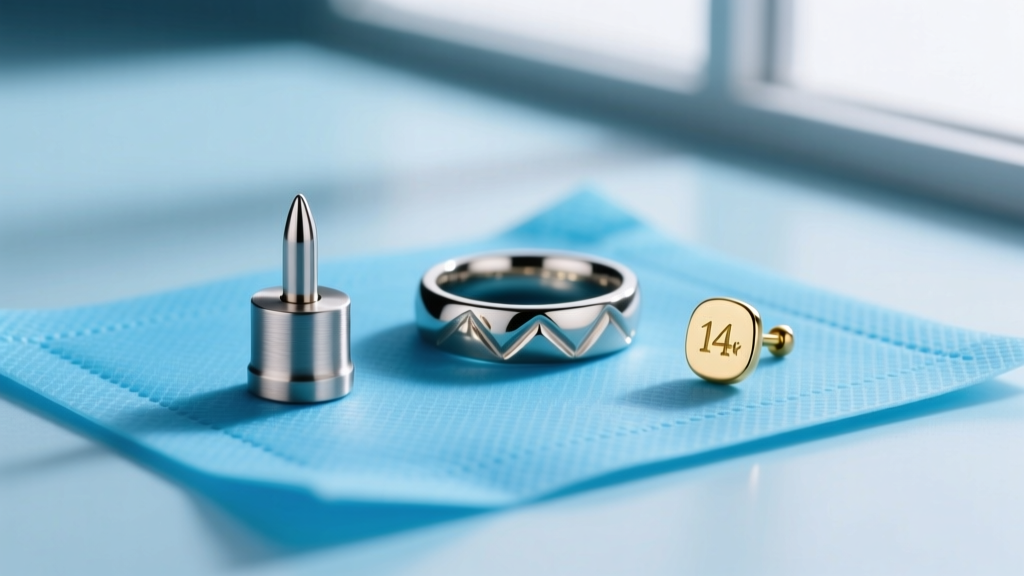
Once you have passed the minimum timeline and your piercer has confirmed the fistula is mature, you can finally change your earrings. Follow this step-by-step protocol to avoid micro-tears:
- Prep your workspace: Wash your hands thoroughly with antimicrobial soap. Lay out your new, sterilized jewelry on a clean paper towel.
- Lubricate the tract: Apply a tiny drop of sterile saline or pure, fragrance-free jojoba oil to the new jewelry post to reduce friction.
- Remove the old jewelry: Unscrew the front or back of your current flat-back labret or open the clicker mechanism. Slide it out gently. If you feel resistance, stop immediately—the fistula is not ready.
- Insert the new jewelry: Guide the new post through the fistula from the back to the front (or follow the natural angle of the piercing). Secure the backing or click the hinge shut.
- Post-change care: Spray the area once with sterile saline to flush out any displaced dead skin cells or sebum.
Troubleshooting: What If It Hurts When I Change Them?
If you experience sharp pain, bleeding, or immediate swelling upon changing your earrings, you have likely changed them prematurely or used jewelry with an improper gauge or finish. Cartilage piercings are notorious for 'waking up' if irritated, leading to painful irritation bumps. If this occurs, revert to a longer, implant-grade titanium flat-back labret to give the tissue room to swell, resume twice-daily saline soaks, and consult a professional piercer. Never sleep on a healing cartilage piercing; use a travel neck pillow to keep pressure off the ear, ensuring your fistula heals straight and true.
Ultimately, knowing how long to leave in earrings after piercing is about respecting human biology. By adhering to strict timelines, utilizing implant-grade metals, and avoiding the temptation to tinker with your jewelry, you guarantee a healthy, lifelong canvas for your favorite earrings.


