The Ultimate Hello Kitty Stud Earrings Troubleshooting Guide
Fix common issues with Hello Kitty stud earrings. Learn how to repair broken posts, restore faded enamel, and spot fakes in this expert guide.

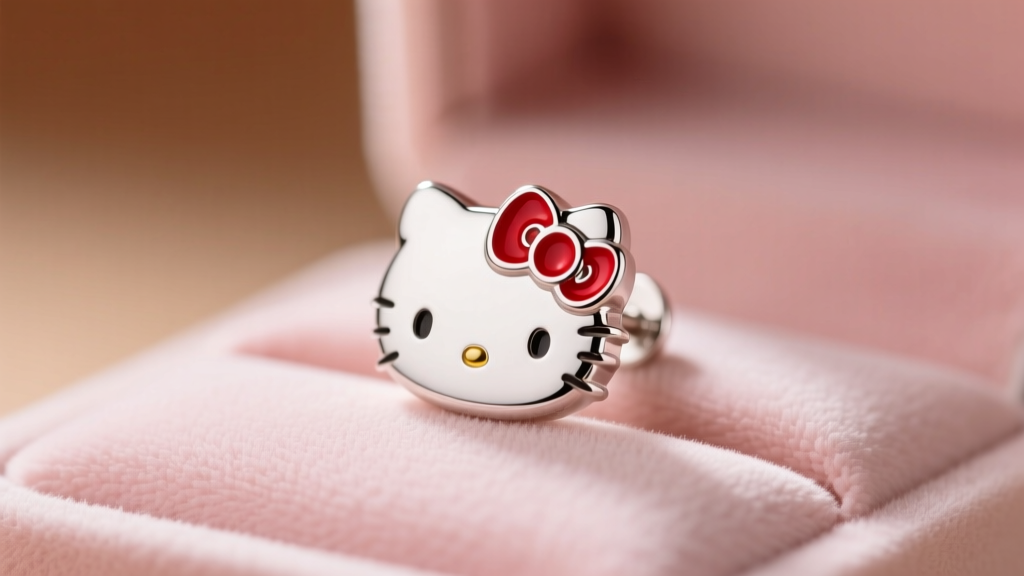
Hello Kitty stud earrings are more than just nostalgic accessories; they are highly collectible pieces of jewelry that bridge the gap between pop culture and everyday fashion. However, because these earrings are often worn daily, they are subjected to continuous friction, moisture, and accidental impacts. Whether you own a vintage 1990s Sanrio release, a high-end 925 sterling silver pair, or a modern 14k gold-plated fashion set, structural and cosmetic degradation is inevitable without proper care.
This comprehensive troubleshooting guide addresses the most frequent failure modes associated with Hello Kitty stud earrings. From snapped earring posts and chipped cold enamel to allergic contact dermatitis and counterfeit identification, we provide actionable, jeweler-grade solutions to restore and protect your favorite Sanrio jewelry.
The Anatomy of Hello Kitty Stud Earrings and Common Failures
Before attempting any repairs, it is crucial to understand the construction of these specific studs. A standard Hello Kitty stud consists of three primary components: the cast metal face (the base), the applied enamel details (the iconic red bow, yellow nose, and sometimes black eyes), and the soldered earring post.
The most frequent issues reported by collectors and daily wearers include:
- Post Fatigue and Snapping: Bending the post to adjust the angle leads to work hardening and eventual fracture.
- Enamel Delamination: The red bow or yellow nose chips away, exposing the raw base metal underneath.
- Clutch Failure: The butterfly backing loses its tension, causing the earring to slip off the lobe.
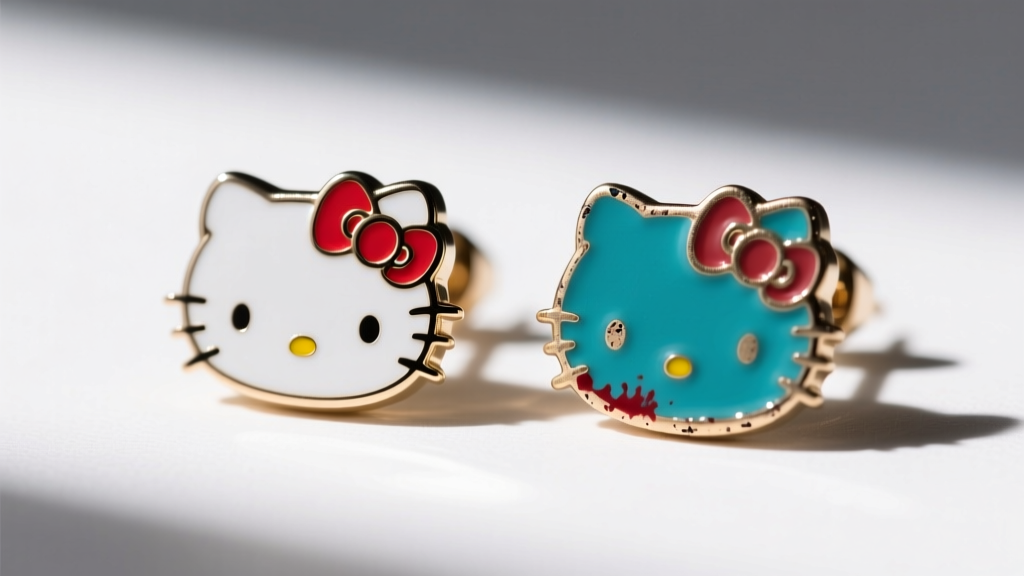
- Base Metal Oxidation: Plated brass or zinc alloy pairs develop a green or black patina that transfers to the skin.
Troubleshooting Broken, Bent, or Snapped Earring Posts
The earring post is the structural anchor of any stud. Official Sanrio fine jewelry lines typically utilize 20-gauge (0.81mm) or 22-gauge (0.64mm) posts. If your Hello Kitty stud earring post is bent, do not attempt to bend it back into place. Repeatedly bending base metals or sterling silver causes metal fatigue, which will inevitably lead to a clean snap at the solder joint.
How to Fix a Snapped Post
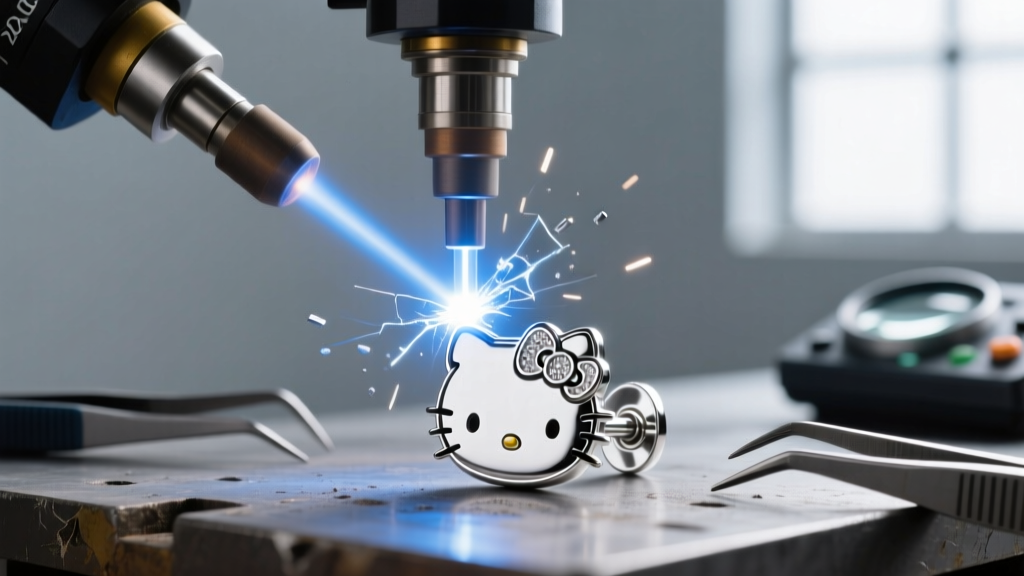
If the post has already broken off flush with the back of the Hello Kitty face, traditional soldering with a torch is highly risky. The intense heat required to melt silver or gold solder will easily scorch the cold enamel on the front of the earring, melting the red bow and ruining the piece.
Instead, professional jewelers use laser welding. A laser welder uses a highly focused beam of light to fuse a new 20-gauge sterling silver or titanium post to the base metal in a fraction of a second. This localized heat transfer prevents the thermal shock that damages the enamel. If you are attempting a DIY fix for a cheap fashion pair, you can use a two-part jewelry epoxy to bond a replacement post, though this will not withstand the lateral pressure of a tight butterfly clutch.
Upgrading the Butterfly Clutch
If your earring keeps falling out, the issue is rarely the post itself, but rather the low-friction butterfly backing. Upgrade to silicone friction backs or la pousette (locking) clutch backs. Locking backs feature an internal mechanism that clicks into a grooved 20G post, ensuring your valuable Sanrio studs never slip off your earlobe.
Restoring Chipped Enamel on the Iconic Red Bow and Nose
The vibrant colors on Hello Kitty stud earrings are rarely achieved through traditional vitreous (glass) enamel, which requires firing in a kiln at over 1,400°F. Instead, almost all Sanrio fashion and silver jewelry utilizes cold enamel, which is essentially a pigmented, jewelry-grade epoxy resin. Over time, exposure to UV light, cosmetics, and skin oils causes this resin to yellow, shrink, or chip.
The UV Resin Repair Method
To restore a chipped red bow or a missing yellow nose, you must avoid standard nail polish or acrylic paints, which lack the necessary adhesion and refractive index to match the original factory finish.
- Prep the Surface: Use a wooden toothpick to gently scrape away any loose, flaking enamel from the chipped area. Clean the cavity with 99% isopropyl alcohol to remove skin oils.
- Color Matching: Mix a high-quality, clear UV jewelry resin with a microscopic drop of opaque red or yellow alcohol ink. Test the color on a piece of white paper to ensure it matches the surrounding Sanrio enamel.
- Application: Using a 0.1mm detailing brush or a fine needle, carefully drop the pigmented resin into the chipped cavity. Surface tension will help it level out, but do not overfill.
- Curing: Cure the resin under a 36W UV nail lamp for 60 seconds. Once hardened, lightly buff the surface with a microfiber cloth to blend the repair with the original finish.
Solving Allergic Reactions and Base Metal Irritation
Many wearers experience itching, redness, or weeping earlobes after wearing Hello Kitty stud earrings. According to research published by the National Center for Biotechnology Information (NCBI), nickel is the most common culprit behind allergic contact dermatitis in jewelry. While official 925 sterling silver Sanrio pieces are generally nickel-free, licensed fashion jewelry produced for mall retailers often utilizes nickel-heavy brass or zinc alloys as a base metal beneath thin gold or silver plating.
Immediate and Long-Term Solutions for Nickel Allergies
If your earlobes are reacting to your studs, remove them immediately to prevent infection. To make the earrings wearable again, you have two primary options:
- The Temporary Barrier (Clear Coat): Paint the earring post and the back of the Hello Kitty face with a specialized jewelry guard or a high-quality clear polyurethane nail polish. This creates a physical barrier between the nickel and your skin. Note that this coating will wear off after a few weeks of friction and must be reapplied.
- The Permanent Fix (Rhodium Plating): Take the earrings to a professional jeweler and request rhodium plating. Rhodium is a hypoallergenic platinum-group metal. The jeweler will polish the earrings and electroplate them with a thick layer of rhodium, permanently sealing the offending base metals and giving the studs a brilliant, tarnish-resistant white-gold finish.
Authenticity Matrix: Spotting Counterfeit Sanrio Jewelry
The secondary market for vintage and rare Hello Kitty stud earrings is flooded with high-quality counterfeits. Distinguishing between a genuine Sanrio release and a factory replica requires a close examination of the manufacturing hallmarks. According to Sanrio's official brand guidelines and authentication standards, genuine pieces adhere to strict quality control metrics.
| Feature | Genuine Sanrio Hello Kitty Studs | Counterfeit / Replica Studs |
|---|---|---|
| Hallmarks & Stamps | Clear "925", "10K", or "Sanrio" stamp on the post or back plate. | Blank posts, or poorly laser-etched, blurry stamps that rub off easily. |
| Enamel Precision | Crisp, clean metal borders separating the red bow and yellow nose. | Bleeding paint, uneven filling, or enamel spilling over the metal lines. |
| Weight & Density | Noticeable heft; 925 silver and solid gold have high specific gravity. | Extremely lightweight; feels hollow or made of cheap pot metal/aluminum. |
| Facial Proportions | Perfectly symmetrical eyes and precisely centered bow placement. | Slightly asymmetrical face, oval-shaped eyes, or off-center bow. |
| Post Soldering | Smooth, flush laser or silver solder joint with no excess globbing. | Visible blobs of cheap lead/tin solder, or posts glued on with epoxy. |
For deeper verification of gemstone-set Hello Kitty earrings (such as those featuring pavé diamonds or cubic zirconia), consult a certified gemologist. The Gemological Institute of America (GIA) provides extensive resources on identifying synthetic stones and verifying precious metal purities, which is especially useful when evaluating high-end, limited-edition Sanrio collaborations.
Preventative Maintenance and Cleaning Protocols
The most common mistake owners make when cleaning Hello Kitty stud earrings is using an ultrasonic jewelry cleaner. The high-frequency acoustic cavitation bubbles generated by ultrasonic machines will aggressively vibrate the cold enamel right off the metal base, leaving you with a bare, silver Kitty face.
Instead, adopt a gentle, manual cleaning protocol:
- Place the earrings in a small bowl of warm water mixed with two drops of mild, phosphate-free dish soap.
- Let them soak for exactly three minutes to loosen sebum and cosmetic buildup.
- Use an extra-soft, baby-hair toothbrush to gently sweep the crevices around the bow and ears. Never use hard-bristled brushes, which will micro-scratch the metal and dull the enamel.
- Rinse under lukewarm distilled water (tap water can leave hard water spots on the metal).
- Pat dry immediately with a lint-free microfiber cloth. Ensure the post and clutch are completely dry before storing to prevent oxidation.
Store your Hello Kitty stud earrings in an anti-tarnish cloth pouch or a lined jewelry box with silica gel packets to control ambient humidity. By understanding the material science behind your jewelry and applying these targeted troubleshooting techniques, you can ensure your favorite Sanrio studs remain vibrant, secure, and comfortable for decades to come.


