How to Insert and Style Hoop and Ball Earrings Safely
Master hoop and ball earrings with our step-by-step insertion guide, sizing matrix, material grades, and styling tips for any piercing.

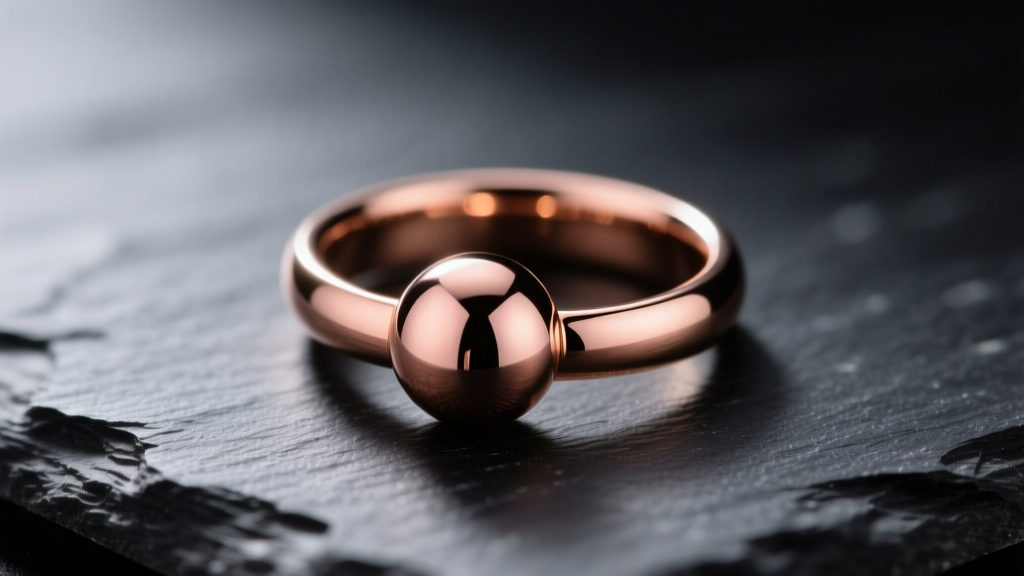
The Enduring Appeal of Hoop and Ball Earrings
When it comes to versatile body jewelry, few designs rival the classic combination of a continuous ring and a spherical accent. Whether you are navigating the tension-based mechanics of a captive bead ring (CBR) for your cartilage or styling a delicate huggie hoop with a dangling ball charm for your lobes, hoop and ball earrings remain a staple in both high fashion and professional body piercing. However, the apparent simplicity of this design belies a complex interplay of metal tension, gauge sizing, and anatomical placement.
Many enthusiasts struggle with the physical insertion of tension-based rings or fail to select the correct inner diameter for their specific piercing placement. This comprehensive guide will walk you through the exact mechanics, professional tools, and step-by-step methodologies required to master these iconic accessories.
Anatomy of the Design: Tension vs. Threaded vs. Hinged
Before attempting insertion, it is critical to understand which variation of hoop and ball earrings you are handling. The insertion method changes drastically depending on the engineering of the piece.
1. Captive Bead Rings (CBRs) / Ball Closure Rings (BCRs)
The traditional CBR relies entirely on the natural tension of the metal. The ring is manufactured as a near-perfect circle, and the bead features two shallow dimples on opposite sides. When the ring is spread open, the bead is placed between the gaps; as the ring attempts to return to its circular shape, the ends press firmly into the dimples, locking the ball in place.
2. Internally Threaded Hoops
In this variation, one end of the hoop features a threaded post that screws directly into a tapped hole inside the ball. According to the Association of Professional Piercers (APP), internally threaded jewelry is the gold standard for fresh and healed piercings, as it prevents the sharp external threads from tearing the delicate fistula tissue during insertion.
3. Huggies with Ball Drops
Primarily used for standard earlobe piercings, these feature a hinged segment that clicks into a groove on the opposite side of the hoop. The 'ball' in this context is usually a decorative charm soldered to the bottom of the hoop or dangling from a micro-jump ring.
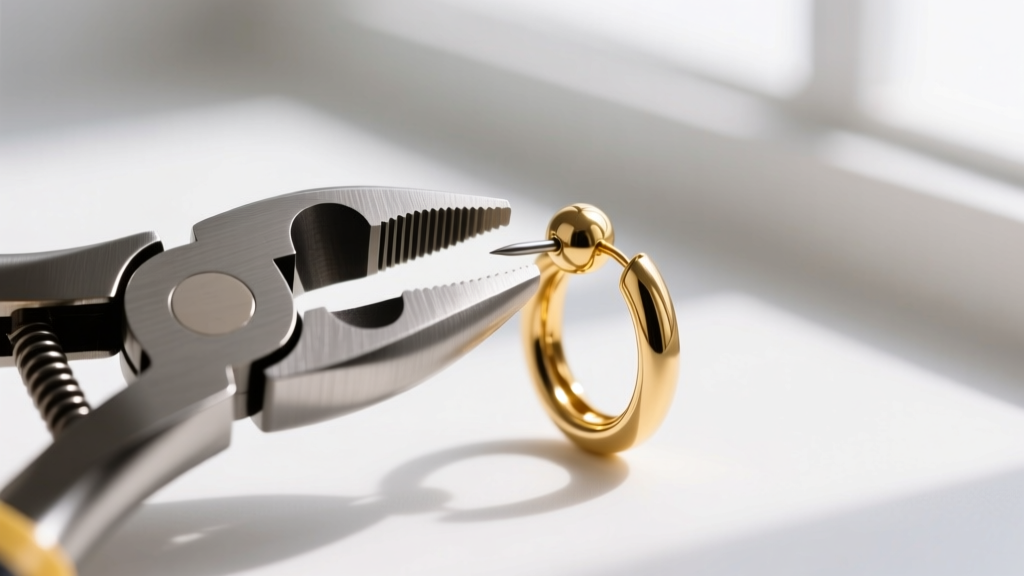
The Essential Toolkit for Seamless Insertion
Attempting to open a 16-gauge titanium CBR with your bare fingers is a recipe for dropped beads, scratched metal, and immense frustration. Professional piercers rely on specialized instruments to manipulate the jewelry without compromising its structural integrity.
- Ring Opening Pliers: These feature a specialized tip that fits inside the ring. When squeezed, they push the ends of the ring apart laterally. This prevents 'metal fatigue'—the weakening of the metal's crystalline structure that occurs when a ring is repeatedly bent back and forth.
- Ring Closing Pliers: Used to gently squeeze the ring back into a perfect circle after the bead is seated, ensuring optimal tension.
- Bead Grabber Tool: A pen-like instrument with a retractable claw or silicone tip designed to hold the tiny spherical bead in place while you align the ring's ends.
- Water-Based Lubricant: A microscopic drop of sterile saline or water-based lubricant can help the metal glide through a tight fistula without causing micro-tears.
Step-by-Step Guide: Inserting a Captive Bead Ring
Follow this precise sequence to insert a tension-based hoop and ball earring into a healed cartilage or lobe piercing.
- Sanitize and Prep: Wash your hands thoroughly with antibacterial soap. Wipe down the jewelry, the pliers, and the bead grabber with 70% isopropyl alcohol. Ensure the dimples on the bead are completely free of debris or dried sebum, which can compromise the tension grip.
- Expand the Ring: Insert the tips of your ring opening pliers into the center of the hoop. Squeeze the handles gently to spread the gap just wide enough to clear the diameter of the bead. Do not overstretch the ring.
- Thread the Hoop: Carefully guide one end of the expanded ring through the back of your piercing. Follow the natural curve of the fistula. If you meet resistance, stop immediately—your inner diameter may be too small, or the gauge may be incorrect.
- Position the Bead: Using the bead grabber, hold the ball between the two open ends of the ring. Align the dimples with the tips of the hoop.
- Release and Snap: Slowly release the pressure on the opening pliers. The ring will snap shut, seating the ends into the bead's dimples. You should feel a distinct physical 'click'.
- Test the Tension: Gently tug on the bead. If it spins freely but does not pull out, the tension is correct. If it falls out, use your ring closing pliers to slightly compress the ring, increasing the inward pressure.
Sizing Matrix: Matching Diameter to Your Piercing
One of the most common failure modes when wearing hoop and ball earrings is selecting the wrong Inner Diameter (ID). An ID that is too small will cause the hoop to press aggressively into the tissue, leading to pressure necrosis or 'cheese-cutter' migration. An ID that is too large will snag on hair and clothing.
| Piercing Placement | Standard Gauge | Ideal Inner Diameter (ID) | Recommended Bead Size |
|---|---|---|---|
| Standard Earlobe | 20G - 18G | 8mm - 12mm | 3mm - 5mm |
| Helix / Outer Cartilage | 16G - 14G | 8mm - 10mm | 4mm - 5mm |
| Tragus | 16G | 6mm - 8mm | 3mm - 4mm |
| Daith | 16G - 14G | 10mm - 12mm | 4mm - 6mm |
| Rook | 16G | 8mm - 10mm | 3mm - 4mm |
Pro Tip: Always measure the inner diameter, not the outer. The thickness of a 14-gauge wire (1.6mm) adds 3.2mm to the overall footprint of the jewelry. If your piercing sits very close to the edge of your ear, opt for a smaller ID to prevent the hoop from sticking out awkwardly.
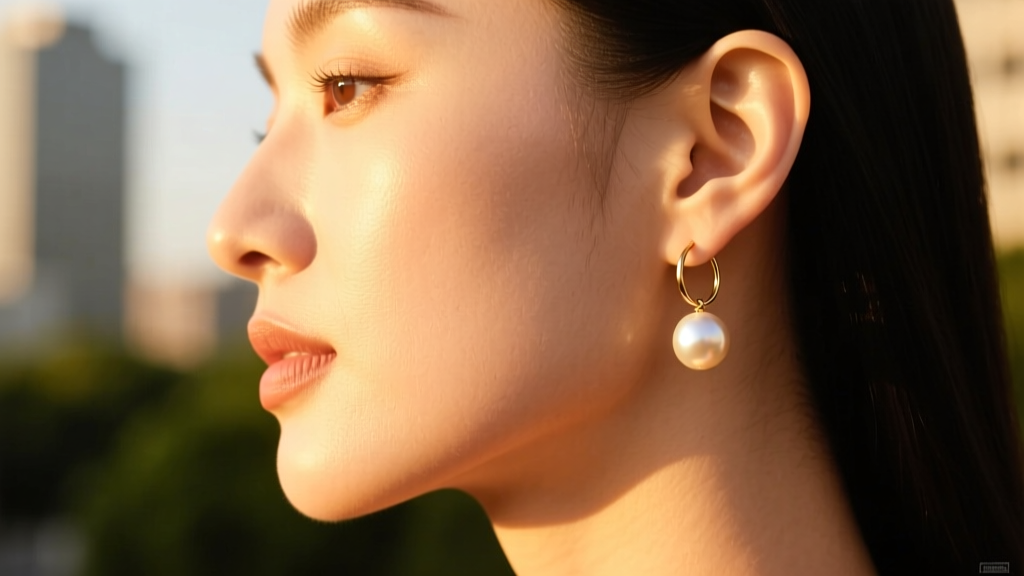
Styling Hoop and Ball Drops for Ear Lobes
Transitioning from functional body jewelry to high-end fashion, hoop and ball drop earrings offer incredible versatility for standard lobe piercings. In 2026, the prevailing trend leans toward asymmetrical curation and mixed-metal layering.
The Huggie and Pearl Combination
For a sophisticated daytime look, pair a thick, 14k yellow gold huggie hoop (featuring a secure hinged clasp) with an oversized, baroque pearl ball charm. The contrast between the rigid, polished metal and the organic, matte texture of the pearl creates a striking visual anchor. Wear this in your primary lobe piercing, and complement it with a simple, bezel-set diamond stud in your secondary upper-lobe piercing.
The Industrial Edge
For a more avant-garde aesthetic, utilize black niobium CBRs. Niobium is a highly reactive element that can be anodized to create a permanent, hypoallergenic black surface without the use of toxic dyes or plating. A stack of three 8mm black niobium hoops with matte black titanium beads running up the earlobe creates a cohesive, architectural look that pairs perfectly with minimalist streetwear.
Troubleshooting Common Hoop and Ball Failures
Even with perfect technique, mechanical issues can arise. Here is how to diagnose and resolve the most frequent problems associated with these earrings.
Problem: The Ball Keeps Falling Out
Diagnosis: This is almost always a result of metal fatigue or improper closing technique. If you have been opening and closing the ring by pulling the ends apart laterally with your fingers, you have stretched the metal beyond its elastic limit. It no longer possesses the 'memory' to snap back into a tight circle.
Solution: The ring is permanently compromised and must be replaced. To prevent this in the future, always use ring opening pliers that expand the ring from the inside out, and finish the job by gently squeezing the ring back into a perfect circle with closing pliers.
Problem: The Ring Won't Close Flush Against the Bead
Diagnosis: Debris (such as dead skin cells, soap residue, or makeup) is trapped inside the dimples of the bead or on the tips of the hoop.
Solution: Remove the jewelry. Soak the bead and the ring in a small cup of warm water with a drop of mild, fragrance-free soap for five minutes. Use a soft-bristled toothbrush to gently scrub the dimples and the ring ends. Rinse thoroughly, dry with a lint-free cloth, and reinsert.
Problem: Snagging on Hair and Clothing
Diagnosis: The bead size is too large for the gauge of the wire, creating a pronounced 'lip' or ledge where the metal meets the sphere. Hair easily catches on this ledge.
Solution: Downsize the bead. A 16-gauge wire (1.6mm thick) pairs best with a 4mm or 5mm bead. If you use an 8mm bead on a 16-gauge ring, the transition angle is too steep, creating a natural snag point.
Material Grades and Healing Considerations
If you are inserting hoop and ball earrings into a piercing that is not yet fully mature, material selection is not just a matter of aesthetics—it is a medical necessity. The Mayo Clinic's piercing aftercare guidelines emphasize that improper metals can trigger severe contact dermatitis and delay healing.
For fresh or irritated piercings, insist on ASTM F-136 implant-grade titanium. This specific alloy contains zero nickel, making it entirely biocompatible and immune to the corrosive effects of bodily fluids. Avoid surgical steel (which contains up to 10% nickel) and silver (which oxidizes and can cause argyria, a permanent grey staining of the tissue).
Furthermore, avoid inserting CBRs into fresh piercings altogether. The circular shape of the hoop allows for excessive movement, which introduces bacteria into the fistula and causes irritation bumps. Stick to flat-back labret studs until the piercing is 100% healed (typically 6 to 12 months for cartilage), and then transition to your favorite hoop and ball styles using the safe insertion techniques outlined above.


