How Do You Take an Earring Out? The Ultimate Safe Removal Guide
Learn how do you take an earring out safely without tearing the lobe. Expert tips for removing stuck studs, flat-backs, hoops, and cartilage jewelry.

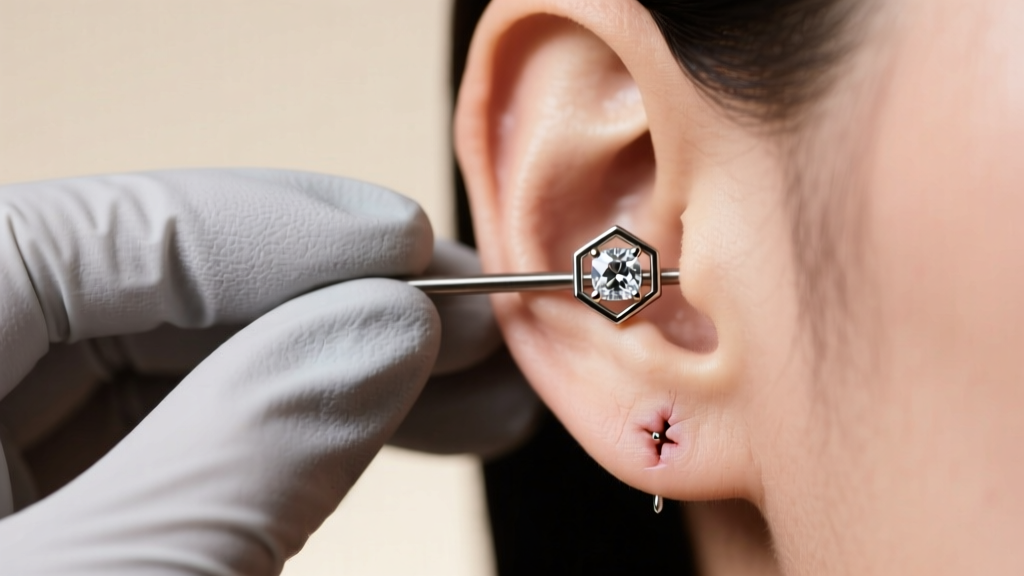
If you have ever stood in front of a mirror, twisting a stubborn piece of jewelry while your earlobe throbs, you are not alone. The question of how do you take an earring out safely is one of the most common queries in body modification and jewelry care. Whether you are dealing with a seized butterfly back on a standard 20-gauge lobe stud, a cross-threaded 16-gauge cartilage labret, or a seamless hoop that seems welded shut, brute force is never the answer. Forcing jewelry can lead to micro-tears, contact dermatitis, and severe tissue trauma.
In this comprehensive guide, we break down the biomechanics of earring removal, the impact of material grades on tissue adhesion, and step-by-step troubleshooting methods used by professional piercers to extract stuck jewelry without damaging the fistula (the healed piercing channel).
The Anatomy of a Stuck Earring: Why Jewelry Gets Trapped
Before attempting removal, it is crucial to understand why earrings get stuck in the first place. The fistula is a living tube of epithelial tissue. When jewelry is left untouched for months, or when improper materials are used, several biological and mechanical factors converge to trap the metal:
- Sebum and Keratin Buildup: The body naturally sheds dead skin cells (keratin) and produces sebum (oil) inside the piercing channel. Over time, this creates a hardened, cement-like barrier around the earring post, particularly common with friction-back studs.
- Tissue Adhesion and Swelling: If the jewelry is made of porous metals like low-grade surgical steel or silver, the body may react with mild, chronic inflammation. This causes the tissue to swell and grip the metal tightly.
- Mechanical Seizing: For threaded jewelry, microscopic debris can lodge in the threads. Additionally, external threading can act like a cheese grater inside the fistula, causing scar tissue to form over the grooves and lock the earring in place.
Material Grades and Tissue Adhesion
The ease of removing an earring is directly tied to its metallurgical composition. According to the Association of Professional Piercers (APP), the gold standard for initial and long-term wear is ASTM F136 Implant-Grade Titanium. Titanium is highly biocompatible and lacks the nickel content found in 316L surgical steel, which frequently triggers localized allergic contact dermatitis. When tissue becomes inflamed due to nickel exposure, it swells and essentially "swallows" the earring post, making removal incredibly painful.
Solid 14k or 18k gold (alloyed for biocompatibility, avoiding copper-heavy mixes) is also excellent for easy removal. Conversely, silver-plated or mystery-metal fashion jewelry oxidizes rapidly in the warm, moist environment of a piercing channel, leading to severe seizing that often requires professional intervention.
Step-by-Step: How Do You Take an Earring Out by Type?
Different earring mechanisms require vastly different removal techniques. Here is the professional framework for the most common styles.
1. Butterfly Push Backs and Friction Studs
Standard lobe earrings usually feature a 20-gauge or 18-gauge post with a friction clutch (butterfly back). To remove these safely:
- Soften the Debris: Soak a cotton pad in warm, sterile 0.9% saline solution and hold it against the back of the earlobe for 3 to 5 minutes. This softens hardened sebum.
- The Grip: Use your non-dominant hand to firmly pinch the front of the earring stud. Use your dominant thumb and index finger to grip the butterfly back.
- The Motion: Do not pull straight back. Instead, use a gentle "push and twist" motion. Twist the back slightly while applying steady, outward pressure. The twisting breaks the vacuum seal created by dried oils.
2. Threaded Flat-Back Labrets (Internal vs. External)
Flat-back labrets are the standard for cartilage piercings (helix, conch, tragus) and typically come in 16-gauge (1.2mm thread) or 14-gauge (1.6mm thread). High-end brands like Neometal or Maria Tash use internal threading, where the screw is on the front gem, and the post is smooth.
- Preparation: Wash your hands and put on a pair of clean nitrile gloves. The rubber grip is essential; bare fingers will slip on smooth titanium.
- Stabilize the Back: Reach behind your ear and hold the flat-back disc completely still. If you cannot reach, use a pair of sterilized rubber-tipped hemostats to clamp the flat back gently.
- Unscrew the Front: Grip the front gem and turn it counter-clockwise (lefty-loosey). If it resists, do not force it. Apply a drop of sterile saline to the front seam to dissolve crusties, wait two minutes, and try again.
3. Seamless Hoops and Clickers
Huggies and cartilage hoops often use a hidden hinge and clasp mechanism. To open a clicker, locate the microscopic seam opposite the hinge. Place your thumbnail on the seam and push upward while pulling the bottom of the hoop downward. If the clicker is stuck, wrap a piece of unflavored dental floss around the seam and pull the ends in opposite directions to pop the clasp open without scratching the metal.
Troubleshooting Stuck and Embedded Earrings
When standard techniques fail, you must diagnose the specific failure mode. Below is a clinical troubleshooting matrix used by body jewelry specialists.
| Problem | Underlying Cause | Professional Solution |
|---|---|---|
| Butterfly back is embedded in the lobe | Post is too short for swelling; tissue grew over the clutch. | Do not dig with needles. See a piercer to use a sterile taper to push the post forward, or a doctor for minor tissue excision. |
| Threaded gem will not unscrew (spins freely) | Thread is stripped or cross-threaded inside the post. | Use two pairs of hemostats: one to grip the post behind the ear, one to grip the gem. Apply opposing torque to snap the stripped thread safely. |
| Seamless hoop will not open | Calcium/sebum buildup in the hinge mechanism. | Submerge the entire ear/jewelry area in a warm saline bath for 10 minutes, then use rubber-gloved hands to twist the hoop laterally (not by pulling apart). |
Hygiene and Prep: The Crucial Pre-Removal Routine
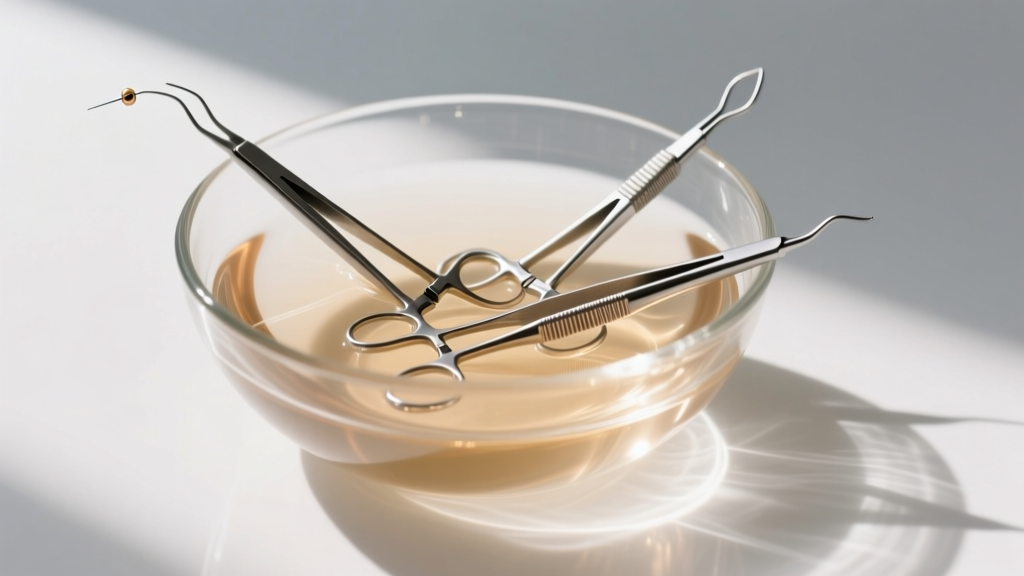
According to guidelines outlined by the Cleveland Clinic, manipulating a piercing channel introduces bacteria from the hands directly into the fistula. Before you attempt to figure out how do you take an earring out, you must prep the site.
Never use rubbing alcohol, hydrogen peroxide, or harsh soaps to loosen a stuck earring. These chemicals dry out the mucosal lining of the fistula, causing micro-fissures that invite Staphylococcus aureus infections. Instead, rely on warm sterile saline (0.9% sodium chloride without additives). The warmth increases local blood flow, reducing tissue stiffness, while the saltwater gently breaks down biological bonds between the skin and the metal.
Pro Tip: If you are removing a cartilage flat-back that has been in for over a year, always have a sterilized insertion taper and a new piece of jewelry ready. Cartilage fistulas can shrink or shift shape within minutes of the jewelry being removed, making reinsertion of the same piece difficult and traumatic to the tissue.
When to See a Professional Piercer
There is a distinct line between a stubborn earring and a medical emergency. If you experience throbbing pain, the earring post is no longer visible behind the earlobe (indicating embedding), or you notice yellow/green exudate (pus) and excessive heat radiating from the piercing site, stop all DIY removal attempts immediately.
Visit an APP-certified professional piercer or a dermatologist. Piercers possess specialized tools, such as sterile hemostats, insertion tapers, and jeweler's saws, allowing them to cut through a stubborn metal post in seconds without applying pressure to the inflamed tissue. Attempting to dig out an embedded earring with unsterilized tweezers or sewing needles at home is a primary cause of severe auricular perichondritis (cartilage infection), which can lead to permanent ear deformation.
Ultimately, knowing how do you take an earring out safely is about patience, proper lubrication, and understanding the mechanics of your specific jewelry. By upgrading to implant-grade titanium, maintaining a weekly saline cleaning routine, and using the correct grip techniques, you will ensure that your earring removal process is always smooth, painless, and safe for your tissue.


