How Soon Can You Change Earrings After Piercing: Expert Timeline
Discover exactly how soon you can change earrings after piercing. Our clinical guide covers fistula biology, lobe vs cartilage timelines, and safe metals.

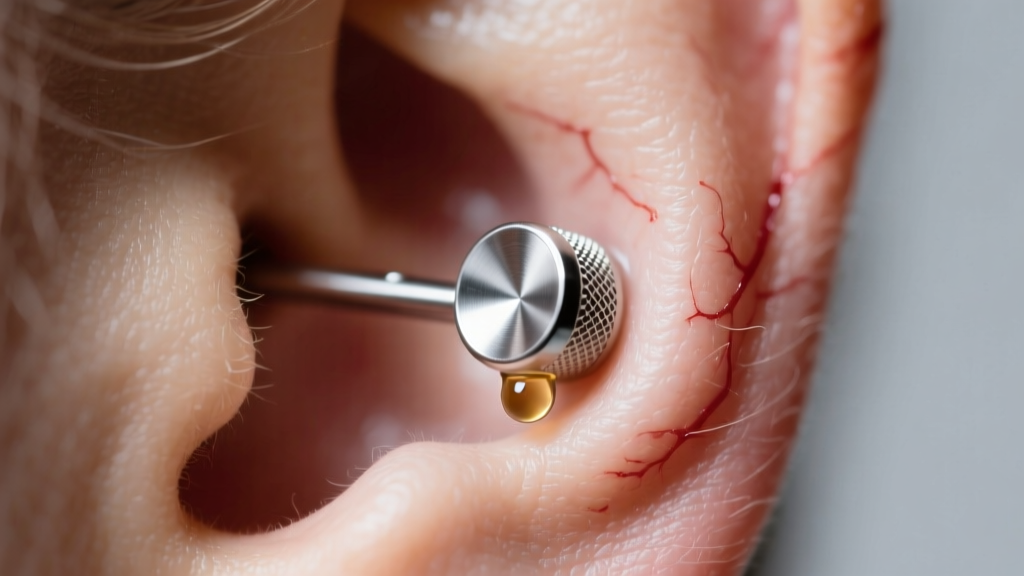
When patients and clients ask how soon can you change earrings after piercing, the answer is rarely a simple number of days. The timeline for swapping your initial jewelry for a new piece is dictated by human biology, specifically the rate of epithelialization and fistula maturation. Changing jewelry prematurely is the leading cause of contact dermatitis, hypertrophic scarring, and fistula tearing. As a technical deep dive into piercing aftercare, this guide breaks down the exact clinical timelines, material requirements, and mechanical protocols you must follow to ensure your piercing survives its first jewelry change.
The Biology of the Fistula: Why Timelines Matter
A piercing is not merely a hole; it is a controlled puncture wound that the body attempts to heal by creating a fistula—a tube of newly formed epithelial tissue. According to wound healing data published by the National Center for Biotechnology Information (NCBI), tissue regeneration occurs in overlapping phases: hemostasis, inflammation, proliferation, and maturation.
When you ask how soon can you change earrings after piercing, you are essentially asking when the proliferation phase has created a fistula robust enough to withstand the mechanical friction of a jewelry swap. In the early weeks, the fistula is incredibly fragile. Removing the initial post can cause the microscopic tissue bridge to collapse or tear, resetting the healing clock and introducing surface bacteria deep into the dermal layers.
Lobe vs. Cartilage: Exact Healing Timelines
Vascularization is the primary variable in healing speed. Earlobes are highly vascularized soft tissue, allowing for rapid nutrient delivery and waste removal. Cartilage, conversely, is avascular; it relies on the perichondrium (the connective tissue membrane covering it) for nutrients, resulting in a drastically slower healing process. The Association of Professional Piercers (APP) outlines strict minimum timelines before any jewelry should be manipulated.
| Piercing Type | Minimum Change Time | Full Fistula Maturation | Standard Initial Gauge |
|---|---|---|---|
| Standard Lobe | 6-8 Weeks | 3-6 Months | 18g - 20g (1.0 - 0.8mm) |
| Upper Lobe | 8-12 Weeks | 4-8 Months | 16g - 18g (1.2 - 1.0mm) |
| Helix / Cartilage | 6-9 Months | 12-24 Months | 16g (1.2mm) |
| Conch / Daith | 9-12 Months | 18-24+ Months | 16g - 14g (1.2 - 1.6mm) |
Phase 1: The Inflammatory Stage (Days 1-14)
During the first two weeks, the body is managing acute trauma. Swelling, erythema (redness), and lymphatic exudate (crusties) are normal. The fistula does not exist yet; the wound channel is held open entirely by the physical presence of the jewelry. Changing earrings during this phase will almost guarantee severe irritation and potential infection.
Phase 2: Proliferation and Fistula Formation (Weeks 2-12)
Epithelial cells begin to migrate along the jewelry shaft, forming the inner lining of the fistula. For standard lobes, this tube becomes self-supporting around the 6-to-8-week mark. For cartilage, this phase stretches into months. The tissue is present but lacks tensile strength, meaning it can easily micro-tear if forced.
Technical Specifications for First Jewelry
Knowing when to change your earrings is only half the battle; knowing what to change them into is equally critical. The first jewelry swap must meet strict metallurgical and mechanical standards to prevent rejection and allergic contact dermatitis.
- Material Grade: You must use Implant-Grade Titanium (ASTM F136) or Niobium. Avoid 'surgical steel' (ASTM F138) for fresh fistulas, as it contains up to 10% nickel, which can leach into the healing tissue and cause severe allergic reactions. Solid 14k or 18k nickel-free gold is also acceptable.
- Surface Finish: The jewelry must have a mirror polish. Microscopic scratches on cheap metals harbor bacteria and act like a cheese grater against the delicate new epithelial cells.
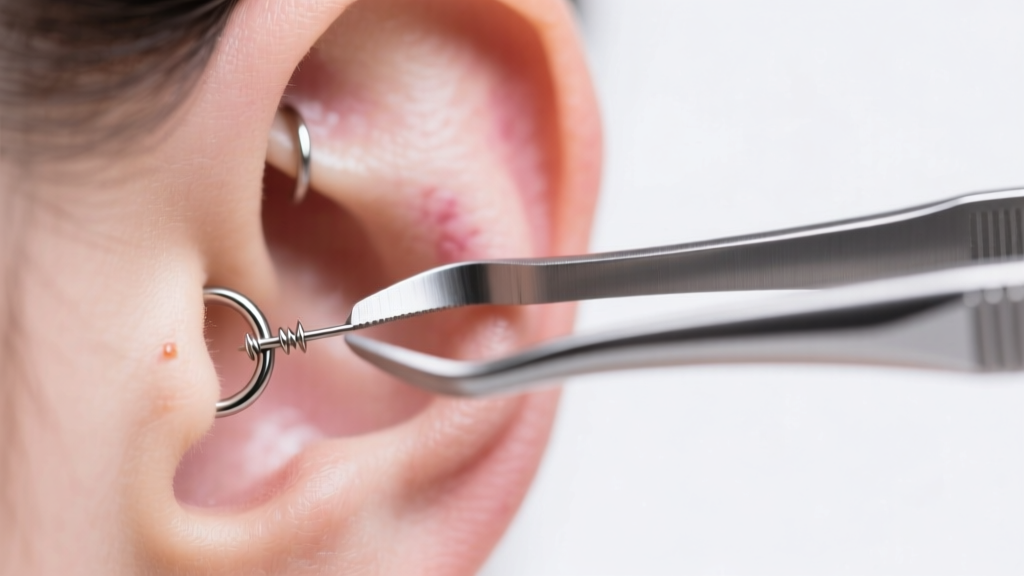
- Mechanical Threading: Never use externally threaded jewelry (where the screw is on the post). The threads will scrape and tear the fistula upon insertion. Only use internally threaded (the screw is on the decorative end) or threadless (push-pin) jewelry.
- Backing Style: For lobes and cartilage, flat-back labret studs are the gold standard. Butterfly backs trap moisture, dead skin cells, and bacteria, creating a breeding ground for localized infections.
The Downsizing Protocol for Flat Backs
If you were pierced with a flat-back labret stud, your initial post was likely 8mm or 10mm in length to accommodate acute swelling. A critical, often overlooked step in the healing process is 'downsizing.' Once the initial swelling subsides (usually between weeks 2 and 4), the long post becomes a liability. It can snag on hair and clothing, causing repetitive trauma that leads to migration or hypertrophic scarring (irritation bumps).
Therefore, your first jewelry change should technically be a 'downsize' to a 5mm or 6mm post, performed by a professional piercer, long before you are cleared to swap the decorative end yourself. This ensures the fistula heals straight and tight against the tissue.
Troubleshooting: What Happens If You Change Too Early?
If you ignore the biological timelines and force a jewelry change prematurely, you risk several specific clinical failures:
Expert Warning: 'A cartilage piercing that appears healed on the outside at three months is still an open wound on the inside. The avascular nature of the auricular cartilage means that introducing bacteria via a premature jewelry change can lead to perichondritis, a severe infection that can permanently deform the ear structure.' — Clinical Piercing Standards, 2025.
- Fistula Collapse: The hole shrinks immediately upon removal of the jewelry, making reinsertion impossible without a taper and causing blunt force trauma to the tissue.
- Granuloma Formation: Micro-tears in the unhealed fistula cause the body to overproduce granulation tissue, resulting in red, bleeding 'bumps' at the exit hole.
- Embedding: If the new jewelry is too tight or the tissue swells in reaction to the trauma, the skin can heal entirely over the jewelry, requiring surgical removal.
Step-by-Step Clinical Guide to the First Change
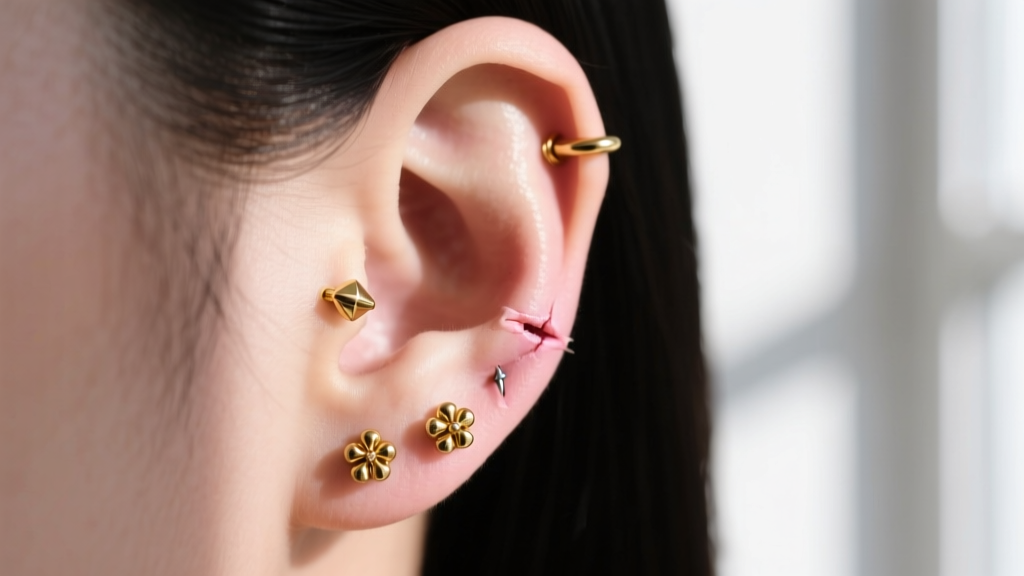
Once you have reached the minimum timeline (e.g., 8 weeks for lobes, 9 months for helix), follow this protocol to execute your first jewelry swap safely:
- Preparation: Wash your hands with antimicrobial soap. Prepare a sterile saline solution (0.9% sodium chloride) and sterile, non-woven gauze. Do not use cotton swabs, as the fibers can wrap around the jewelry and irritate the fistula.
- Softening: Soak a gauze pad in warm sterile saline and hold it against the piercing for 3 minutes. This softens any lymphatic crust and relaxes the tissue.
- Removal: Grip the flat back securely with one hand (or use hemostats if you are trained) while unscrewing or pulling the decorative end with the other. Pull the post out smoothly, following the exact angle of the piercing channel.
- Inspection: Check the inside of the fistula with a mirror. If you see raw, red, or weeping tissue inside the channel, the piercing is not ready. Reinsert the original titanium post immediately.
- Insertion: If the tissue looks pale and mature, gently guide the new, sterilized internally-threaded or threadless jewelry into the channel. Do not force it. If you meet resistance, stop and visit a professional piercer who can use an insertion taper to guide the jewelry safely.
- Aftercare: Spray the area once with sterile saline to flush out any introduced debris and pat dry with a clean paper product.
Ultimately, understanding how soon can you change earrings after piercing requires patience and a respect for cellular biology. By adhering to strict timelines, utilizing implant-grade materials, and respecting the mechanical fragility of the developing fistula, you ensure your piercing remains a permanent, healthy fixture.


