How to Choose Safe Softball Earrings for League Compliance
Learn how to choose safe, league-compliant softball earrings. Step-by-step guide on materials, taping methods, and helmet-safe profiles for athletes.
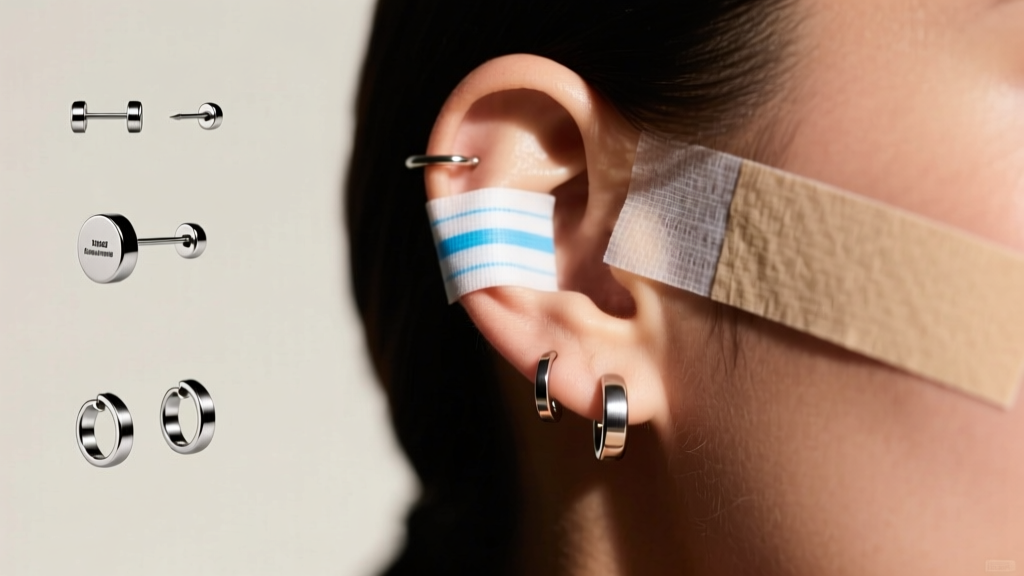

Navigating the Clash Between Style and Safety on the Diamond
For competitive softball players, personal expression often collides with strict league safety regulations. Whether you are playing in a youth travel tournament, high school varsity, or an adult recreational league, the rules regarding jewelry are uncompromising. The primary concern is that a standard earring can snag on a batting helmet, catch a stray pitch, or tear the earlobe during a slide. However, with the right knowledge, you can maintain your piercings without facing umpire ejections. This step-by-step guide breaks down exactly how to select, size, and manage compliant softball earrings for game day.
Step 1: Decoding NFHS and USA Softball Jewelry Rules
Before purchasing any jewelry, you must understand the governing body's rulebook. According to the National Federation of State High School Associations (NFHS) Rule 3-2-11, jewelry is strictly prohibited during competition. However, many state associations have adopted modifications allowing small, taped stud earrings. Similarly, USA Softball (formerly ASA) permits exposed jewelry to be taped securely to the body. The critical takeaway is that dangling, hooped, or protruding earrings are universally banned. Only low-profile studs that sit flush against the skin can be considered for taping or exemption, and even then, the final decision always rests with the head umpire.
Step 2: Selecting the Right Material for Active Athletes
The environment of a softball game is highly corrosive to cheap metals. Between intense UV exposure, dirt, and highly acidic sweat, the wrong material will rapidly degrade, leading to contact dermatitis or localized infections. When shopping for softball earrings, ignore marketing terms like "hypoallergenic" and look for specific metallurgical grades.
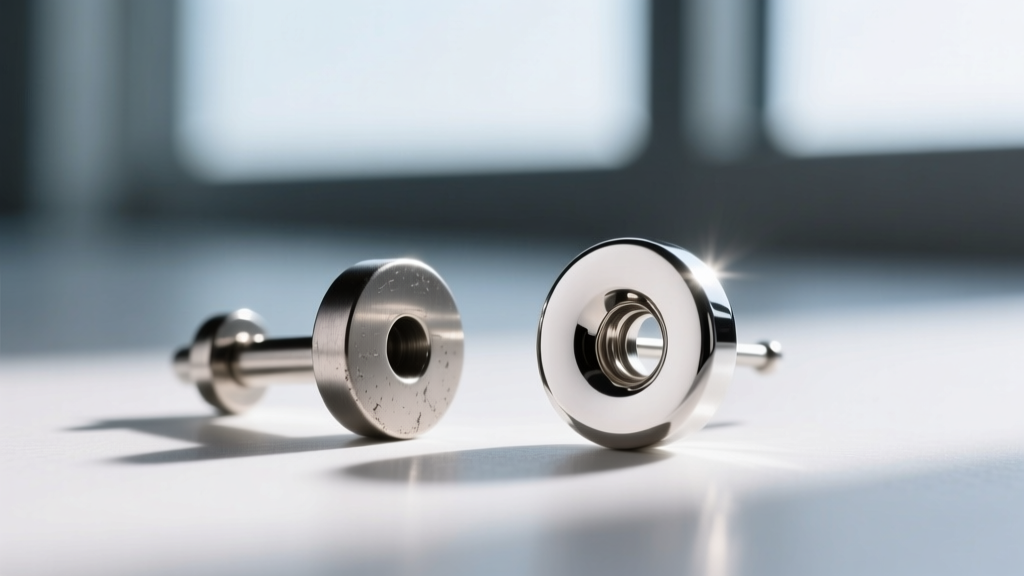
The Material Hierarchy for Sports Jewelry
- Implant-Grade Titanium (ASTM F136): The absolute gold standard. It contains zero nickel, is lightweight, and will not react with sweat. Expect to pay $35-$60 per piece from reputable brands like Neometal or Anatometal.
- Solid 14k or 18k Gold: Excellent for healed piercings, provided it is nickel-free and alloyed for durability. Avoid gold-plated or gold-filled jewelry, as the friction from helmets will strip the plating within a single season.
- Surgical Steel (316L): Generally discouraged for athletes. Despite the name, 316L steel contains 8-10% nickel. When combined with the saline environment of sweat, it triggers galvanic corrosion, leading to green skin and irritation bumps.
Step 3: Choosing the Correct Gauge and Helmet-Safe Profile
The physical profile of the earring is just as important as the material. Standard butterfly-back earrings are a massive liability on the softball field. The sharp metal posts protrude past the earlobe, and the butterfly backing creates a wide, jagged surface that easily snags on the foam padding of batting helmets or catcher's masks.
Earring Backing Types & Safety Ratings
| Backing Type | Profile Height | Snag Risk | Umpire Compliance |
|---|---|---|---|
| Standard Butterfly Post | High (Protruding) | Severe | Rejected |
| Screw-Back Flat Disc | Low (Flush) | Moderate | Accepted if Taped |
| Threadless Flat-Back | Ultra-Low (Flush) | Minimal | Highly Preferred |
| Huggie / Clicker Hoop | Medium (Wraps Lobe) | High | Universally Banned |
For optimal safety and compliance, transition your lobes to 16-gauge or 18-gauge threadless flat-back labrets. Threadless jewelry uses tension to stay together—a slightly bent pin fits snugly into a hollow post, eliminating the sharp, protruding ends of traditional posts. The flat disc sits completely flush against the back of the earlobe, making it virtually undetectable under a helmet.
Step 4: How to Properly Tape Softball Earrings for Tournaments
If your league requires flat studs to be taped, using standard athletic tape or Band-Aids is a rookie mistake. Athletic tape leaves a sticky, unhygienic residue that harbors bacteria, and standard bandages easily peel off in the heat. According to the Association of Professional Piercers (APP), maintaining a clean environment over a covered piercing is vital to prevent folliculitis.
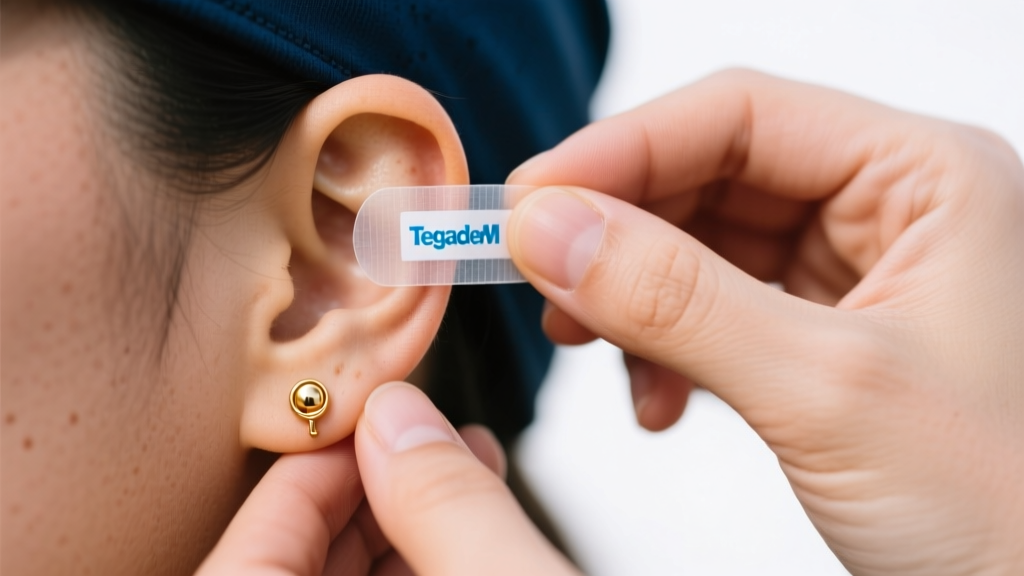
The Step-by-Step Taping Protocol
- Cleanse: Wipe the front and back of the earring and the surrounding skin with a sterile saline wound wash. Dry completely with a non-woven gauze pad.
- Prep the Tape: Use a sterile, breathable, transparent medical dressing like 3M Tegaderm. Cut a small circle (about 1/2 inch in diameter) using clean grooming scissors.
- Apply: Center the Tegaderm circle directly over the front gemstone of the earring. Press down firmly, smoothing out any air bubbles to ensure a watertight seal against the skin.
- Verify: Run your finger over the tape. It should feel completely smooth. If the edges catch on your skin, trim them further.
Pro Tip: Pre-cut your Tegaderm circles and store them in a clean pill organizer in your gear bag. This saves crucial time between double-header games when you need to re-tape quickly.
Step 5: Managing Fresh Piercings During Tournament Season
The most common dilemma for softball players is managing a fresh piercing when tournament season begins. A standard lobe piercing takes 6 to 8 weeks to heal enough for a jewelry change, while cartilage piercings (like the helix) require 6 to 12 months. Removing a fresh piercing for a weekend tournament guarantees the hole will shrink or close entirely, and re-inserting jewelry will cause micro-tears and severe swelling.
The Downsizing Strategy
If you get pierced during the off-season, visit a professional piercer two weeks before your first tournament. Have them "downsize" the post. Initial jewelry features long posts to accommodate swelling; downsizing swaps it for a short, flush-fitting flat-back. This minimizes the profile, reduces the risk of helmet snagging, and allows you to safely tape the jewelry without the post poking through the adhesive.
Troubleshooting Common Field Issues
- Tape Peeling in Sweat: If Tegaderm fails in extreme humidity, switch to a liquid medical adhesive barrier (like Skin-Prep) applied to the skin before taping. This creates a tacky surface that resists moisture.
- Irritation Bumps Under Tape: Prolonged taping traps moisture and dead skin cells. After the final game of the day, remove the tape immediately, cleanse with sterile saline, and allow the ear to breathe overnight.
- Lost Threadless Tops: Always carry a backup set of threadless ends and a pair of clean jewelry pliers in your dugout kit. To tighten a loose threadless pin, gently bend the pin slightly more with the pliers before reinserting it into the post.
By prioritizing implant-grade materials, switching to flush flat-back profiles, and mastering proper medical taping techniques, you can keep your piercings healthy, intact, and fully compliant with the strictest umpires in the league.


