How to Clean Earring Backs: A Step-by-Step Guide for All Metals
Learn how to clean earring backs safely with our step-by-step guide. Remove buildup from friction, screw, and latch backs without damaging metals.

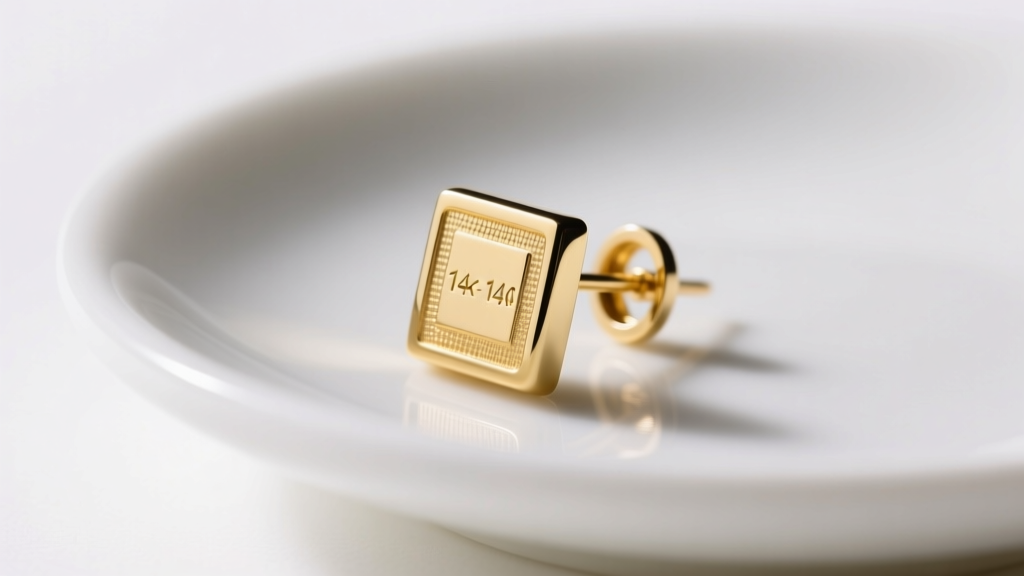
The Hidden Hygiene Hazard: Why Earring Backs Accumulate Buildup
When we think about jewelry maintenance, our focus naturally gravitates toward the dazzling front of the piece. However, the earring back is the true workhorse of your jewelry. Whether you are wearing standard 20-gauge (0.81mm) friction posts or heavy 14-gauge (1.6mm) threaded barbells, the backing mechanism is in constant, direct contact with your skin. This creates a micro-environment perfectly suited for the accumulation of sebum, dead epidermal cells, environmental dust, and residual soap.
This combination forms a biofilm that dermatologists and jewelers often refer to colloquially as "ear cheese." Beyond the unpleasant, sulfur-like odor caused by bacterial breakdown (specifically from Staphylococcus hominis and Corynebacterium strains), this buildup poses real risks. It can cause contact dermatitis, harbor staph infections in fresh piercings, and physically degrade the mechanical components of your jewelry. Understanding how to clean earring backs properly is not just about aesthetics; it is a critical component of ear health and jewelry longevity.
Essential Tools and Solutions by Metal Type
Before you begin the cleaning process, you must match your cleaning agent to the specific metallurgy of your earring backs. Using the wrong chemical can lead to galvanic corrosion, stripped finishes, or irreversible tarnishing. Below is a decision matrix for the most common fine jewelry metals used in earring findings.
| Metal Grade | Recommended Cleaning Solution | Chemicals to Strictly Avoid |
|---|---|---|
| 14k / 18k Yellow & White Gold | Mild dish soap (e.g., Dawn) & warm distilled water | Chlorine bleach, toothpaste, abrasive polishing cloths |
| Platinum (950/900) | Diluted ammonia-based window cleaner or mild soap | Harsh acids, ultrasonic cleaners with loose stones |
| ASTM F136 Titanium / 316L Steel | 70% Isopropyl alcohol or sterile saline solution | Iodine, hydrogen peroxide (can pit lower-grade steel) |
| Sterling Silver (925) | Dedicated silver polish or baking soda/water paste | Bleach (causes instant, severe black sulfide tarnish) |
Pro-Tip: Always use a soft-bristled baby toothbrush or a specialized 0.3mm beading brush. Standard adult toothbrush bristles are often too stiff and can micro-scratch high-polish gold and platinum finishes over time.
Step-by-Step: How to Clean Earring Backs (Friction and Push Backs)
Friction backs, also known as butterfly clutches or push backs, are the most common earring findings. They rely on two small metal loops that grip the groove (or "dimple") on the earring post. This gripping mechanism creates a tiny crevice where debris becomes tightly compacted.
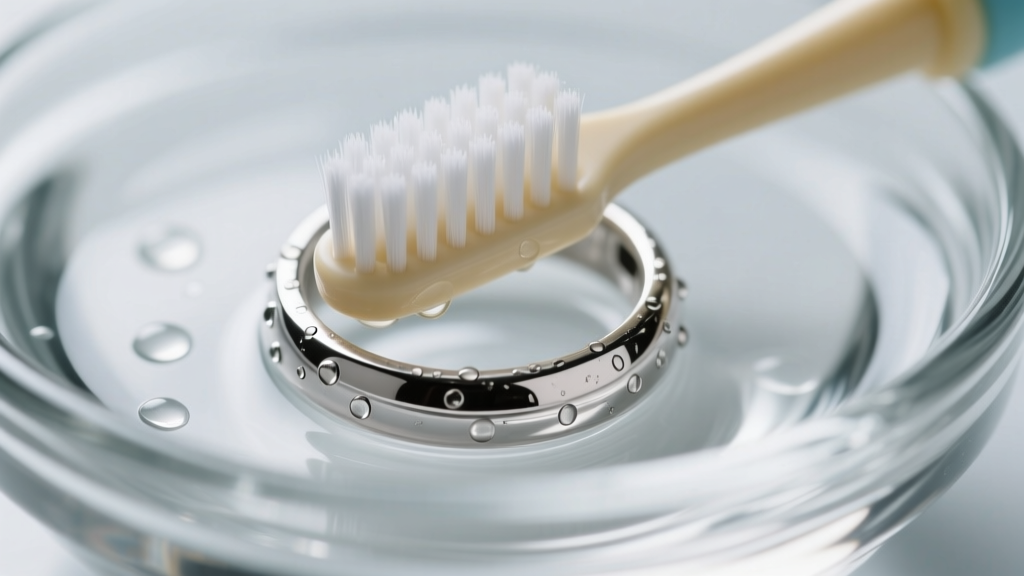
- The Initial Soak: Fill a small glass bowl with warm (not boiling) water and three drops of mild, phosphate-free dish soap. Submerge the earring backs and let them soak for 10 to 15 minutes. This softens the hardened sebum and cosmetic residue.
- Mechanical Agitation: Remove the backs from the soapy water. Using a soft-bristled baby toothbrush, gently scrub the exterior. Pay special attention to the inner loops where the post sits. If the buildup is stubborn, use a wooden toothpick to gently dislodge the compacted debris from the crevices without scratching the metal.
- The Ultrasonic Option: For heavily soiled solid gold or platinum backs, a 40kHz ultrasonic jewelry cleaner is highly effective. Run a 3-minute cycle. Warning: Do not use ultrasonic cleaners on earring backs featuring glued-in pearls, opals, or porous gemstones, as the high-frequency vibrations will shatter the adhesive bond.
- Rinsing and Drying: Rinse thoroughly under warm running water to remove all soap suds. Pat dry with a lint-free microfiber cloth. To ensure the tiny spring mechanisms inside butterfly clutches are completely dry (preventing rust), use a can of compressed air or a hairdryer on the "cool" setting.
Special Protocol for Screw Backs and Threaded Components
Screw backs are the gold standard for security, particularly for diamond stud earrings and high-end cartilage jewelry. However, their precision-machined threads (typically 0.8mm or 1.0mm pitch) are highly vulnerable to cross-threading if debris is left inside the female component.
According to the Gemological Institute of America (GIA), maintaining the integrity of threaded jewelry requires meticulous care. To clean threaded earring backs, dip a cotton swab in 70% isopropyl alcohol and swab the internal threads. Never use thick pastes or polishing compounds on screw backs; if these substances dry inside the threading, they will act like cement, permanently seizing the earring post and backing together. Always ensure the threads are 100% dry and free of lint before reattaching the backing.
Deep Cleaning Latch Backs and Hinged Hoops
Latch backs and clicker closures (commonly found on hoop earrings and huggies) present a unique mechanical challenge. The hinge pin, often made of a high-tension steel alloy, is a critical failure point. If moisture and soap scum infiltrate the hinge barrel, the pin can corrode, leading to a loss of tension and a loose, insecure click.
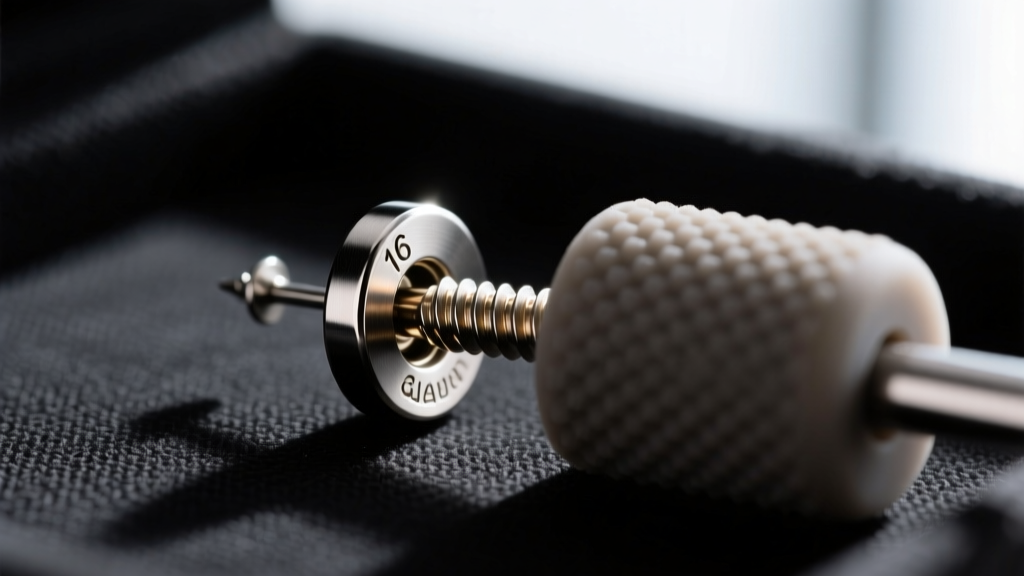
- Targeted Flushing: Instead of prolonged soaking, use a syringe filled with warm soapy water to forcefully flush out the hinge barrel and the latch catch. This hydrostatic pressure dislodges trapped skin cells that a brush cannot reach.
- Lubrication (If Necessary): If the hinge feels stiff after cleaning and drying, apply a microscopic drop of synthetic watch oil (like Moebius 9010) to the hinge pin using a fine oiler. Avoid standard household oils (like WD-40), which leave a gummy residue that attracts more dirt.
- The Snap Test: After cleaning and drying, test the latch. It should close with a crisp, audible "click" and require deliberate, firm pressure to open. If the latch feels mushy, the tension wire may need professional adjustment by a bench jeweler.
Troubleshooting: Stuck Backs and Stripped Threads
Even with regular maintenance, mechanical failures can occur. Here is how to handle the two most common earring back emergencies without causing further damage to your jewelry or your earlobes.
The "Stuck Friction Back" Dilemma
If a push back becomes seized onto the post due to accumulated grime or a bent internal loop, do not use pliers. Pliers will mar the precious metal and can easily snap a delicate 20G or 18G post. Instead, use the Blu-Tack Method. Take a small ball of adhesive putty (like Blu-Tack), press it firmly onto the back of the earring clutch, and pull straight outward. The adhesive grip provides immense leverage without applying crushing force to the metal. Alternatively, wearing a textured nitrile or rubber dishwashing glove will give your fingers the necessary friction to twist and pull the back off safely.
Clearing Stripped or Seized Screw Threads
If your screw back will not thread onto the post, stop immediately. Forcing it will strip the threads, rendering the earring unwearable. Inspect the male threads on the post under a 10x jeweler's loupe. Often, a single grain of sand or a hardened piece of sebum is lodged in the thread groove, acting as a physical block. Use a 0.3mm beading needle or a fine sewing pin to carefully "pick" the debris out of the spiral groove. Once clear, wipe with alcohol and try threading again. If the threads are visibly flattened or stripped, the piece must be sent back to the manufacturer or a bench jeweler for re-tapping.
Preventative Maintenance and Hygiene Routine
The American Academy of Dermatology (AAD) emphasizes that consistent hygiene is the best way to prevent localized ear infections and jewelry degradation. To minimize the need for deep cleaning, adopt the following preventative habits:
The Daily Wipe: Keep a pack of 70% isopropyl alcohol wipes on your vanity. Every time you remove your earrings for the night, quickly wipe down the post and the interior of the earring back before placing them in your jewelry box. This 5-second habit prevents sebum from hardening into stubborn biofilm.
Furthermore, always remove your earrings before swimming in chlorinated pools or entering hot tubs. Chlorine aggressively attacks the alloys in 14k and 18k gold (specifically the copper and zinc components), leading to structural weakening and stress corrosion cracking in the delicate springs of butterfly clutches. By treating your earring backs with the same level of care as the gemstones they secure, you ensure a lifetime of comfortable, hygienic, and secure wear.


