How to Clean and Maintain Metal Stud Earrings Safely
Learn how to safely clean, change, and maintain metal stud earrings. Discover expert tips on implant-grade titanium, gauge sizes, and sensitive ear care.

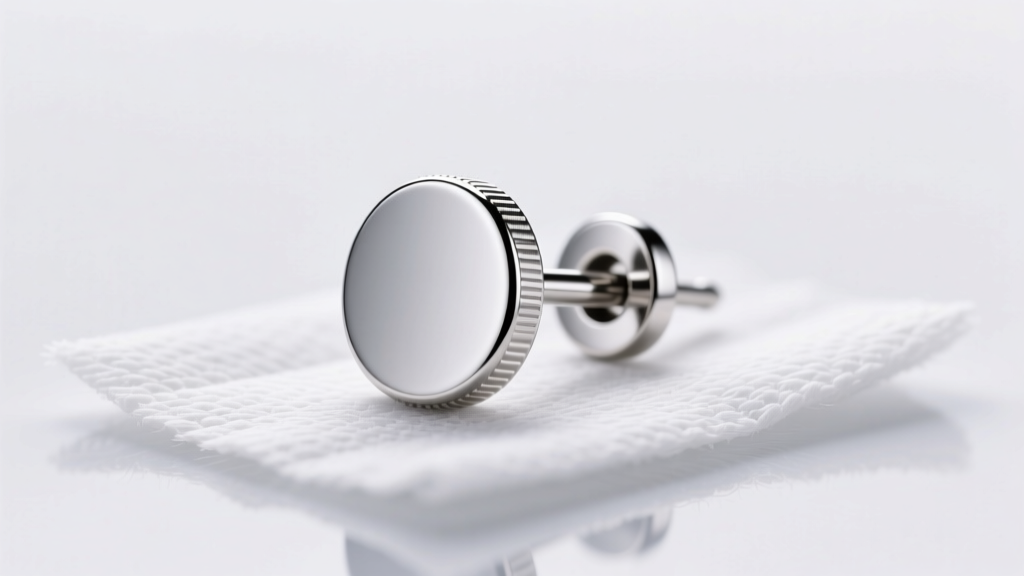
Metal stud earrings are the undisputed workhorses of any jewelry collection. Whether you are sporting a minimalist 14k gold sphere in your lobe or a sleek titanium labret in your helix, studs offer unmatched versatility. However, improper handling, subpar metal grades, and negligent cleaning routines can quickly turn a beloved accessory into a source of contact dermatitis, piercing blowouts, or stubborn infections. In this comprehensive guide, we break down the exact metallurgical standards you need to know, alongside a step-by-step protocol for changing and maintaining your metal stud earrings safely.
Decoding Metal Grades: What Actually Touches Your Skin
Not all metals are created equal. The term "surgical steel" is largely a marketing buzzword that lacks strict regulatory backing in the jewelry industry. If you have sensitive ears or a healing piercing, understanding exact material grades is non-negotiable. According to the Association of Professional Piercers (APP), only specific alloy compositions are safe for long-term internal wear.
- Implant-Grade Titanium (ASTM F136): The absolute gold standard. It is entirely nickel-free, lightweight, and highly biocompatible. If you are buying metal stud earrings for a fresh piercing or severe metal allergies, this is your only choice.
- Implant-Grade Steel (ASTM F138): High-quality surgical steel that contains trace amounts of nickel. While safe for most healed piercings, the American Academy of Dermatology warns that prolonged exposure can trigger allergic contact dermatitis in sensitized individuals.
- Solid 14k or 18k Gold: Must be nickel-free and alloyed for biocompatibility. Avoid gold-plated or gold-filled studs, as the thin outer layer will eventually wear away, exposing the reactive base metal beneath.
- Niobium: A highly reactive element that forms a protective oxide layer, making it exceptionally safe for sensitive skin, though slightly heavier than titanium.
A Warning on "Hypoallergenic" Labels: The term "hypoallergenic" is not regulated by the FDA or international jewelry boards. A piece labeled hypoallergenic can still contain up to 8% nickel. Always demand the specific ASTM alloy designation from your jeweler when purchasing metal stud earrings for sensitive ears.
The Gauge and Threading Matrix
Before you attempt to change your studs, you must verify the gauge (thickness) and threading type. Forcing the wrong size can cause micro-tears in the fistula (the piercing channel).
| Gauge Size | Millimeter (mm) | Common Placement |
|---|---|---|
| 20G | 0.81mm | Standard fashion lobe studs (often too thin for healing) |
| 18G | 1.02mm | Quality lobe piercings, nose studs |
| 16G | 1.29mm | Cartilage, helix, tragus, conch |
| 14G | 1.60mm | Industrial, some tragus and lobe piercings |
Pro Tip: Always opt for internally threaded or threadless (press-fit) metal stud earrings. Externally threaded jewelry has sharp ridges that scrape and damage the delicate tissue lining your piercing upon insertion.
Step-by-Step: How to Safely Change Metal Stud Earrings
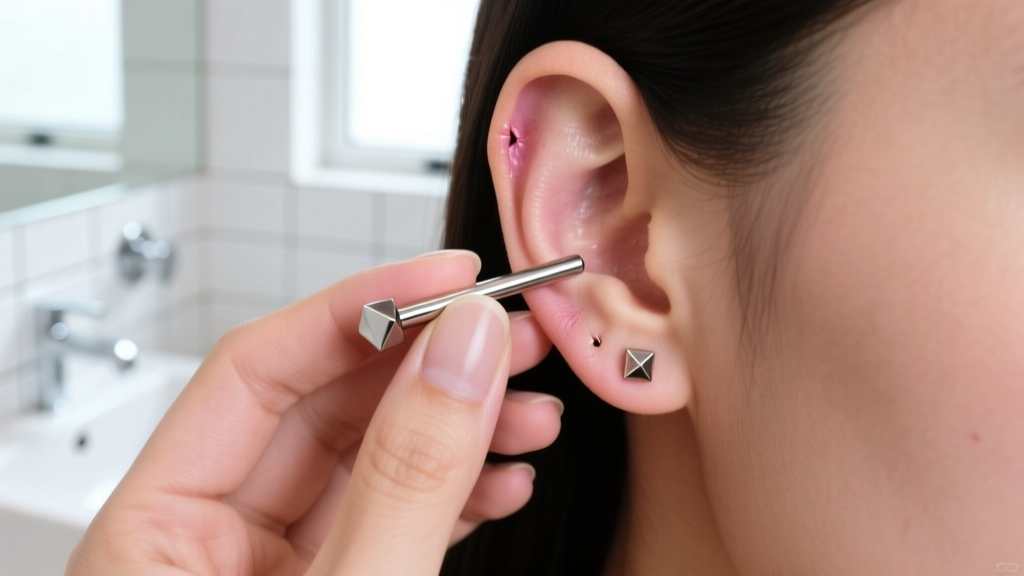
Changing your jewelry should be a deliberate, hygienic process. Never rush this step, especially if you are dealing with flat-back labret studs that require a bit of dexterity.
- Sanitize Your Workspace and Hands: Wash your hands with an antibacterial, fragrance-free soap for at least 20 seconds. Lay down a clean paper towel on your counter to prevent dropping the earring into the sink drain.
- Prep the Jewelry: If the new metal stud earrings are brand new, rinse them with sterile saline wound wash (0.9% sodium chloride) to remove any manufacturing dust or packaging residue.
- Remove the Old Stud: For butterfly backs, pinch the back and twist the front stud counter-clockwise. For threadless pins, pinch the front and back and pull them straight apart with a slight bending motion to release the tension.
- Insert the New Post: Hold the earlobe or cartilage gently between your thumb and index finger. Insert the post from the front (or back, for flat-back labrets) at the exact angle of the piercing channel. Never force it. If you meet resistance, stop and apply a drop of sterile saline to lubricate the post.
- Secure the Backing: Screw the backing on until it is snug, but do not overtighten. For flat-back earrings in cartilage, ensure the post length is flush with the skin to avoid "cheese-cutter" migration effects.
The Ultimate Cleaning Routine for Metal Studs
Even high-quality metals accumulate sebum, dead skin cells, and environmental pollutants. A proper cleaning routine preserves the polish of your metal stud earrings and prevents localized infections.
| Cleaning Agent | Effect on Metal | Verdict |
|---|---|---|
| Sterile Saline (0.9%) | Neutral, safe for all metals | Highly Recommended for daily wear |
| Mild Castile Soap | Removes oils safely | Great for weekly deep cleaning |
| Rubbing Alcohol | Can degrade certain gemstone settings and dry out skin | Use only on the metal post, avoid skin |
| Hydrogen Peroxide | Oxidizes and tarnishes silver and lower-grade steel | Avoid entirely |
Never use harsh chemical dips or ultrasonic cleaners on metal stud earrings featuring porous gemstones like opals, pearls, or turquoise, as the vibrations and chemicals will fracture the stones.
The Weekly Deep-Clean Protocol
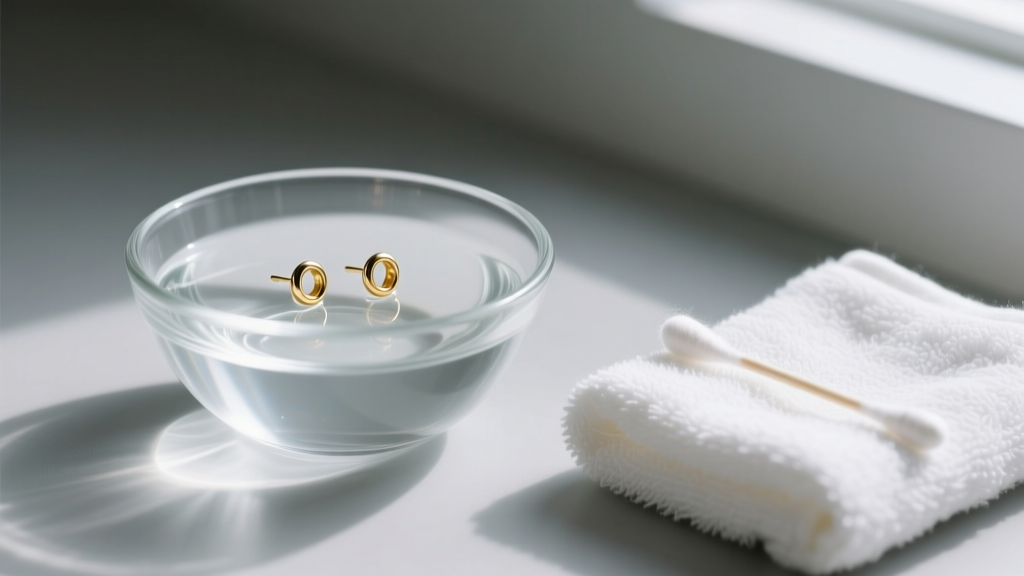
For a thorough weekly clean, remove your metal stud earrings and place them in a small glass bowl filled with warm water and a few drops of fragrance-free liquid castile soap. Let them soak for exactly five minutes. Use an extra-soft baby toothbrush to gently agitate the area where the post meets the setting, dislodging trapped sebum and dead skin. Rinse thoroughly under distilled water to prevent hard water spots, and dry completely with a lint-free microfiber cloth before reinsertion or storage.
Troubleshooting: Stuck Backs and Irritation Bumps
Despite your best efforts, mechanical issues and biological reactions can occur. Here is how to handle the most common problems associated with metal stud earrings.
Dealing with a Stuck Butterfly Back
If a push-back or butterfly clutch is stuck due to dried sebum or debris, do not use pliers, which will permanently bend the post. Instead, soak a cotton ball in warm water and hold it against the back of the earlobe for three minutes to soften the buildup. Grip the backing with a clean, textured silicone jar opener or a latex glove for extra traction, and gently twist while pulling away from the ear.
Addressing Irritation Bumps
If you develop a small, fleshy bump near the exit hole of your piercing, it is likely an irritation bump caused by excessive pressure, poor angles, or sleeping on the jewelry. If your metal stud earrings have a post that is too long, it can catch on hair and clothing, creating micro-trauma. Visit a piercer to downsize the post length so the backing sits flush against the skin without compressing the tissue.
Post Bending and Metal Fatigue
Thin 20G or 18G posts are highly susceptible to bending if you sleep on them or snag them on a towel. Repeatedly bending a metal stud earring back into shape causes metal fatigue, eventually leading to microscopic stress fractures where the post meets the decorative head. If your post is bent, it is time to retire the earring; a fractured post inside a piercing channel requires surgical intervention to remove.
When to Consult a Professional Piercer
While maintaining your metal stud earrings at home is straightforward, certain situations require professional intervention. If you experience persistent swelling, throbbing pain, or yellow-green discharge that does not subside after a warm saline compress, you may have a localized infection. Do not remove the jewelry, as the surface can heal over and trap the infection inside the tissue, forming an abscess. Seek guidance from an APP-certified piercer or a medical professional immediately to ensure the health and longevity of your piercing.


