How to Build a Premium Homemade Earring Holder for Heavy Dangles
Learn how to build a velvet-lined homemade earring holder. This step-by-step guide prevents tangling and tarnishing for heavy dangles and studs.

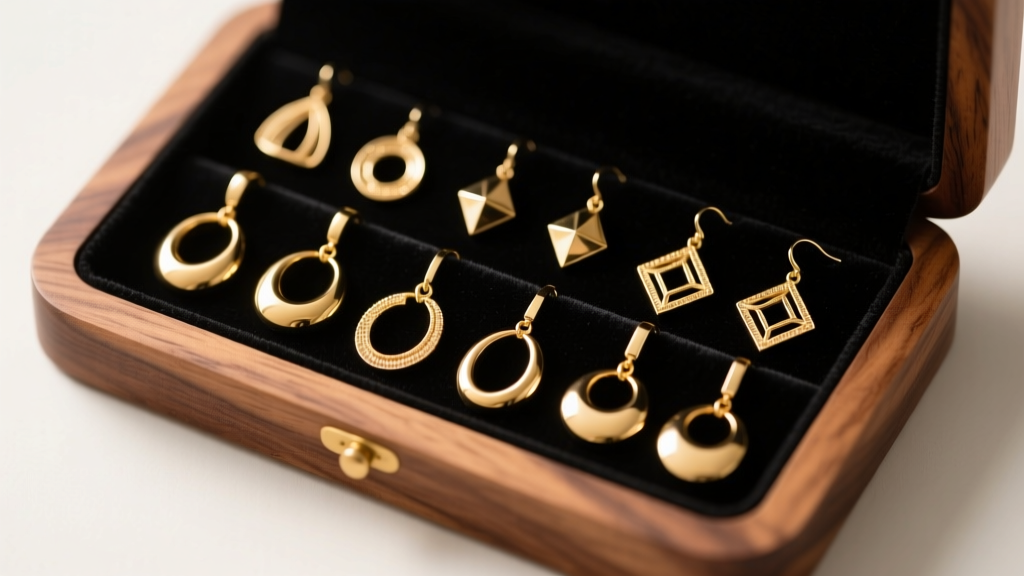
In 2026, the trend toward substantial, heavy-gauge jewelry—such as solid gold chandelier dangles, thick titanium cartilage clusters, and oversized brass hoops—has exposed a major flaw in commercial jewelry storage. Most mass-produced organizers are constructed from MDF (medium-density fiberboard) or high-tannin woods like oak, which off-gas acidic compounds that rapidly accelerate silver tarnish and degrade delicate gold plating. Furthermore, flimsy plastic tension rods routinely snap under the weight of heavy statement pieces.
Building a premium homemade earring holder is not just a weekend DIY project; it is an exercise in material science and spatial engineering. By selecting the correct hardwoods, utilizing acid-free linings, and calculating precise clearance depths for varying post lengths, you can create a bespoke storage solution that protects your investment. This comprehensive guide will walk you through constructing a velvet-lined, multi-tiered wooden earring organizer designed specifically for the modern, heavy jewelry collector.
The Science of Wood Acidity and Metal Tarnish
Before cutting any wood, it is crucial to understand the chemical interaction between timber and precious metals. According to the Gemological Institute of America (GIA), sterling silver tarnishes when exposed to sulfur compounds and acidic environments. Many popular woodworking materials, particularly Oak and Chestnut, contain high levels of tannic acid. When exposed to ambient humidity, these woods off-gas acidic vapors that will cause your silver studs and hoops to develop a black sulfide layer within weeks.
To prevent this, your homemade earring holder must be constructed from low-tannin, closed-grain hardwoods. American Black Walnut, Hard Maple, and Cherry are exceptional choices. They possess minimal acidity, offer superior structural density to support heavy dangles without warping, and provide a luxurious aesthetic when finished with natural oils. Additionally, you must avoid standard cyanoacrylate (super glue) or hot glue for attaching linings, as their off-gassing can harm porous gemstones like pearls or opals. Instead, opt for acid-free PVA wood glue or specialized jewelry felt adhesives.
Material Sourcing and Tool Requirements
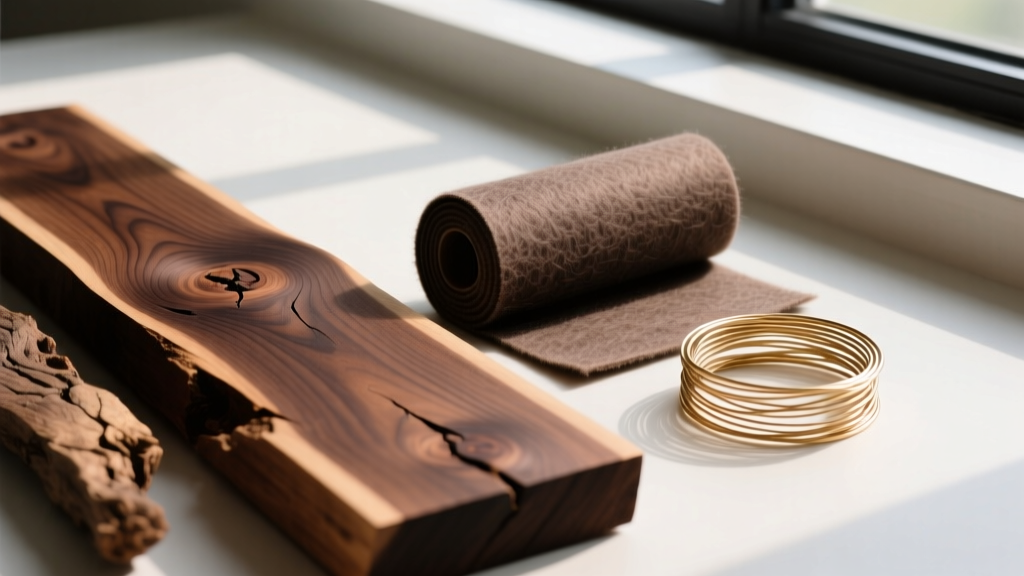
Sourcing the right materials is half the battle. Below is the precise bill of materials required to build a 12-inch by 8-inch multi-tiered holder capable of supporting up to 50 pairs of heavy earrings.
| Material | Specification | Purpose | Est. Cost |
|---|---|---|---|
| Hardwood Base | 12x8x1 inch Black Walnut | Weighted foundation to prevent tipping | $25.00 |
| Upright Panels | 10x3x0.5 inch Hard Maple | Vertical supports for hanging tiers | $15.00 |
| Lining Material | Acid-Free Charcoal Poly-Suede | Tarnish prevention and scratch protection | $12.00 |
| Hanging Rods | 18-Gauge Stainless Steel Wire | Supports heavy hoops without bending | $8.00 |
| Adhesive | 3M Super 77 Multipurpose Spray | Secures lining without acidic off-gassing | $10.00 |
| Finish | Dewaxed Shellac (Zinsser Bulls Eye) | Seals wood pores to lock in residual tannins | $12.00 |
Tools required: Table saw or miter saw, random orbital sander, 120/220/400-grit sandpaper, 1/8-inch drill bit, brad nailer, and a carpenter's square.
Step-by-Step Assembly Guide
Step 1: Milling and Sanding the Base
Cut your walnut base to exactly 12x8 inches. The 1-inch thickness is non-negotiable; it provides the necessary center of gravity to prevent the holder from toppling when loaded with heavy brass or steel dangles. Sand the wood through a strict progression: start at 120-grit to remove mill marks, move to 220-grit to smooth the surface, and finish at 400-grit for a glass-like feel. Wipe away all dust with a tack cloth.
Step 2: Sealing the Wood
Apply two coats of dewaxed shellac. Shellac is a natural resin that effectively seals the wood pores, trapping any microscopic tannins inside the timber and preventing them from interacting with your jewelry. Allow 45 minutes of drying time between coats.
Step 3: Applying the Anti-Tarnish Lining
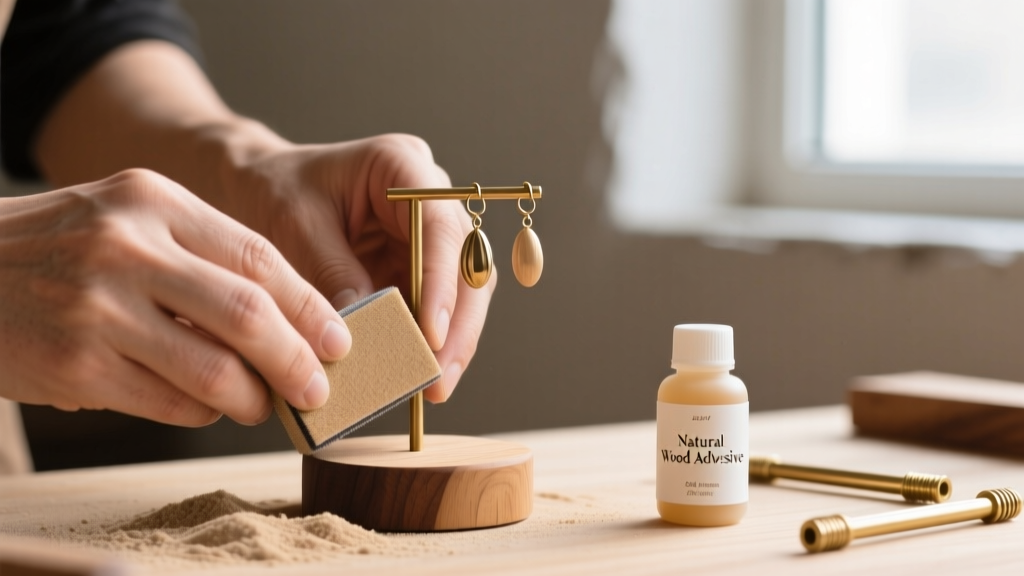
Cut the acid-free charcoal poly-suede to 11.5x7.5 inches, leaving a 1/4-inch margin from the edges of the walnut base. In a well-ventilated area, apply a light, even coat of 3M Super 77 adhesive to the wood. Wait 60 seconds for the adhesive to become tacky, then carefully lay the poly-suede, smoothing it from the center outward to eliminate air bubbles. The charcoal color not only looks premium but also makes it easy to spot dropped earring backs.
Step 4: Constructing the Uprights and Tiers
Attach the two 10-inch Hard Maple uprights to the base using 1.5-inch brad nails and a dab of PVA wood glue, ensuring they are perfectly plumb with a carpenter's square. Drill 1/8-inch holes through the uprights at 3-inch, 6-inch, and 9-inch heights. Thread your 18-gauge stainless steel wire through these holes, pulling it taut and securing it on the outside with small wire crimps. Stainless steel is mandatory here; brass or copper rods will eventually sag under the weight of heavy hoop collections.
Engineering for Specific Earring Types
A truly functional homemade earring holder must account for the diverse anatomy of modern piercings. Here is how to customize your tiers for specific styles:
- Heavy Dangles and Chandeliers: Reserve the top tier (9-inch height) for these pieces. The 9-inch clearance ensures that even 4-inch drop earrings will not drag against the velvet base, which can bend delicate French wire hooks.
- Cartilage Studs and Flat-Back Labrets: Flat-back titanium labrets (commonly used in helix and tragus piercings) typically feature post lengths between 6mm and 8mm. To store them upright without bending the posts, drill shallow 1/4-inch deep holes into the maple uprights using a 1/16-inch drill bit. This allows the post to rest securely while the decorative gem faces outward.
- Huggies and Clickers: The middle tier (6-inch height) is ideal for huggies. Wrap the stainless steel wire in this section with a thin layer of PTFE (Teflon) tape. This prevents the metal-on-metal scratching that occurs when sliding tight-hinged clickers on and off a bare steel rod.
Long-Term Maintenance and Care
Even the best-sealed wood requires occasional maintenance. Every six months, gently vacuum the poly-suede lining using a brush attachment to remove skin oils and dust that accumulate from handling your jewelry. Furthermore, tuck a 3M anti-tarnish strip underneath the bottom edge of the felt lining. As recommended by Rio Grande jewelry supply, these strips absorb airborne sulfides and need to be replaced annually to maintain a pristine, tarnish-free environment for your silver and copper pieces.
By investing the time to build this specialized homemade earring holder, you are not just organizing your collection; you are actively preserving the metallurgical integrity of your jewelry. The combination of low-acid walnut, sealed shellac, and structural steel wire guarantees that your heavy dangles and cartilage clusters will remain as flawless as the day you bought them.


