How to Clean and Inspect Multi Stone Earrings Safely
Learn how to safely clean, inspect, and maintain multi stone earrings with our step-by-step guide. Protect your gems and prongs from damage.

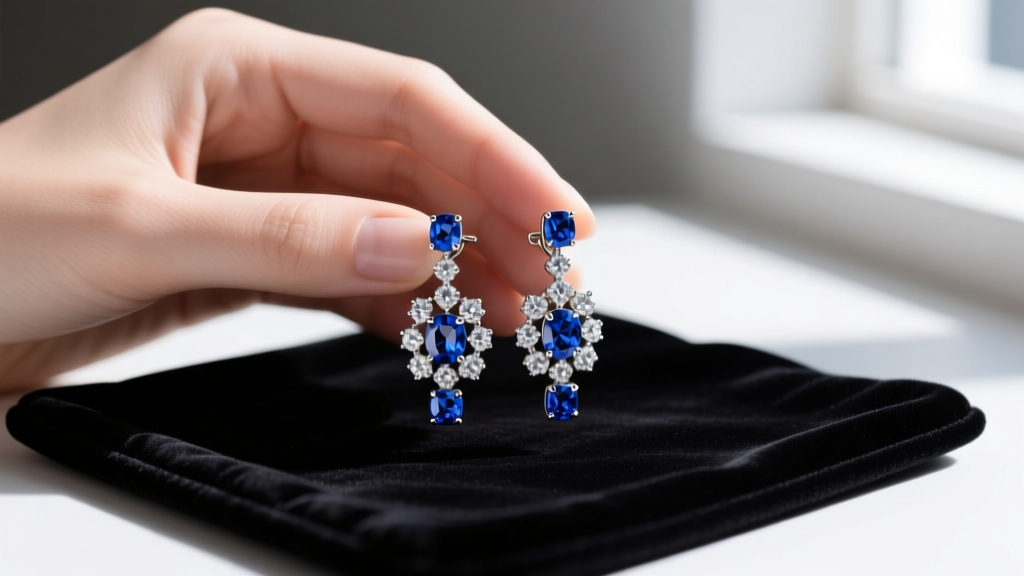
The Unique Challenge of Multi Stone Earrings
Multi stone earrings are a masterclass in jewelry design, offering a brilliant array of color, texture, and light. However, from a maintenance perspective, they present a unique set of challenges. Unlike a simple solitaire stud, a multi stone earring features a complex matrix of prongs, bezels, and hidden galleries. Dirt, sebum, and cosmetic residue easily become trapped beneath the pavé settings and along the intricate metalwork. Furthermore, as of 2026, the rising popularity of mixing lab-grown diamonds with delicate natural gemstones in single pieces means you are often dealing with varying levels of hardness and chemical sensitivity within the exact same earring.
Cleaning these pieces requires more than just a quick wipe with a cloth. Improper techniques can loosen micro-prongs, scratch softer gems, or strip the fracture-filling oils from delicate stones. This step-by-step guide will teach you how to safely clean, inspect, and maintain your multi stone earrings, ensuring they remain secure and brilliant for decades.
Step 1: Identify Your Gemstone and Metal Matrix
Before applying any liquid or brush to your earrings, you must identify the gemstones involved. The Gemological Institute of America (GIA) categorizes gemstone durability based on the Mohs scale of hardness, but hardness (resistance to scratching) is only one factor. Toughness (resistance to breaking) and stability (resistance to heat and chemicals) are equally critical when cleaning multi stone earrings that combine different species.
Below is a quick-reference matrix to help you determine the safest cleaning protocol based on the primary stones in your earrings:
| Gemstone | Mohs Hardness | Ultrasonic Safe? | Steam Safe? | Primary Risk Factor |
|---|---|---|---|---|
| Diamond | 10 | Yes (usually) | Yes | Chipping at the girdle; knocking loose adjacent softer stones. |
| Sapphire / Ruby | 9 | Yes (if no fractures) | Yes | Heat-treated stones with fracture fillings can cloud or melt. |
| Emerald | 7.5 - 8 | NO | NO | Highly brittle; almost always oil-treated. Heat and vibrations cause catastrophic failure. |
| Opal | 5.5 - 6.5 | NO | NO | High water content; heat causes crazing (cracking). Extremely sensitive to chemicals. |
| Pearl | 2.5 - 4.5 | NO | NO | Organic composition; acids and harsh soaps will strip the nacre and destroy the luster. |
Rule of Thumb: If your multi stone earrings contain even a single emerald, opal, pearl, or tanzanite, you must treat the entire piece as 'delicate' and avoid ultrasonic and steam cleaners entirely.
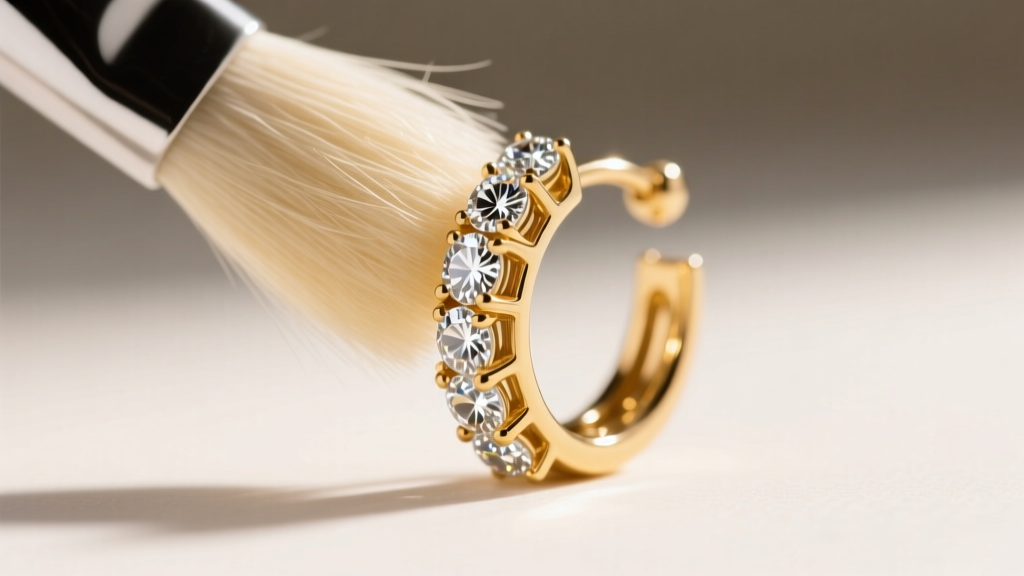
Step 2: The Safe Soak and Brush Technique
For the vast majority of multi stone earrings (especially those featuring diamonds, sapphires, and solid gold or platinum settings), a manual soak and brush is the safest and most effective method to restore brilliance without risking structural damage.
Mixing the Right Cleaning Solution
Avoid commercial jewelry dips, which often contain harsh alkaline chemicals or thiourea that can pit certain metals and damage porous stones. Instead, create a gentle, pH-neutral bath. Mix one cup of distilled water (never tap water, as chlorine and hard water minerals can leave stubborn spots or react with the copper alloys in 14k gold) with three drops of a mild, lotion-free dish soap, such as original Dawn. The distilled water ensures no mineral deposits are left behind in the tiny crevices of the multi stone settings.
Brushing Around Micro-Pavé and Prongs
Let the earrings soak for 15 to 20 minutes. This allows the surfactant in the soap to break down the hydrophobic sebum and cosmetic buildup that dulls the stones. After soaking, use an extra-soft baby toothbrush or a specialized jewelry brush with ultra-soft nylon bristles. Never use brass or stiff bristles, as they can easily scratch the rhodium plating on white gold or the polished galleries of platinum.
Brush using gentle, circular motions, paying special attention to the underside (the pavilion) of the stones where grease accumulates. For micro-pavé sections, use the very tip of the brush to lightly flick debris away from the tiny shared prongs. Do not apply downward pressure; let the bristles do the work.
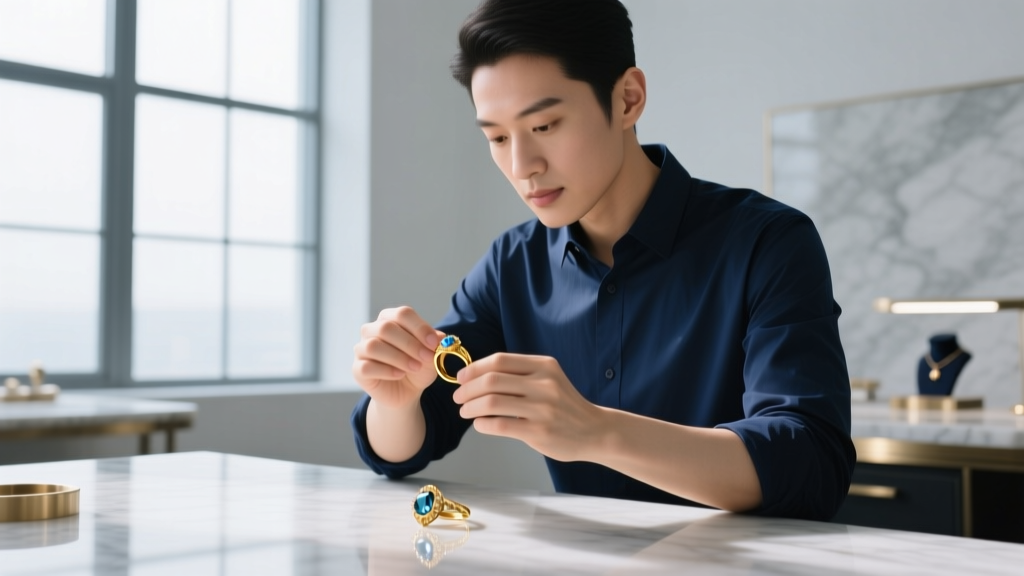
Step 3: Inspecting the Settings (The 10x Loupe Method)
Cleaning your multi stone earrings is only half the battle; the cleaning process is also the perfect time to inspect the structural integrity of the settings. Because multi stone designs utilize dozens of tiny prongs, the statistical probability of one wearing down or catching on fabric is significantly higher than with a simple solitaire.
According to the American Gem Society (AGS), regular at-home inspections can prevent catastrophic stone loss. To do this properly, you need a 10x Hastings triplet loupe. A triplet loupe contains three fused lenses that eliminate chromatic aberration (color fringing) and distortion at the edges, giving you a true, sharp view of the micro-prongs.
What to Look For:
- Lifted Prongs: Look for any prong that does not sit perfectly flush against the crown of the gemstone. If you see a gap, or if the prong looks snagged or pulled upward, the stone is at immediate risk of falling out.
- Worn Galleries: Inspect the metal bezel or channel walls. If the metal looks paper-thin or deeply grooved from years of friction, it needs to be reinforced by a jeweler.
- Debris Traps: Ensure no hardened lotion or grit is wedged between the stone and the metal, as this can exert continuous outward pressure on the setting over time.
What to Avoid: Ultrasonic and Steam Cleaner Risks
While ultrasonic cleaners are heavily marketed for home jewelry care, they are notoriously dangerous for complex multi stone earrings. Ultrasonic machines work through cavitation: high-frequency sound waves (typically around 40,000 to 50,000 Hz) create millions of microscopic vacuum bubbles in the liquid. When these bubbles implode against the jewelry, they generate localized shockwaves.
While this is excellent for blasting dirt out of a solid gold chain, it is disastrous for multi stone earrings. The intense vibrations can easily shake loose the tiny micro-prongs holding pavé diamonds. Furthermore, if your earrings feature fracture-filled diamonds, heavily included natural stones, or tension-set gems, the shockwaves can cause the stones to shatter internally. Steam cleaners pose a different risk: the sudden, intense heat (often exceeding 200°F) can cause thermal shock, particularly to stones like opals, tanzanite, and emeralds, causing them to crack or lose their chemical treatments.
Step 4: Proper Drying and Storage
Once you have rinsed your multi stone earrings under a gentle stream of lukewarm distilled water, proper drying is essential to prevent water spots and metal tarnish. Do not use paper towels or tissues, as the wood fibers can scratch soft metals and leave behind microscopic lint that clings to the prongs.
Instead, use a clean, lint-free microfiber cloth to gently pat the earrings dry. To remove moisture trapped deep within the settings and galleries, use a hairdryer on the cool, low-air setting to blow the water out. Ensure the earrings are completely bone-dry before storing them.
Store your multi stone earrings in a fabric-lined jewelry box with individual compartments. Because multi stone pieces often have irregular shapes and protruding gemstones, tossing them into a communal drawer will result in the diamonds scratching the metalwork or the softer colored gemstones. Fasten the earring backs securely to prevent the posts from bending and to keep the pairs together.
Expert Troubleshooting: Loose Stones and Tarnish
If during your loupe inspection you notice a stone that rattles slightly when tapped with a wooden toothpick, stop wearing the earrings immediately. Place them in a soft pouch and take them to a professional bench jeweler for prong tightening. Attempting to push a prong back down yourself without proper tools (like a prong pusher and a jeweler's vise) will almost certainly result in chipping the gemstone or snapping the metal.
For sterling silver multi stone earrings that have developed heavy sulfide tarnish in the hard-to-reach crevices, avoid abrasive silver polishes which can strip the oxidized detailing or scratch the gems. Instead, use a specialized silver polishing cloth that contains micro-abrasives and anti-tarnish agents, gently working the cloth into the crevices with a wooden skewer to guide the fabric. By following this meticulous, step-by-step approach, your multi stone earrings will maintain their structural integrity and breathtaking brilliance for a lifetime.


