How to Draw a Earring: Beginner's Jewelry Sketching Guide
Learn how to draw a earring with our beginner-friendly guide. Master proportions, gauge thickness, metal rendering, and gemstone faceting for jewelry design.

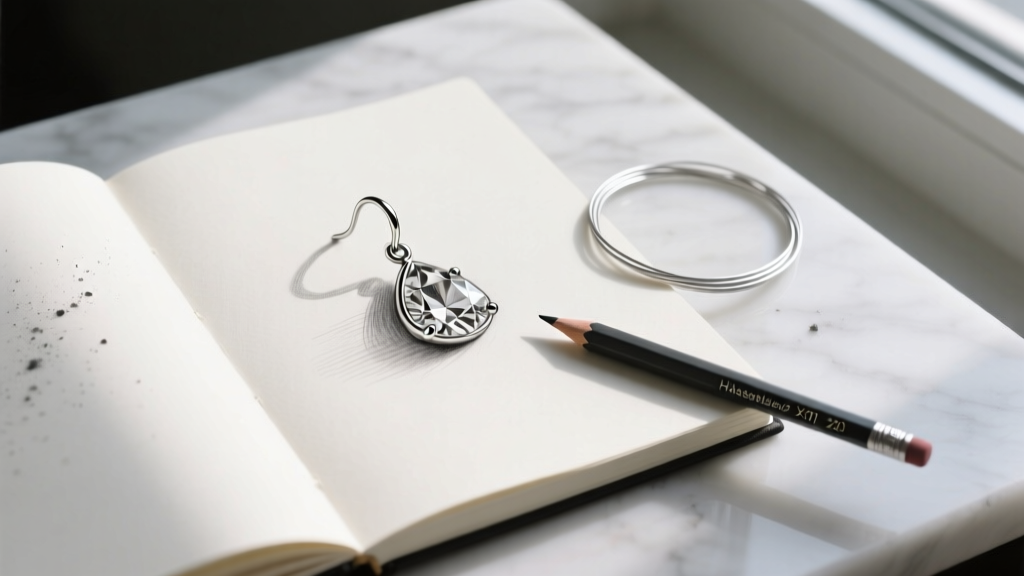
If you have ever found yourself searching how to draw a earring, you likely realized that most online tutorials focus on children's crafts rather than professional jewelry design. True jewelry sketching is a highly technical skill that bridges the gap between artistic imagination and metallurgical reality. In 2026, the bridge between 2D sketching and 3D CAD modeling (like MatrixGold or Rhino) is tighter than ever. Jewelers often sketch on tablets using Procreate, but the foundational rules of scale, gravity, and metal gauge remain identical to traditional graphite methods. Whether you are designing a delicate 22-gauge threader or a structural 16-gauge cartilage cuff, your 2D sketch must communicate exact proportions, material weights, and structural integrity to the bench jeweler or CAD technician.
Essential Tools for Jewelry Sketching
Before drawing, you need the right tools to capture microscopic details. Professional jewelry designers rarely use standard wooden pencils. Instead, they rely on precision instruments:
- Mechanical Pencils (0.3mm and 0.5mm): Essential for drawing fine prongs, gallery wires, and pave settings without constant sharpening.
- Vellum or Marker Paper: Translucent papers allow you to trace over ear-lobe templates and refine symmetry without erasing and smudging.
- Gouache Paints or Digital Brushes: Used for rendering opaque metals and translucent gemstones. According to the New Approach Jewelry School, mastering gouache is critical for showing clients exactly how light will interact with a faceted stone before it is ever cast in metal.
Understanding Scale, Proportions, and Wire Gauges
The most common mistake beginners make is drawing earrings in a vacuum, ignoring the human body. The average adult earlobe measures between 15mm and 20mm from the piercing hole to the bottom edge. If you sketch a 40mm drop earring, you must understand that it will dangle well past the lobe. Furthermore, you must draw wire components to scale based on standard jewelry gauges. A 20-gauge wire looks vastly different in thickness compared to a 16-gauge wire when rendered accurately.
According to Rio Grande, a premier jewelry supply house, understanding gauge-to-millimeter conversions is non-negotiable for designers. Use this reference table to ensure your sketches reflect real-world structural capabilities:
| Wire Gauge | Millimeter (mm) | Common Earring Application |
|---|---|---|
| 22-Gauge | 0.64mm | Lightweight ear wires, delicate threaders, fine chain links |
| 20-Gauge | 0.81mm | Standard French hooks, lightweight headpins, basic jump rings |
| 18-Gauge | 1.02mm | Heavy-duty hooks, small huggie hoops, secure ear wires |
| 16-Gauge | 1.29mm | Cartilage earrings, structural hoop bases, heavy ear cuffs |
Step-by-Step: Sketching a Leverback Drop Earring
Let us break down the process of drawing a classic leverback drop earring featuring a pear-cut gemstone. This design requires an understanding of mechanical hinges and gemstone anatomy.
Step 1: The Leverback Mechanism
Start by drawing the ear wire. A standard leverback is approximately 15mm long. Draw a curved hook that loops upward and backward, terminating in a small hinge block. From the hinge, draw a straight closure arm that snaps into a catch at the front. This mechanism is crucial for heavy drops because it prevents the earring from falling off during movement.
Step 2: The Connector and Gallery
Below the catch, draw a small 1mm jump ring connecting to the stone's gallery (the metal basket holding the gem). For a pear-cut stone, the gallery should mimic the stone's silhouette but feature small cutouts (azures) to allow light to enter the pavilion of the stone.
Step 3: The Pear-Cut Gemstone
The Gemological Institute of America (GIA) outlines specific anatomical zones for faceted gems: the table, crown, girdle, pavilion, and culet. When drawing a pear cut (typically a 8x5mm or 10x7mm ratio), start with a teardrop outline. Draw the flat 'table' facet in the center, then radiate kite-shaped bezel facets outward toward the girdle. The pointed end (the culet side) requires careful shading to show depth, while the rounded end should feature broad, sweeping highlight lines to indicate a smooth, curved crown.
Rendering Techniques: Metals vs. Gemstones
Drawing the outline is only half the battle; rendering the materials brings the earring to life. Metals and gemstones interact with light in fundamentally different ways.
Rendering Precious Metals
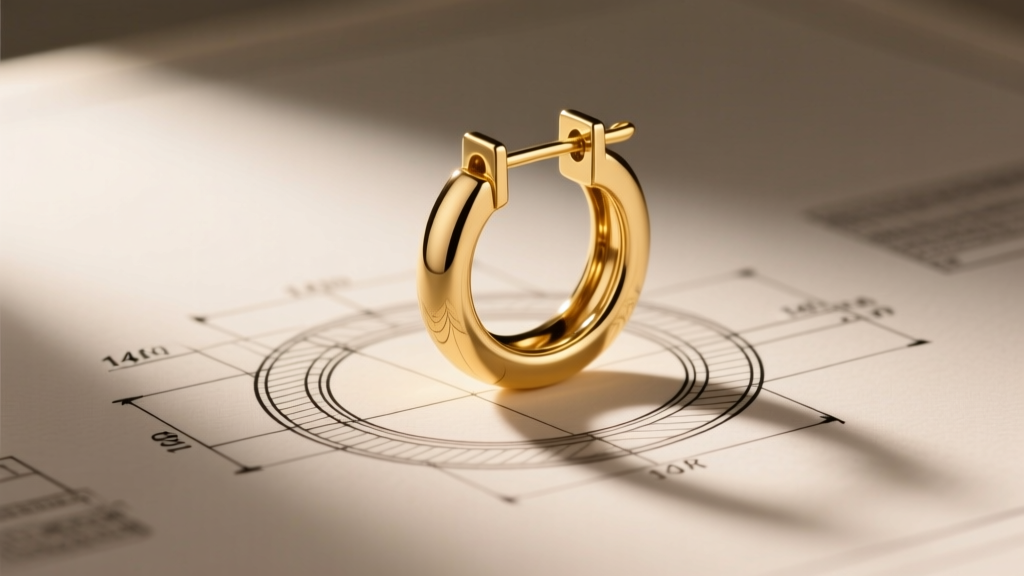
Metals are highly reflective and opaque. When rendering 14k or 18k yellow gold, use warm mid-tones (ochre and raw sienna) and apply sharp, high-contrast white highlights on the edges where the metal bends. Silver and platinum, conversely, require cooler, more diffused gradients (greys and soft blues) with stark, mirror-like white reflections. Never shade metal smoothly like skin; metal reflects its environment in sharp, distorted bands.
Rendering Transparent Gemstones
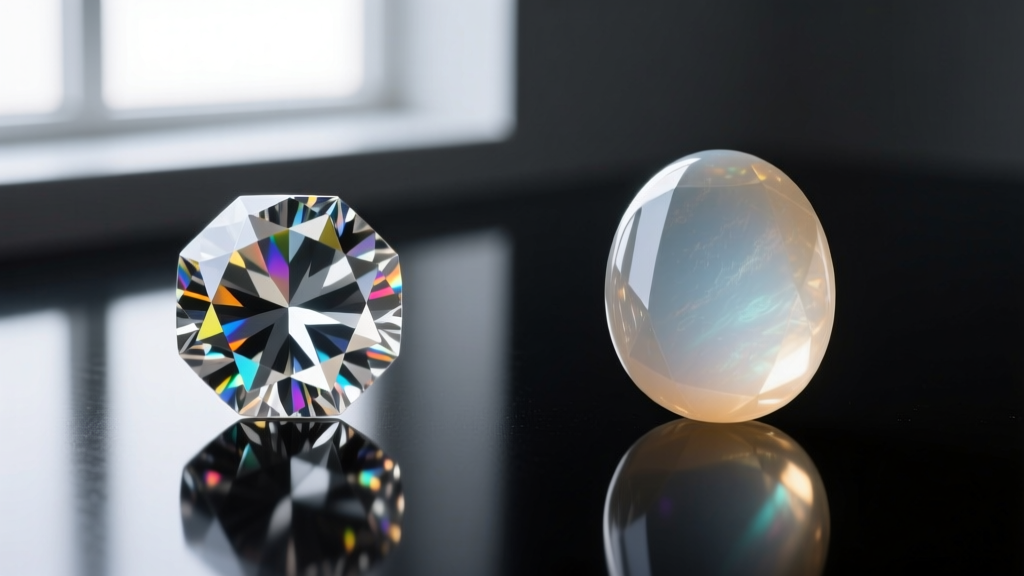
Unlike metal, light passes through transparent gems like diamonds, sapphires, and emeralds. To draw a faceted stone, you must illustrate 'light return.' Leave the center of the table facet relatively light, but darken the pavilion facets near the culet to create depth. Use a stark white gel pen or digital highlight brush to draw sharp 'star' reflections on the crown facets. For cabochon stones (which are smooth and unfaceted, like moonstone or turquoise), abandon sharp lines entirely. Use soft, curved gradients to create a glowing, rounded dome effect.
Structural Considerations and Failure Modes
A beautiful sketch is useless if the earring fails in the real world. As a designer, you must anticipate structural failure modes and draw solutions for them.
- The 'Droop' Effect (Center of Gravity): If you design a heavy drop earring with a massive 12mm focal stone but connect it to a thin, flexible 22-gauge French hook, the earring will tilt aggressively forward on the ear, pointing at the floor. To fix this in your sketch, either draw a thicker 18-gauge rigid wire, add a counter-weight bead above the hook, or switch to a leverback design that sits closer to the earlobe's center of gravity.
- Metal Fatigue at the Jump Ring: If your sketch shows a heavy dangle hanging from an open, unsoldered jump ring, the bench jeweler will immediately flag it. Over time, the weight of the drop will pull the open ring apart. Always draw soldered (closed) jump rings or interlocking structural links for any component bearing significant weight.
- Prong Snagging: When sketching prong settings for earrings, ensure the prongs are drawn low-profile and tucked over the girdle of the stone. Earrings are highly susceptible to catching on hair and clothing; bulky, high-set prongs are a major design flaw.
Transitioning from 2D Sketch to Production
Once your earring sketch is complete, it serves as the master blueprint for production. If you are sending the design to a CAD modeler, include a secondary 'orthographic' sketch—a side-profile view showing the exact depth of the gallery, the thickness of the bezel walls, and the clearance between the stone's culet and the earlobe. By mastering the technical language of jewelry sketching, you ensure that the final physical piece perfectly matches the vision in your mind, resulting in earrings that are as structurally sound as they are beautiful.


