How to Choose and Fit Earring Lifters for Heavy Studs
Learn how to choose, fit, and style earring lifters to prevent heavy studs from drooping. A step-by-step guide for perfect earring posture.

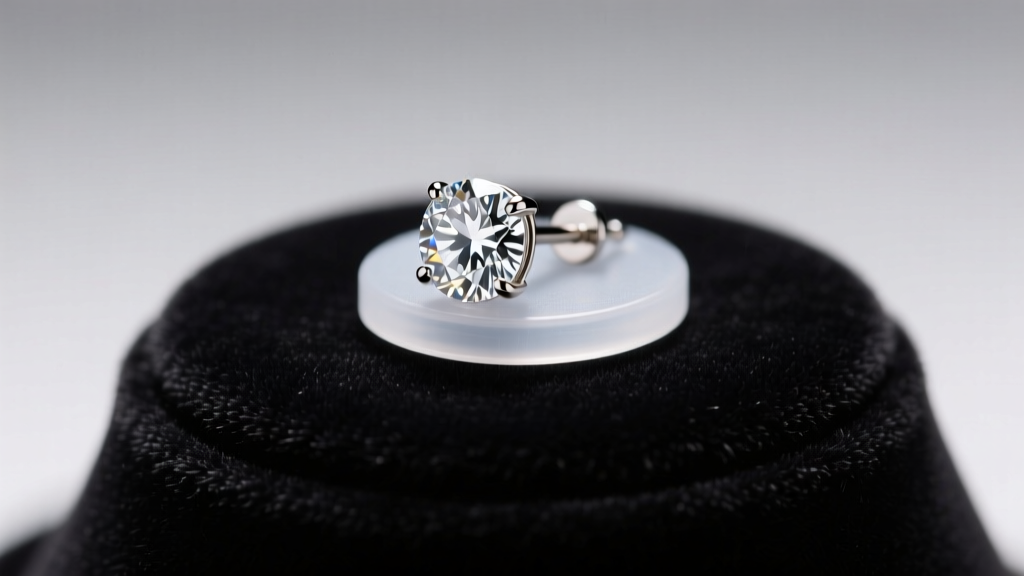
As lab-grown diamonds and oversized South Sea pearls continue to dominate jewelry trends in 2026, more collectors are investing in heavier, statement-making stud earrings. However, gravity is unforgiving. A stunning 3-carat diamond in a martini setting will inevitably droop, pointing toward the floor and hiding its brilliance. This is where earring lifters (also known as earring supports or lifting backs) become an essential tool in your jewelry box. This comprehensive, step-by-step guide will teach you the physics of earring posture, how to select the right lifter material, and exactly how to fit them to your unique earlobe anatomy.
The Physics of Drooping: Why Heavy Studs Fail
To understand how earring lifters work, you must first understand the mechanics of a drooping earring. The earlobe piercing acts as a fulcrum. When an earring's center of gravity extends too far in front of this fulcrum, gravity pulls the face of the earring downward. According to the Gemological Institute of America (GIA), a well-cut 2-carat round brilliant diamond weighs approximately 0.4 grams. When set in a 14k or 18k gold 4-prong basket, the total head weight can easily exceed 0.7 grams. On thin or aging earlobes, this weight causes the piercing channel to stretch, resulting in the dreaded "forward tilt."
Earring lifters solve this by increasing the surface area of the backing. By distributing the weight across a wider, more rigid plane against the back of the earlobe, they shift the center of gravity closer to the fulcrum, forcing the earring face to sit flush and perpendicular to the floor.
Types of Earring Lifters: Material and Design Matrix
Not all earring lifters are created equal. The market is currently split between flexible polymers and rigid precious metals. Below is a decision matrix to help you choose the right material based on your specific jewelry collection.
| Material Type | Design Style | Avg. Price Range | Best Use Case | Grip Mechanism |
|---|---|---|---|---|
| Medical-Grade Silicone | Disc or Cylinder | $5 - $15 | Everyday wear, sensitive skin, lightweight to medium studs | Friction fit via Shore A 40-50 hardness |
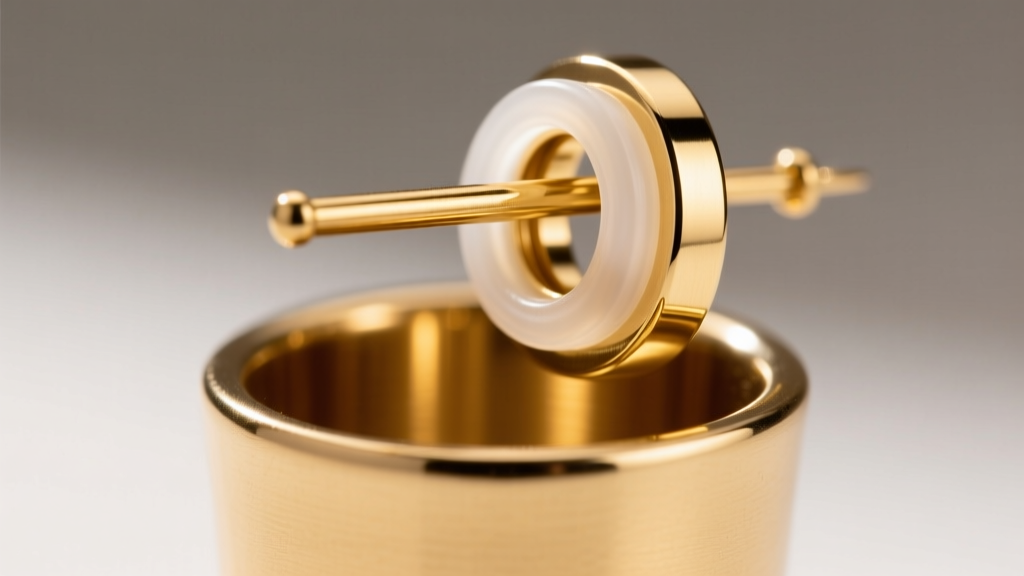
| 14k / 18k Yellow Gold | Concave Cup with O-Ring | $85 - $250 | High-value diamonds, heirloom pearls, formal events | Internal silicone O-ring grips the metal post |
| Platinum | Flat Disc with Screw-Back | $300 - $600+ | Hypoallergenic needs, ultra-heavy antique estate pieces | Threaded screw mechanism for zero-slip security |
Step-by-Step Guide: Measuring and Fitting Your Lobe
Buying the wrong size lifter is the most common reason users abandon them. Follow these precise steps to ensure a custom-like fit for your earlobes.
Step 1: Verify Your Post Gauge
Earring posts are not universally sized. You must match the lifter's internal diameter to your earring's post gauge. Use a digital caliper to measure the post thickness.
- 22-Gauge (0.64mm): Common in vintage or ultra-fine diamond studs. Requires specialized micro-lifters.
- 20-Gauge (0.81mm): The industry standard for most modern diamond and gemstone studs.
- 18-Gauge (1.02mm): Found in heavier gold studs, pearl earrings, and some cartilage pieces.
- 16-Gauge (1.29mm): Rare for standard lobes, but used in heavy structural designer earrings.
Step 2: Measure Lobe Thickness and Depth
The thickness of your earlobe dictates the depth of the lifter you need. If you have thin lobes (under 5mm), a deep cup-style gold lifter will sit too far back, leaving a gap that allows the earring to wobble. For thin lobes, opt for flat silicone discs (approx. 2mm thick). For thicker, fleshier lobes (8mm+), deep cylindrical silicone tubes or concave gold cups will provide the necessary structural support without pinching the skin.
Step 3: Install the Lifter and Secure
- Clean the Post: Wipe the earring post with a microfiber cloth dampened with 70% isopropyl alcohol. This removes sebum and lotion residue that causes lifters to slip.
- Insert the Earring: Push the post through the front of the earlobe until the basket or setting rests flush against the front of the skin.
- Apply the Lifter: Slide the earring lifter onto the post from behind. Push it firmly until it makes gentle contact with the back of the earlobe. Do not compress the lobe; the lifter should support, not squeeze.
- Lock it In: If using a silicone lifter, push it past the post's safety notch. If using a gold cup with an O-ring, you will feel a distinct "click" as the ring engages the notch. For screw-backs, twist clockwise until snug.
Troubleshooting Common Earring Lifter Issues
Even with the perfect fit, you may encounter minor issues. Here is how to troubleshoot them like a professional jeweler.
Pro Tip: Never use harsh chemical jewelry dips to clean silicone earring lifters. The sulfur and ammonia compounds will degrade the polymer chains, causing the silicone to become brittle and lose its friction grip within weeks.
- Issue: The lifter keeps sliding off during the day.
Solution: Your post is likely too smooth or coated in invisible skin oils. Lightly score the post with a fine-grit emery board to create micro-abrasions for the silicone to grip, or upgrade to a screw-back metal lifter. - Issue: The earlobe feels tender or itchy behind the ear.
Solution: You may be experiencing contact dermatitis or pressure necrosis. Switch to an implant-grade titanium or platinum lifter. The Association of Professional Piercers (APP) strictly recommends implant-grade titanium (ASTM F136) for anyone with metal sensitivities or healing tissue. - Issue: The earring still tilts forward slightly.
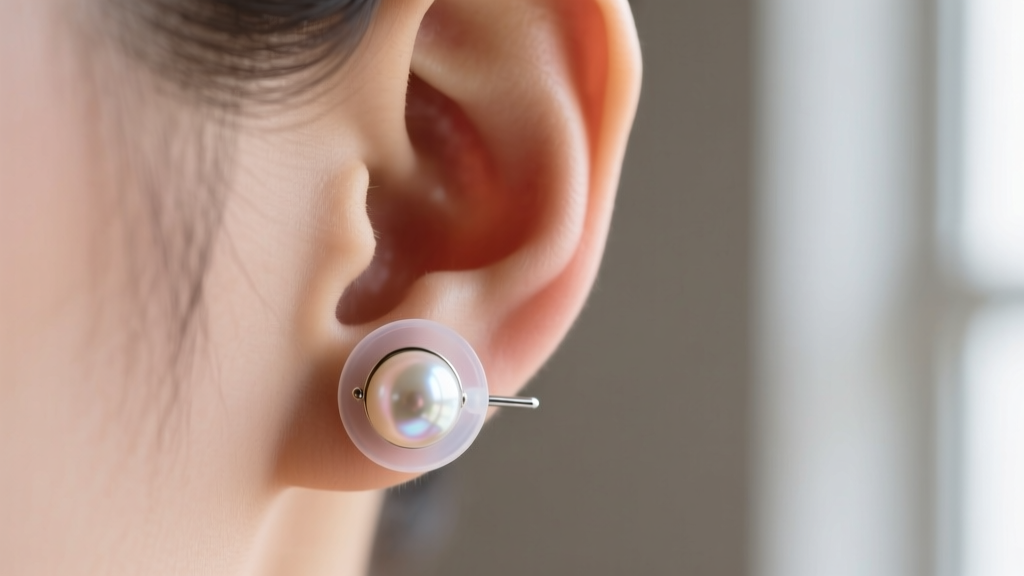
Solution: The earring head is too heavy for a standard backing. You need a "jumbo" or "mega" silicone disc (typically 10mm to 12mm in diameter) to provide a wider base of support against the back of the lobe.
Maintenance and Biocompatibility Protocols
To ensure your earring lifters last and your piercings remain healthy, establish a strict maintenance routine. Silicone lifters should be removed and washed weekly with warm water and a mild, fragrance-free antibacterial soap. Allow them to air dry completely before reapplying; trapped moisture between the lifter and the lobe can lead to fungal or bacterial infections.
For metal cup lifters with internal O-rings, inspect the O-ring every six months. Over time, the friction of the metal post will wear down the rubber. Most high-end jewelers sell replacement O-ring kits for under $10. Furthermore, if you have a known nickel allergy, always verify that your metal lifters are stamped with a quality mark (e.g., 14k, 18k, PT950) and avoid unmarked base-metal alternatives found in cheap online marketplaces, as nickel exposure can trigger severe allergic reactions, as noted by the American Academy of Dermatology.
Final Thoughts on Earring Posture
Investing in high-quality earrings means nothing if they cannot be seen in their full glory. By understanding gauge sizes, lobe thickness, and material biocompatibility, you can select the perfect earring lifters to keep your heaviest, most prized studs sitting perfectly upright. Whether you opt for affordable medical-grade silicone or bespoke 18k gold cups, mastering this simple accessory will completely transform how your jewelry looks and feels in 2026 and beyond.


