How to Get Earring Back Out of Ear: A Safe Removal Guide
Learn how to get earring back out of ear safely. Step-by-step guide for removing stuck butterfly clutches, screw backs, and embedded earrings.

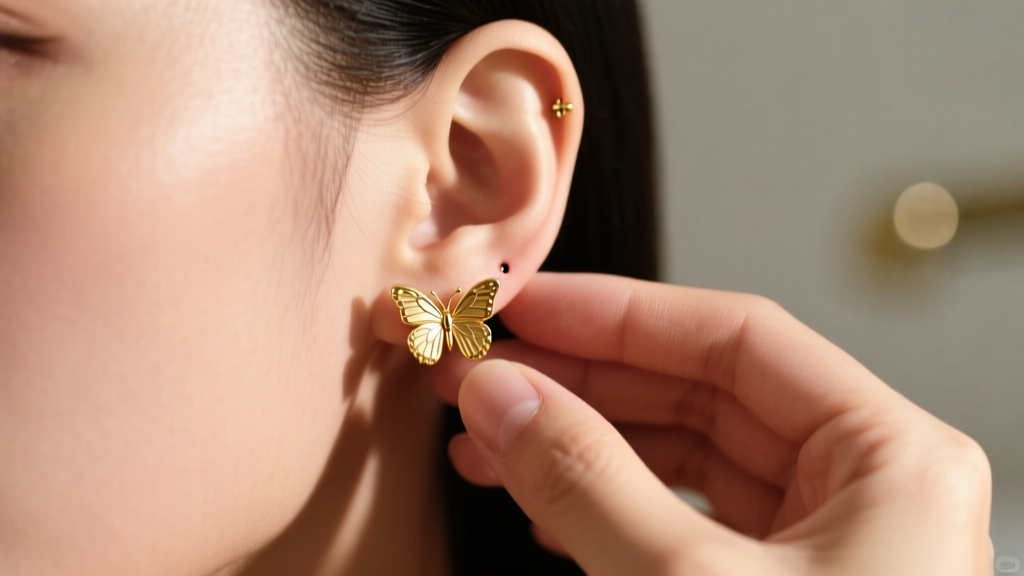
Getting your ears pierced is a thrilling milestone, but the first time you need to change or clean your jewelry, you might suddenly find yourself searching frantically for how to get earring back out of ear canals without causing pain or damage. Whether you are dealing with a brand-new piercing that has swollen around the post, or an older lobe piercing where the butterfly clutch has become cemented by years of sebum and hairspray, removing a stuck earring back requires patience, the right technique, and an understanding of jewelry mechanics.
In this comprehensive guide, we will break down the exact methods professional piercers use to safely remove stubborn earring backs, troubleshoot embedded jewelry, and explain why upgrading your jewelry hardware is the best long-term solution for ear health.
The Anatomy of a Stuck Earring Back
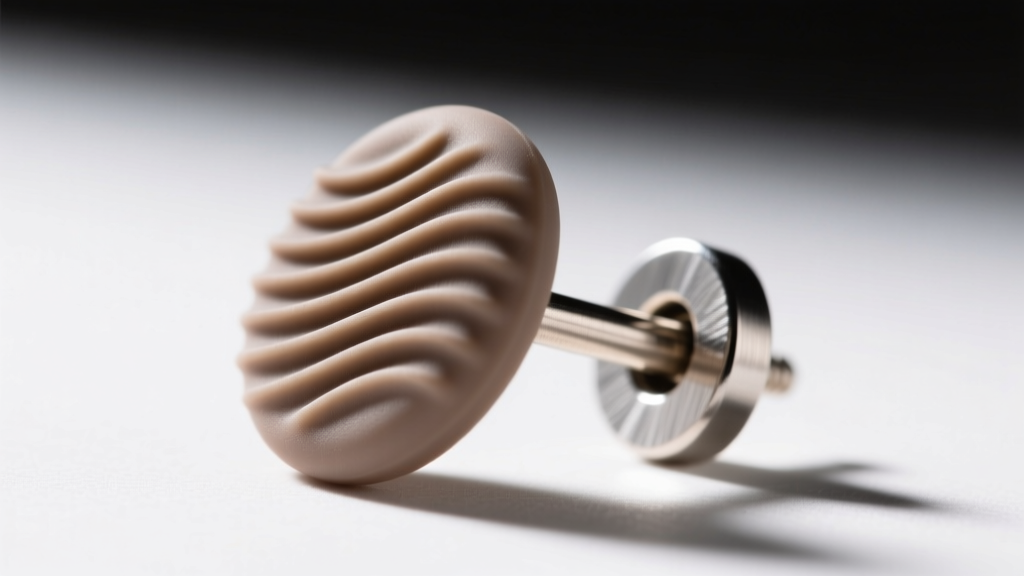
To understand how to remove a stuck back, you first need to understand why it gets stuck in the first place. Standard retail earrings typically use a "butterfly" or "friction" clutch. These backs feature two tiny metal scrolls designed to grip the grooves of a standard 20-gauge (0.81mm) or 18-gauge (1.0mm) post.
Over time, several factors turn this simple friction mechanism into a stubborn trap:
- Biological Build-up: Dead skin cells, sebum (natural skin oils), and dried lymph fluid accumulate in the tiny crevices of the butterfly clutch, essentially gluing it to the post.
- Hair Entanglement: Strands of hair easily wrap around the thin 20G post between the earlobe and the back, creating a tight, fibrous knot that blocks the back from sliding off.
- Lobe Swelling: If you are sleeping on a new piercing or experiencing an allergic reaction to nickel-heavy "surgical steel," the earlobe tissue can swell, burying the back deep into the skin and eliminating your leverage.
Step-by-Step: How to Get Earring Back Out of Ear Safely
Before you start pulling, wash your hands thoroughly with antibacterial soap and ensure you are in a well-lit room with a mirror. Never force a back off over a sink without the drain plugged!
Method 1: The Nitrile Grip and Twist
The most common reason people fail to remove a butterfly back is a lack of friction. Skin-on-metal grip is notoriously poor, especially if your hands are slightly moisturized or oily.
- Put on a pair of clean, textured nitrile or latex medical gloves. The rubber provides immense grip on smooth metal.
- With your non-dominant hand, firmly pinch the front stud or gem against the front of your earlobe to prevent the post from pushing backward into the piercing channel.
- With your dominant hand, pinch the butterfly back through the glove. Instead of pulling straight back, apply a gentle counter-clockwise twisting motion while pulling outward. This breaks the seal of dried sebum and dislodges the metal scrolls from the post groove.
Method 2: The Warm Saline Soak
If the twisting method fails, the culprit is likely dried lymph fluid or crusties acting like biological cement. According to the American Academy of Dermatology, keeping healing piercings clean and moist is vital to prevent tissue adherence.
- Soak a sterile cotton pad or gauze in warm, sterile saline solution (0.9% sodium chloride).
- Press the warm pad gently against the back of your earlobe for 3 to 5 minutes. The heat softens the tissue, while the saline dissolves the biological build-up around the post.
- Wipe away any softened debris with a cotton swab, then attempt the Nitrile Grip and Twist method again.
Method 3: Hair Removal and Lubrication
If you can see hair wrapped around the post, do not yank the earring. Use a pair of sterilized tweezers to carefully unwind the hair. If the post is completely dry and the metal scrolls are wedged tight, apply a microscopic drop of pure, cold-pressed jojoba oil or sterile saline to the base of the post to act as a lubricant. Avoid heavy ointments like petroleum jelly, which can trap bacteria in the piercing channel.
Earring Back Types and Removal Mechanics
Not all earring backs are created equal. Understanding the hardware you are wearing will dictate your removal strategy. Below is a breakdown of common earring back types and their removal difficulty.
| Back Type | Mechanism | Best For | Removal Difficulty |
|---|---|---|---|
| Butterfly Clutch | Friction scrolls gripping a grooved post | Standard retail fashion jewelry | Moderate to High (prone to sticking and harboring bacteria) |
| Screw Back | Threaded post requiring twisting | High-end diamond studs, secure wear | Low (unless cross-threaded or overtightened) |
| Silicone O-Ring | Stretchy rubber friction ring | Active wear, sports, sleeping | Low (easily rolls off, but can degrade over time) |
| La Pousette | Spring-loaded locking mechanism | Luxury jewelry, high-security needs | Low (requires pressing two tiny side buttons to release) |
| Threadless (Push-Pin) | Bent pin creating internal tension | Professional body jewelry, cartilage | Low (requires a specific "push and pull" snapping motion) |
Emergency Protocol: Dealing with Embedded Backs
If you are dealing with a new piercing and the earlobe has swollen completely over the butterfly back, you are experiencing a medical issue known as epithelialization. This occurs when the body treats the embedded metal as a foreign object and begins to grow skin cells over it to heal the "wound."
WARNING: If you cannot see the edge of the earring back, or if the skin is completely flush against the metal, STOP immediately. Do not attempt to dig the back out with sewing needles, safety pins, or tweezers. This will cause severe tissue trauma, increase the risk of staph infection, and guarantee heavy scarring.
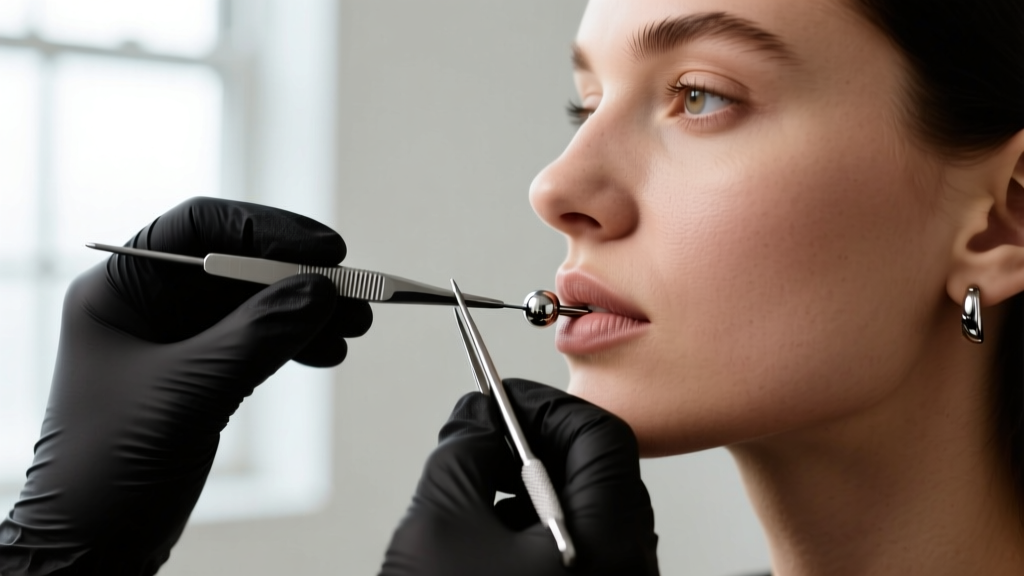
According to the Association of Professional Piercers (APP), embedded jewelry requires professional intervention. Visit a reputable, APP-certified professional piercer or an urgent care clinic. A piercer can use sterile, medical-grade hemostats to carefully grip the post and slide the tissue back, or use a sterile scalpel to make a microscopic release incision if the skin has fully closed over the back.
Prevention: Upgrading Your Ear Hardware
The absolute best way to avoid the panic of figuring out how to get earring back out of ear canals is to stop wearing butterfly clutches altogether. Professional piercers universally advise against standard friction backs for several reasons:
- Hygiene: The cup shape of a butterfly back traps moisture, dead skin, and bacteria directly against the healing exit wound.
- Post Length: Retail earrings feature very short posts. They do not accommodate the natural swelling of a new piercing or the thickness of a mature earlobe, leading to the "cheese-cutter" effect where the back slowly sinks into the flesh.
- Material Quality: Most retail backs are made of low-grade "surgical steel" which contains nickel, a common allergen that causes contact dermatitis and localized swelling.
The Flat-Back Labret Solution
Upgrade your jewelry to an ASTM F-136 implant-grade titanium flat-back labret. These posts feature a flat, smooth disc that sits flush against the back of the ear, eliminating the cup shape that traps bacteria. They come in precise post lengths (ranging from 6mm to 12mm) to perfectly fit your specific earlobe thickness without pressing into the skin.
You can choose between internally threaded (where the screw mechanism is on the removable front gem, leaving the post smooth so it doesn't tear the piercing channel) or threadless (where a slightly bent pin snaps securely inside the hollow post, requiring zero twisting and offering incredible security).
When to See a Professional
While most stuck earring backs can be resolved at home with warm saline and rubber gloves, you should seek professional help if:
- The earlobe is hot to the touch, throbbing, or leaking yellow/green pus (signs of infection).
- The skin has begun to grow over any part of the metal back.
- You experience sharp, shooting pains when touching the post, which may indicate nerve irritation or cartilage damage (if the piercing is placed too high on the lobe).
By understanding the mechanics of your jewelry, maintaining proper hygiene, and upgrading to high-quality, body-safe titanium hardware, you will never have to stress about removing your earrings again. Treat your piercings with the respect they deserve, and they will serve as a beautiful, hassle-free canvas for your personal style.


