How to Insert and Style Spiral Hoop Earrings Safely
Learn how to safely insert, size, and style spiral hoop earrings for lobe and cartilage piercings with our expert step-by-step guide.

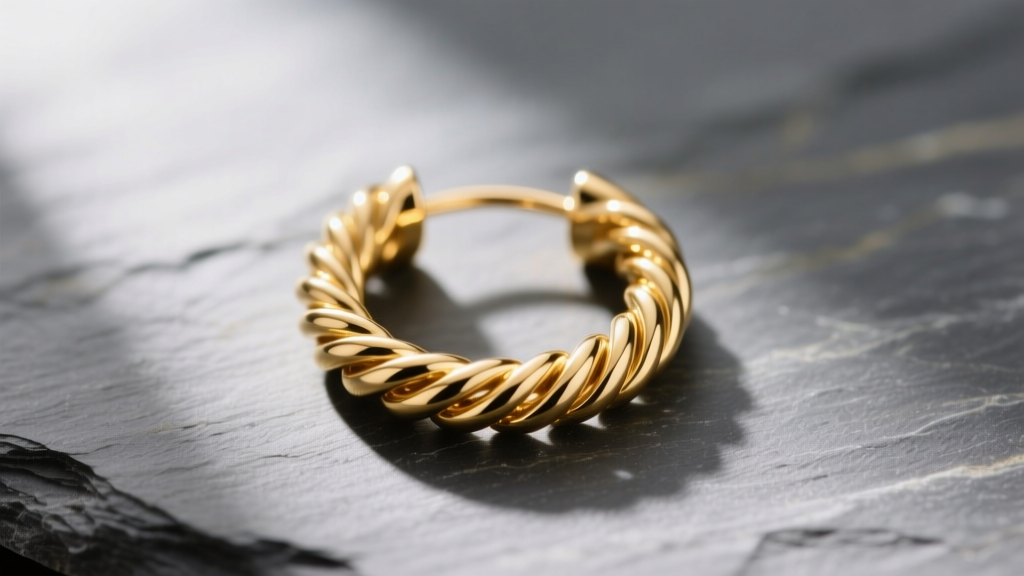
The Anatomy of a Spiral Hoop Earring
Spiral hoop earrings, often referred to as continuous twist rings or tension hoops, are a staple in modern ear styling. Unlike hinged segment rings or captive bead rings, spiral hoops rely on the natural spring-like tension of the metal wire to stay closed. The joint features a beveled edge that spirals slightly past the opposing end, creating a secure, flush closure when twisted laterally. While they offer a seamless, minimalist aesthetic that is highly coveted in 2026 ear curation, their unique mechanics require a specific insertion technique. Forcing them open like a traditional C-ring will warp the circular axis, ruin the tension, and ultimately damage the earring.
Understanding the metallurgy is equally important. High-quality spiral hoops are typically crafted from ASTM F-136 implant-grade titanium or solid 14k/18k gold. These materials possess the exact tensile strength required to maintain the 'snap' of the tension closure without suffering from metal fatigue over time. According to the Association of Professional Piercers (APP), using internally threaded or seamless tension rings made of biocompatible materials is critical for minimizing tissue trauma, especially in sensitive cartilage piercings like the helix or conch.
Step-by-Step: How to Insert Continuous Spiral Hoops
Inserting a spiral hoop requires patience and precision. Because the wire is continuous, you are not breaking a hinge; you are temporarily displacing the metal's tension. Follow this exact framework to protect both your piercing and your jewelry.
Step 1: Preparation and Sanitization
Always begin with freshly washed hands. Sanitize the spiral hoop using a 70% isopropyl alcohol wipe or by soaking it in a sterile saline solution. Cartilage piercings are notoriously prone to irritation bumps caused by trapped bacteria, so ensuring the jewelry is completely sterile before insertion is non-negotiable. Dry the hoop with a lint-free paper towel; moisture will make the metal slippery and difficult to grip.
Step 2: The Lateral Twist Technique
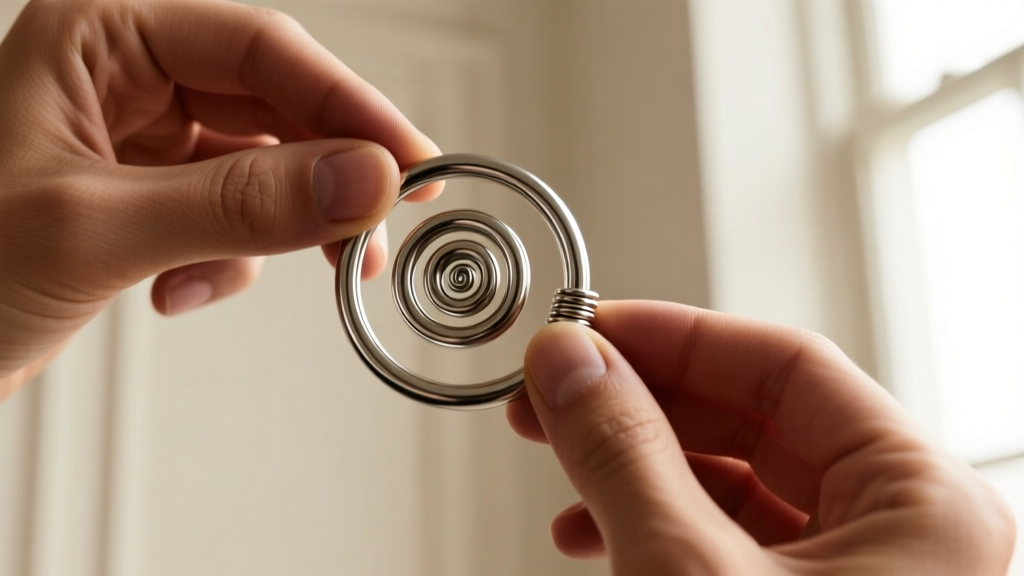
This is where most people make a critical error. Never pull the ends of a spiral hoop apart horizontally. Instead, grip the hoop on either side of the break joint with your thumb and index finger. Gently twist one end toward you and the other end away from you (a lateral or vertical twist). This motion opens the ring without distorting its circular shape. You only need to open it just wide enough to clear the thickness of your ear tissue.
Step 3: The Glide and Secure
Align the beveled tip with your piercing hole. Slowly rotate the hoop, allowing the curve of the wire to guide itself through the fistula. Never force or push the wire straight through, as this can cause micro-tears in the piercing channel. Once the wire is fully through, reverse the lateral twisting motion to close the joint. You should feel a distinct 'snap' or click as the tension aligns the beveled ends flush against one another.
Precision Sizing Matrix: Gauge and Diameter
Selecting the correct gauge (thickness) and inner diameter is crucial for comfort and healing. A hoop that is too tight will cause migration and irritation, while one that is too loose will snag on hair and clothing. Below is the definitive sizing matrix for spiral hoops across different ear placements.
| Gauge Size | Measurement (mm) | Best Piercing Locations | Tension & Fit Notes |
|---|---|---|---|
| 20G | 0.81mm | Standard Lobe, Upper Lobe | Highly flexible; prone to bending if snagged. Best for fully healed, inactive lobes. |
| 18G | 1.02mm | Helix, Forward Helix, Tragus | Optimal balance of flexibility and strength. Standard for most cartilage hoops. |
| 16G | 1.29mm | Conch, Daith, Rook, Septum | High tensile strength. Excellent for thicker cartilage folds where a sturdy snap is needed. |
| 14G | 1.60mm | Industrial, Thick Conch | Very rigid. Requires significant lateral force to open; not recommended for beginners. |
Pro Tip for Diameters: For a snug helix fit, measure your piercing and add 1-2mm to your caliper reading. A standard helix usually requires an 8mm or 10mm inner diameter, while a standard lobe requires 12mm to 15mm to allow the earring to drape naturally without pulling the tissue upward.
Advanced Styling Frameworks for 2026
Spiral hoops are incredibly versatile, but their seamless design makes them ideal for specific curatorial trends. Here is how to style them like a professional piercer.
The Stacked Helix Cascade
Instead of mixing different jewelry types, use spiral hoops of the same metal and gauge but in ascending diameters. Start with a 6mm snug hoop at the lower helix, move to an 8mm mid-helix, and finish with a 10mm flat helix. The uniform twisted-wire aesthetic creates a cohesive, architectural look that catches the light beautifully without appearing cluttered.
Lobe vs. Cartilage Material Selection
While 14k and 18k solid gold spiral hoops are the gold standard for lobe styling due to their warm luster and weight, cartilage piercings often benefit from ASTM F-136 titanium. Titanium is significantly lighter than gold, reducing the gravitational drag on sensitive cartilage tissue. Furthermore, as noted in dermatological studies on contact dermatitis and metal allergies, titanium is completely nickel-free, eliminating the risk of allergic reactions that can cause severe swelling in tight cartilage fistulas.

Troubleshooting Common Spiral Hoop Issues
Even with perfect technique, you may encounter issues with continuous tension rings. Here is how to troubleshoot them without ruining the jewelry.
- Loss of Tension (The Hoop Won't Snap Shut): This happens when the hoop has been accidentally pulled apart horizontally, stretching the metal's memory. To fix this, gently twist the hoop laterally past its normal closure point (over-twisting it slightly in the closing direction) and release. This resets the tension wire. Do this incrementally; overcorrecting will warp the circle into an oval.
- Tangling in Storage: Spiral hoops are notorious for linking together like chainmail when tossed in a jewelry box. Always store them individually in small silicone pouches or thread them through a piece of stiff cardstock to keep the joints separated.
- Irritation Bumps Post-Insertion: If you develop a localized bump after inserting a spiral hoop, the diameter is likely too small, causing upward pressure on the piercing channel. Switch to a hoop with a 1mm to 2mm larger inner diameter immediately to relieve the mechanical stress.
Expert Maintenance and Longevity
To maintain the structural integrity and aesthetic brilliance of your spiral hoop earrings, implement a strict maintenance routine. Once a month, soak your gold or titanium hoops in a mild, phosphate-free dish soap and warm water solution. Use an ultra-soft baby toothbrush to gently clean the beveled joint, where sebum and dead skin cells tend to accumulate. This buildup can prevent the tension joint from closing flush, leading to snagging on hair or sweaters.
Avoid wearing continuous spiral hoops in environments where they can be easily snagged, such as during contact sports or while using rough towels. The lateral twist joint is secure against normal wear, but a direct, forceful pull will pop the hoop open and potentially tear the tissue. By respecting the mechanics of the spiral hoop and adhering to precise sizing metrics, you ensure that your ear curation remains both visually stunning and anatomically comfortable for years to come.


