How to Loosen Earrings: Buying Guide for Comfort Backs
Learn how to loosen earrings safely and discover what to look for when buying comfort-fit backs, threaded posts, and hypoallergenic metals.

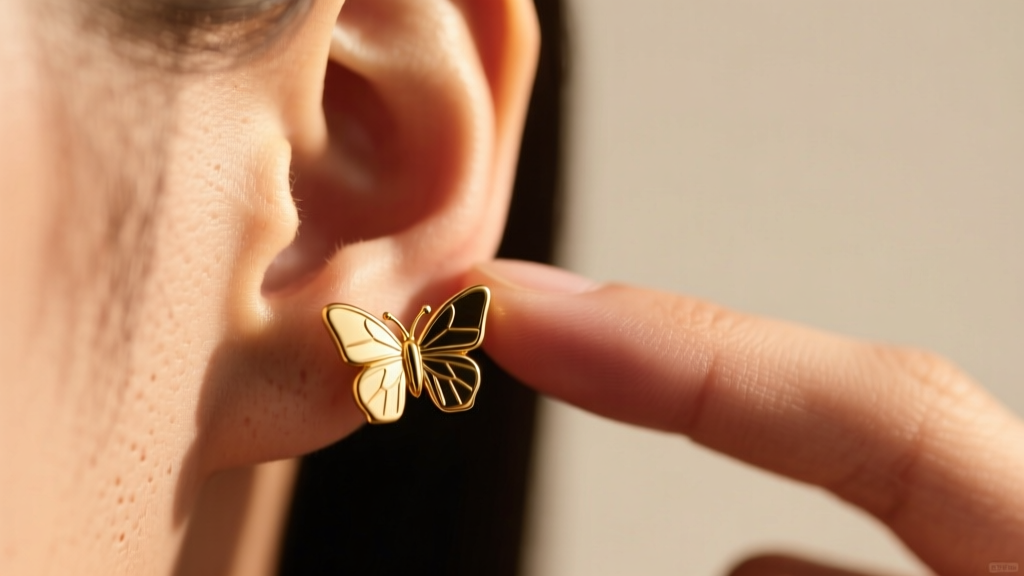
The Anatomy of a Stuck Earring: Why Friction Backs Fail
There are few jewelry-related panics quite as visceral as realizing your earring back is completely stuck. Whether you are dealing with a standard butterfly clutch on a fresh lobe piercing or a threaded labret in your cartilage, a seized earring back can cause immediate pain, swelling, and tissue damage if handled improperly. Understanding how to loosen earrings safely is only half the battle; the real solution lies in understanding why they get stuck in the first place and how to buy jewelry that prevents the issue entirely.
Standard friction backs—commonly known as butterfly clutches or scrolls—rely on the tension of a bent metal spring to grip the earring post. Over time, these mechanisms fail for three primary reasons. First, microscopic buildup of sebum, dead skin cells, and soap residue acts like cement inside the clutch. Second, the metal spring loses its tension, causing the wearer to push the back on tighter to compensate, eventually jamming it against the earlobe. Finally, cheap manufacturing tolerances can create microscopic burrs on the post that catch the clutch, making removal nearly impossible without tools.
How to Loosen Earrings Safely (Step-by-Step Troubleshooting)
Before you resort to pliers or forceful yanking—which can tear the fistula (the piercing channel) and lead to scarring or infection—follow this clinical troubleshooting protocol to safely remove a stubborn earring.
Step 1: The Saline Soak and Soften
If the earring is stuck due to biological buildup or dried lymph fluid, you must soften the debris. Soak a sterile cotton pad in warm, sterile saline solution (0.9% sodium chloride) and hold it against the front and back of the earring for five to seven minutes. The warmth increases local blood flow, which can slightly reduce tissue tension, while the saline breaks down the hardened sebum and crusties binding the clutch to the post.
Step 2: The Lubrication Method
Once the area is clean, you need to reduce the friction coefficient between the post and the back. Avoid petroleum jelly or heavy ointments, as they can trap bacteria in the piercing channel. Instead, use a sterile drop of pure jojoba oil or vitamin E oil. Apply the oil directly to the junction where the post meets the earring back. Gently rotate the post back and forth in a micro-twisting motion to work the lubricant into the clutch mechanism.
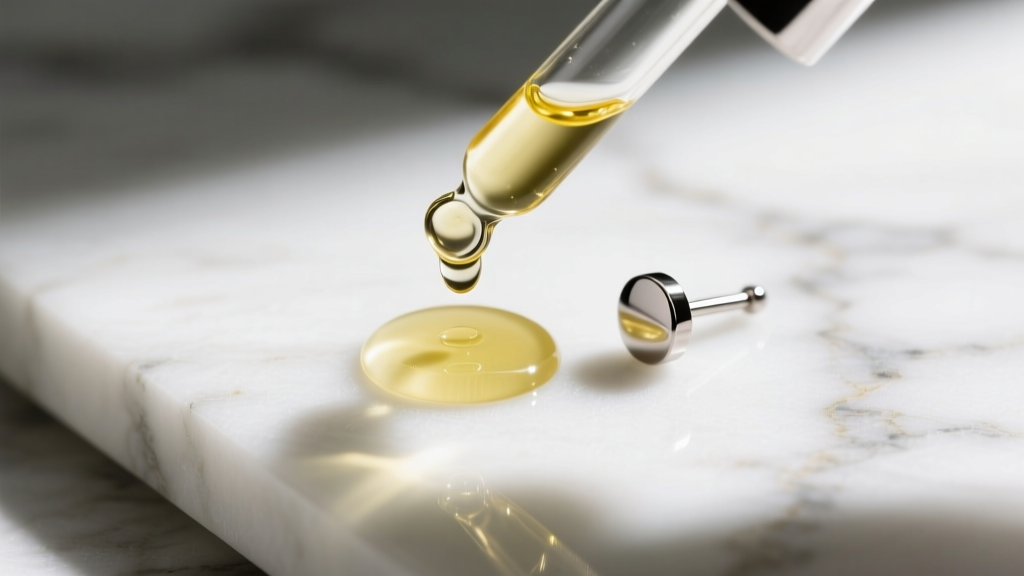
Step 3: The Grip-Enhancement Technique
The most common reason people cannot remove an earring is a lack of torque. Wet or oily fingers will simply slide off the tiny metal backing. To solve this, put on a pair of clean, powder-free nitrile gloves. The textured surface of the nitrile provides immense grip, allowing you to apply steady, rotational pulling force without slipping. Hold the front of the earring stud firmly between the thumb and index finger of your non-dominant hand to stabilize the post, while your dominant hand gently wiggles and pulls the clutch straight back along the axis of the post.
Buying Guide: What to Look For to Prevent Tight Earrings
Once you have successfully removed the stuck earring, it is time to upgrade your jewelry box. When shopping for new earrings, the closure mechanism and post dimensions are critical factors that dictate long-term comfort and ease of removal.
Internally Threaded vs. Friction Backs
If you are tired of wrestling with butterfly clutches, transition to threaded jewelry. However, not all threading is created equal. Avoid externally threaded earrings, where the screw pattern is on the post itself; passing these through a piercing can scrape and damage the tissue. Instead, look for internally threaded or threadless (press-fit) jewelry. In internally threaded pieces, the screw mechanism is hidden inside the backing or the decorative end, leaving the post completely smooth. Brands like Maria Tash and Intrinsic Body specialize in high-tolerance internal threading that glides effortlessly and never seizes up from skin oils.
Post Length and Gauge Sizing
An earring back will often dig into the earlobe and become impossible to loosen if the post is too short. Earlobes vary drastically in thickness, and swelling can increase tissue volume by up to 30%. Standard friction posts are usually 6mm (1/4 inch) long, which is inadequate for thick lobes or fresh piercings. When buying, look for brands that offer customizable post lengths, such as 8mm (5/16 inch) or 10mm (3/8 inch). Furthermore, ensure you are buying the correct gauge. While 20G (0.81mm) and 18G (1.02mm) are standard for fashion lobes, cartilage piercings typically require 16G (1.29mm) or 14G (1.63mm) to prevent the 'cheese-cutter effect,' where a thin wire migrates through the tissue and traps the backing.
| Back Type | Security Level | Removal Ease | Best For | Avg. Price Range |
|---|---|---|---|---|
| Butterfly Clutch (Friction) | Low to Medium | Difficult (over time) | Casual, temporary wear | $5 - $25 |
| Screw Back (External) | High | Moderate (can strip) | Children's earrings | $20 - $60 |
| Internally Threaded | Very High | Very Easy (smooth glide) | Cartilage, daily wear, thick lobes | $40 - $150+ |
| Threadless (Press-Fit) | High | Easy (requires pop tool) | Professional piercings, secure fit | $35 - $120+ |
| Lauset / Locking Clutch | Maximum | Moderate (requires alignment) | Active lifestyles, sleepers | $25 - $75 |
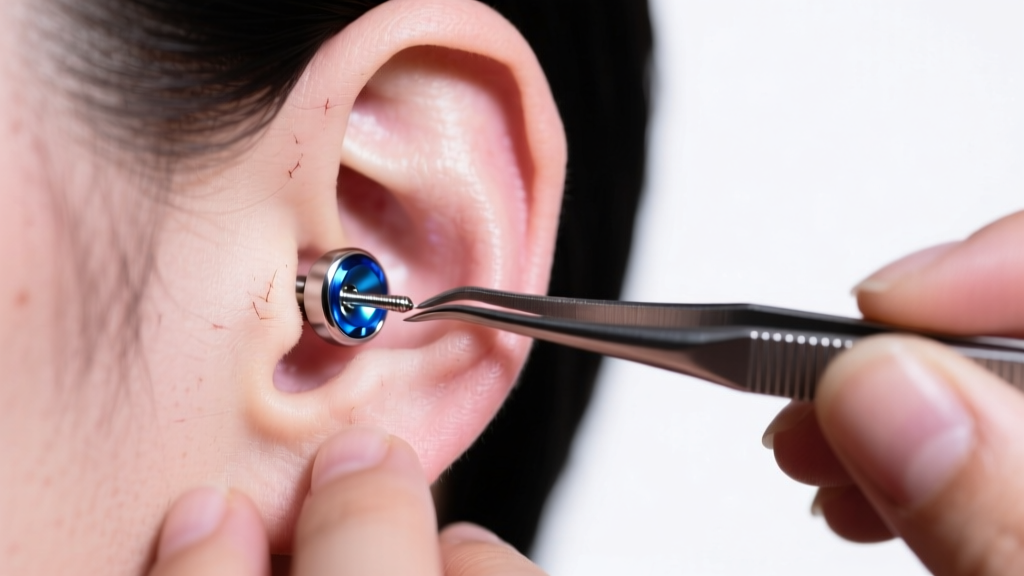
Material Matters: Avoiding Allergic Swelling
Sometimes, an earring is not mechanically stuck; it is trapped by your own biology. Contact dermatitis caused by nickel allergies is one of the leading reasons earlobes swell around an earring post, effectively swallowing the backing and making it impossibly tight. According to the Mayo Clinic, nickel allergy affects a significant portion of the population, and even trace amounts in 'surgical steel' can trigger severe localized edema (swelling).
When buying earrings to prevent this trapping effect, you must scrutinize the material grade. The Association of Professional Piercers (APP) strongly recommends avoiding mystery metals and standard surgical steel for sensitive ears. Instead, invest in jewelry made from ASTM F136 Implant-Grade Titanium. This specific alloy is entirely nickel-free, highly polished to prevent bacterial adhesion, and biologically inert. For precious metals, ensure you are purchasing solid 14k or 18k gold that is explicitly nickel-free and cadmium-free. Avoid gold-plated or gold-filled earrings for daily wear, as the friction from the earring back will eventually wear away the plating, exposing the reactive base metals underneath and triggering the swelling that traps the jewelry.
When to See a Professional Piercer
While the saline, lubrication, and nitrile glove methods will resolve 95% of stuck earring cases, there are scenarios where DIY removal becomes dangerous. If the earring back has completely embedded itself into the skin of the earlobe—a condition known as embedding—do not attempt to cut or dig it out at home. Embedding requires a sterile environment, specialized taper tools, and sometimes a minor scalpel procedure to release the tissue safely. Furthermore, if the piercing is hot to the touch, oozing yellow or green discharge, or accompanied by a fever, the earring may be trapped by an active infection. In these cases, leave the jewelry in place to maintain a drainage channel and visit a professional piercer or a dermatologist immediately for safe removal and treatment.
By understanding the mechanics of your jewelry and upgrading to internally threaded, properly sized, and biocompatible metals, you will never have to frantically search for how to loosen earrings again. Invest in quality closures, and your daily jewelry routine will remain effortless and pain-free.


