How to Make Acrylic Earrings: A Budget & Value Guide
Learn how to make acrylic earrings with our budget guide. Compare DIY costs vs retail, discover essential tools, and maximize your jewelry ROI.

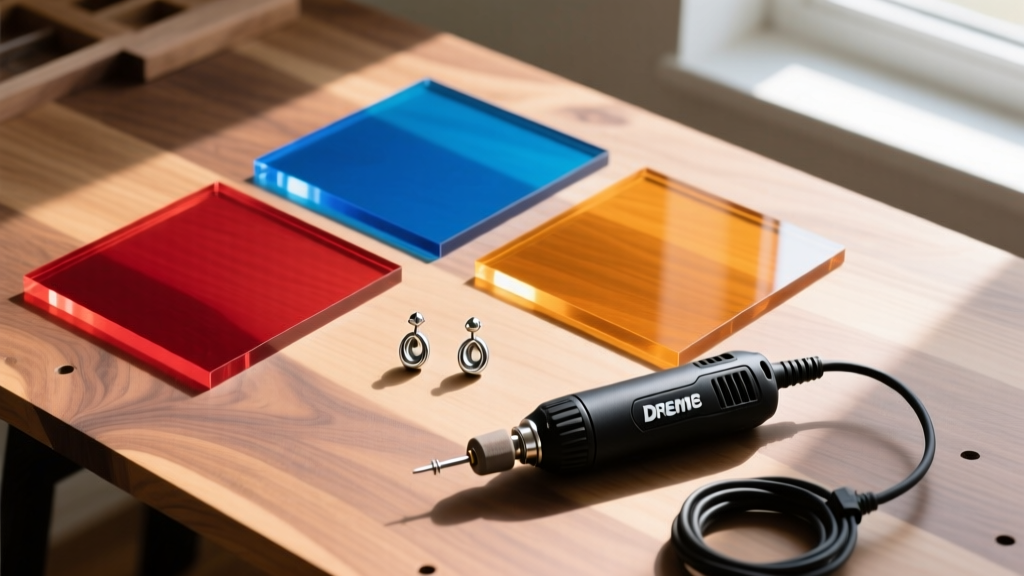
The Economics of DIY Acrylic Jewelry in 2026
As hyper-personalized, chunky statement earrings continue to dominate the 2026 fashion landscape, acrylic has cemented itself as the ultimate medium for bold, lightweight designs. But for jewelry enthusiasts and aspiring small business owners, a critical question remains: is it actually more cost-effective to craft your own? Understanding how to make acrylic earrings requires more than just a creative eye; it demands a rigorous budget and value assessment. In this guide, we break down the exact material costs, tool investments, and hidden time-sinks of DIY acrylic earring production versus buying retail.
The True Cost Breakdown: DIY vs. Retail Acrylic Earrings
Before investing in equipment, we must evaluate the unit economics. Retail acrylic earrings—especially those featuring complex laser-cut geometric patterns or layered translucent effects—typically command a premium due to perceived artistic value, despite low material costs. Below is a comparative analysis of producing a standard 2-inch layered acrylic dangle earring pair.
| Cost Factor | DIY Production (Per Pair) | Boutique Retail Price | Value Margin |
|---|---|---|---|
| 3mm Cast Acrylic Sheet | $0.45 | N/A (Included) | - |
| Hypoallergenic Hardware (20G) | $0.30 | N/A (Included) | - |
| UV Resin & Adhesives | $0.15 | N/A (Included) | - |
| Total Material Cost | $0.90 | $28.00 - $45.00 | 96%+ Savings |
While the material savings are staggering (often exceeding 95%), the DIY route requires an upfront capital expenditure for tools. The break-even point for a mid-tier diode laser setup is typically reached after producing just 15 to 20 pairs, making the ROI exceptionally high for frequent makers.
Essential Materials: Sourcing for Quality and Margin
The most common mistake beginners make when learning how to make acrylic earrings is purchasing the wrong type of plastic. Not all acrylic is created equal, and choosing poorly will ruin your tools and your profit margins.
Cast vs. Extruded Acrylic
- Cast Acrylic: This is the gold standard for jewelry making. Manufactured by pouring liquid resin into molds, cast acrylic has a higher melting point and machines beautifully. When cut with a laser or drilled, it leaves a clean, frosty edge that requires minimal sanding. According to material experts at Plastics International, cast acrylic also resists stress-cracking when exposed to certain adhesives.
- Extruded Acrylic: Often found in big-box hardware stores, extruded acrylic is cheaper but problematic. It melts easily under friction or laser heat, leaving sticky, re-fused burrs on your earring edges. It is highly prone to cracking during the drilling phase. Avoid it for fine jewelry applications.
Hardware Specifications
Do not compromise on earring posts. The standard thickness for most commercial earring posts is 20-gauge (0.81mm) or 18-gauge (1.02mm). Sourcing Rio Grande or reputable wholesale suppliers for nickel-free stainless steel or Grade 23 titanium posts ensures your earrings won't cause contact dermatitis, protecting your brand's reputation and reducing return rates. Expect to pay between $0.10 and $0.25 per pair for high-quality, bulk-sourced titanium posts with flat pads for optimal glue adhesion.
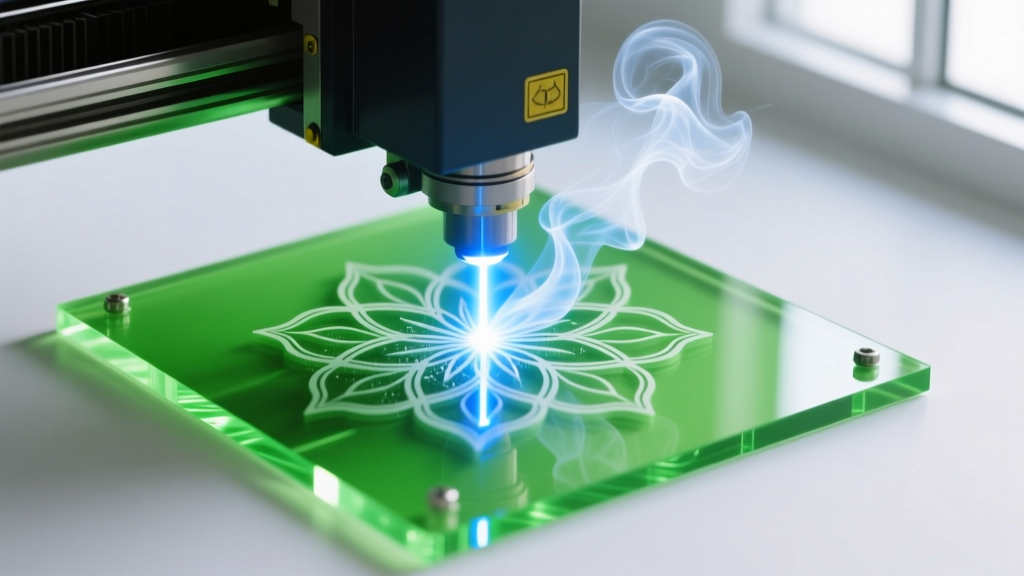
Tool Investment: Assessing the Fabrication Methods
Your fabrication method dictates your labor cost, precision, and material waste. Here is a value assessment of the three primary ways to cut acrylic for earrings.
1. The Manual Method (Jeweler's Saw & Dremel)
Upfront Cost: $40 - $80
Best For: Hobbyists making fewer than 5 pairs a month.
Using a fine-toothed jeweler's saw and a Dremel rotary tool for edge sanding is the most budget-friendly entry point. However, the time cost is immense. Cutting complex interior negative spaces is nearly impossible, limiting your designs to basic geometric silhouettes. The labor cost per pair is high, making this method unviable for resale.
2. The CNC Router / Drill Press
Upfront Cost: $250 - $600
Best For: Thick, chunky 5mm+ acrylic styles.
While excellent for wood and metal, CNC routing 3mm acrylic often results in micro-chipping along the cut line unless you use specialized single-flute O-flute end mills and strict feed-rate controls. The setup time and holding fixtures required for small earring parts make this a poor value proposition for most jewelry makers.
3. The Desktop Diode Laser (The 2026 Standard)
Upfront Cost: $350 - $800
Best For: Small businesses and prolific hobbyists.
A 10W to 20W diode laser (such as those from xTool or Atomstack) is the undisputed champion of acrylic earring production. It allows for intricate lace-like patterns, perfect nesting to minimize scrap, and rapid edge-polishing. The ability to batch-cut 50 pairs in under an hour drastically reduces the labor cost to mere pennies per unit.
Assembly & Adhesives: Avoiding Costly Failures
Knowing how to cut the acrylic is only half the battle; assembling it reliably is where many DIYers lose money to defects and returns. The adhesive you choose directly impacts your production speed and failure rate.
Pro-Tip for Flat Pads: Always use earring posts with a flat, textured pad (often called a 'cup' or 'flat bed'). Round or looped posts offer insufficient surface area for rigid acrylic, leading to catastrophic shear failures when the earring is dropped.
| Adhesive Type | Cure Time | Cost per Ounce | Failure Mode & Value Assessment |
|---|---|---|---|
| E6000 Craft Glue | 24-72 Hours | $4.50 | High mess, stringy, off-gasses. Prone to peeling if acrylic isn't scuffed. Low value for batch production. |
| Two-Part Epoxy | 5-30 Minutes | $8.00 | Extremely strong, but yellowing can occur on clear acrylic. Pot-life limits batch sizes. Moderate value. |
| UV Curing Resin | 60-90 Seconds | $12.00 | Requires a 36W+ UV lamp. Instant cure allows immediate packaging. Highest ROI for commercial makers. |
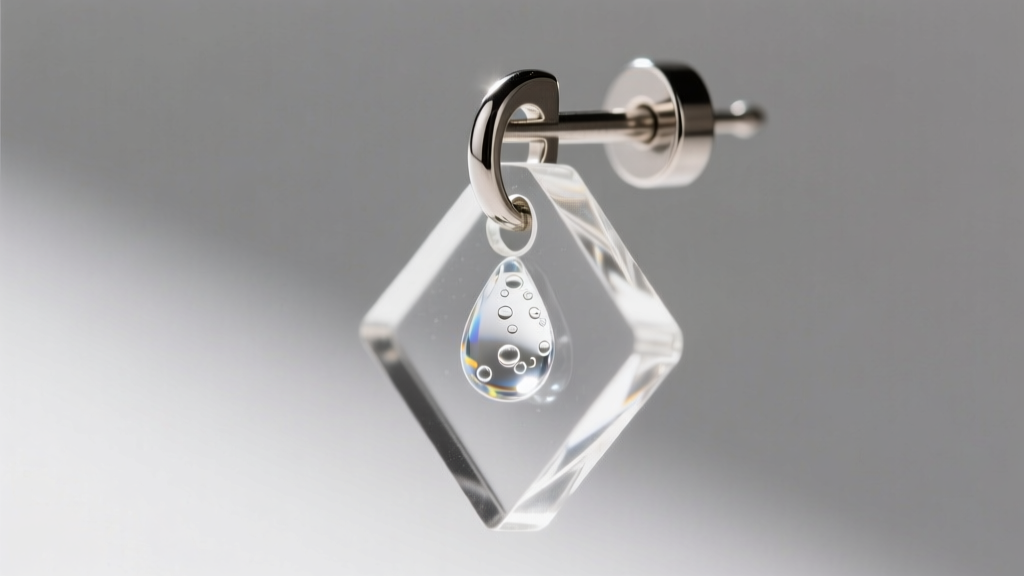
Common Failure Modes & Troubleshooting
To protect your budget, you must anticipate and mitigate the most common acrylic fabrication errors:
- Star-Cracking During Drilling: If you must drill holes for jump rings instead of laser-cutting them, never use standard twist drill bits. They grab the plastic and shatter it. Use a step bit, or place a sacrificial piece of scrap wood beneath the acrylic and drill from the back side to prevent blowout.
- Adhesive Fogging: Cyanoacrylate (Super Glue) releases fumes as it cures that will permanently fog the surface of your acrylic, ruining the finish. Never use CA glue near clear or translucent acrylic earrings.
- Paper Transfer Residue: Most cast acrylic comes with a protective paper masking. If you laser-cut through the paper, the heat can fuse the paper fibers into the acrylic edge. Always use a plastic squeegee to remove the masking immediately after cutting, or switch to laser-safe PE tape masking for high-volume runs.
Final Verdict: Is the DIY Route Worth the Investment?
When evaluating how to make acrylic earrings from a strict budget and value perspective, the DIY route is overwhelmingly superior for anyone planning to produce more than a dozen pairs a year. While the initial investment in a desktop diode laser and UV curing setup may hover around $500, the unit economics drop the cost per pair to under $1.00. Compared to the $30+ retail markup on boutique acrylic jewelry, the value capture for the maker is immense. By sourcing Grade 23 titanium hardware and premium cast acrylic, you can produce hypoallergenic, high-end statement pieces that rival luxury brands, all while maintaining a profit margin that sustains long-term creative growth.


