How to Put Flat Back Earrings In: The 2026 Curated Ear Guide
Master how to put flat back earrings in with our 2026 style guide. Learn threadless vs. threaded insertion, gauge sizes, and curated ear stacking trends.

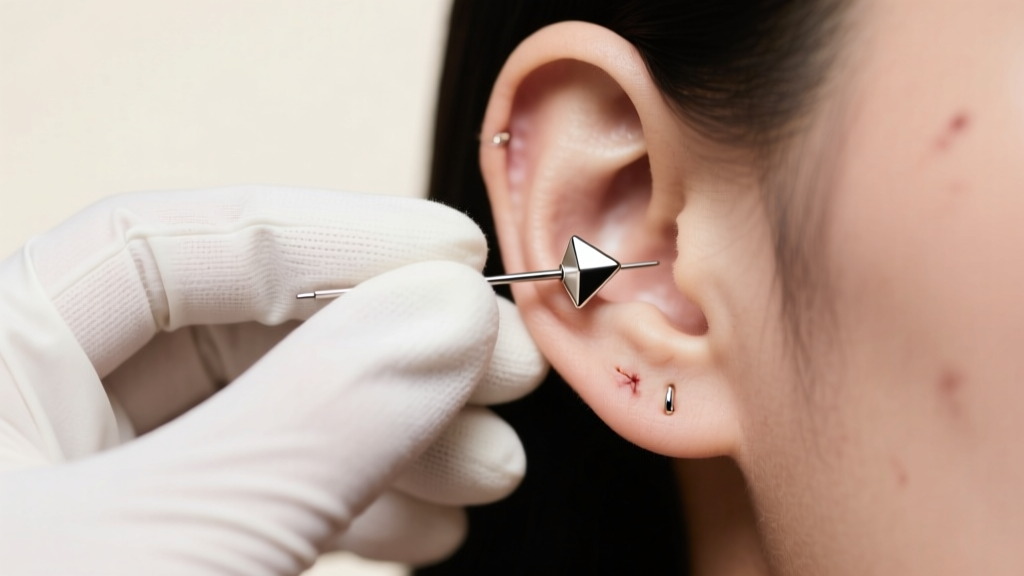
The era of the traditional butterfly friction back is officially over. As we navigate the 2026 jewelry landscape, the curated ear stack has evolved from a niche subculture into a mainstream style staple, and the foundation of this movement relies entirely on flat back earrings. Whether you are building a constellation lobe stack or securing a delicate helix stud, learning how to put flat back earrings in properly is essential for both the longevity of your piercing and the aesthetic success of your curation.
Unlike standard post-and-clutch earrings that dig into the neck during sleep and trap dead skin cells, flat backs (often referred to as labret studs) feature a smooth, flush disc that rests comfortably against the back of the ear. However, because they utilize advanced securing mechanisms—specifically threadless tension or internal threading—they require a slightly different insertion technique. This comprehensive guide will break down the mechanics, sizing, and step-by-step insertion methods for modern flat back jewelry.
The 2026 Shift: Why Flat Backs Dominate Curated Ear Stacks
In recent years, the Association of Professional Piercers (APP) has heavily advocated for the use of flat back jewelry in both healing and healed piercings. The reasoning is rooted in anatomy and tissue health. Traditional butterfly backs apply uneven pressure to the back of the earlobe, which can lead to pressure necrosis, embedding, and localized irritation bumps.
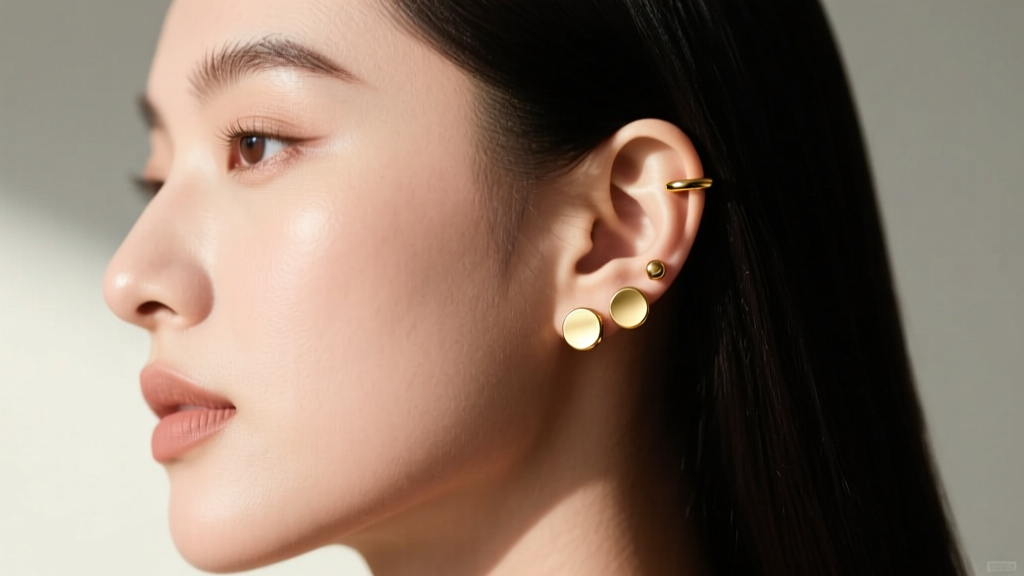
From a style perspective, the 2026 trend of "micro-curation" demands precision. Piercers and jewelry designers are placing multiple piercings within millimeters of each other. Flat backs eliminate the bulky backing hardware that causes adjacent earrings to clash or overlap. Furthermore, high-end brands like BVLA and Maria Tasha have popularized the use of implant-grade materials and precision-set gemstones that are exclusively manufactured on flat back posts, making them the only viable option for luxury ear styling.
Understanding Your Hardware: Threadless vs. Internally Threaded
Before attempting insertion, you must identify which type of flat back system you are holding. High-quality body jewelry completely abandons "external threading" (where the screw threads are on the post that passes through the flesh), as those sharp threads can tear the delicate fistula of the piercing channel.
1. Threadless (Push-Pin) Jewelry
Threadless jewelry relies on the physical tension of bent metal. The decorative front piece features a smooth, slightly flexible pin (usually made of gold or titanium). This pin is inserted into the hollow tube of the flat back post. By slightly bending the pin before insertion, the metal creates a spring-like tension against the inside wall of the hollow post, locking it securely in place.
2. Internally Threaded Jewelry
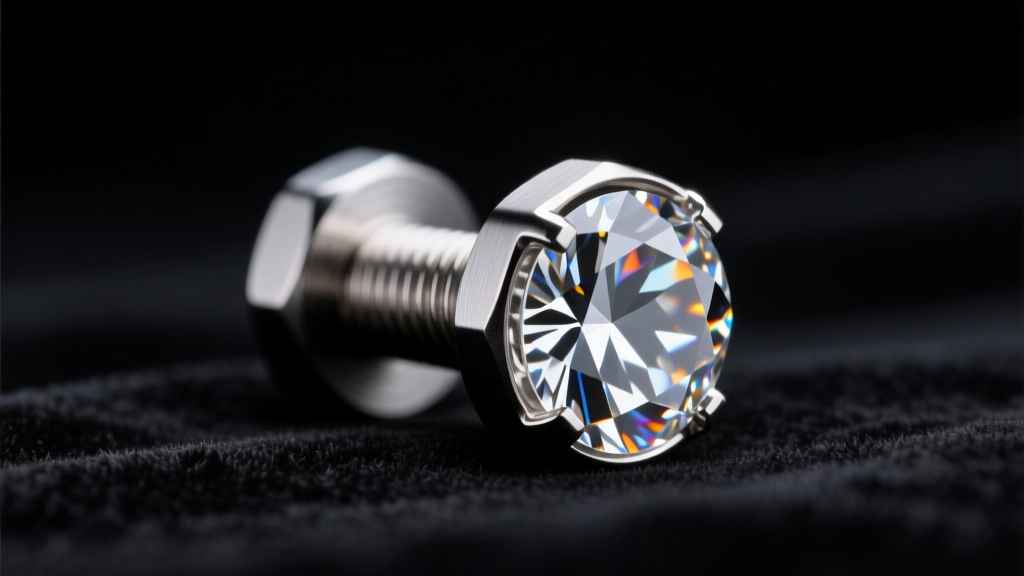
Internally threaded jewelry features a hollow post attached to the flat back disc. The threads are hidden inside this hollow tube. The decorative front piece has a smooth pin with external threads that screws directly into the back. This ensures that only a perfectly smooth surface passes through your piercing.
Step-by-Step: How to Put Flat Back Earrings In
Inserting flat back earrings requires patience, clean hands, and good lighting. Always wash your hands thoroughly and work over a soft surface or a plugged sink to prevent losing small components.
Method A: Inserting Threadless (Push-Pin) Flat Backs
- Prepare the Pin: Take the decorative front piece and locate the thin metal pin. Using your fingers or a pair of clean, nylon-jaw pliers, gently bend the pin about one-third of the way down from the gem. You only need a slight 10 to 15-degree bend. If you bend it too sharply, it will not fit into the post.
- Insert the Post: From the back of your ear, gently guide the flat back post through your piercing channel until the disc rests flush against your skin. Hold the back steady with one hand.
- Lock the Front: With your other hand, push the bent pin of the decorative front into the hollow post. Push firmly until you feel or hear a subtle "pop" or resistance, indicating the tension has locked the pieces together.
- Test the Tension: Give the front piece a very gentle tug. If it slides out easily, remove the front, bend the pin slightly more, and reinsert.
Method B: Inserting Internally Threaded Flat Backs
- Position the Back: Guide the hollow, internally threaded post through the back of your piercing. Because the post is hollow, it can sometimes catch on the piercing channel; using a tapered insertion tool can help if the piercing is tight.
- Align the Front: Bring the threaded pin of the decorative front up to the opening of the post.
- Screw and Secure: Begin turning the front piece clockwise. To prevent the back from spinning behind your ear, professional piercers recommend using a pair of sterilized hemostats or a specialized jewelry gripping tool to hold the flat back disc steady while you twist the front.
- Tighten: Screw until snug. Do not overtighten with pliers, as this can strip the micro-threads or crack delicate gemstone settings.
Sizing Matters: Gauge and Post Length Matrix
Using the correct dimensions is critical. A post that is too long will cause the earring to droop or snag on hair, while a post that is too short will compress the tissue and cause swelling. Below is the standard 2026 sizing matrix for flat back earrings:
| Piercing Location | Standard Gauge | Healed Post Length | Fresh/Swollen Post Length |
|---|---|---|---|
| Standard Ear Lobe | 18g (1.0mm) or 16g (1.2mm) | 6mm (1/4") | 8mm (5/16") |
| Helix / Flat | 16g (1.2mm) | 6mm or 8mm (1/4" - 5/16") | 8mm or 10mm (5/16" - 3/8") |
| Conch | 16g (1.2mm) or 14g (1.6mm) | 6mm or 8mm (1/4" - 5/16") | 10mm (3/8") |
| Tragus | 16g (1.2mm) | 6mm (1/4") | 8mm (5/16") |
Note: Always consult with your piercer for exact measurements, as individual ear anatomy and tissue thickness vary wildly.
Troubleshooting Common Insertion Failures
Even with high-quality jewelry, you may encounter mechanical hiccups. Here is how to troubleshoot the most common issues when figuring out how to put flat back earrings in:
- The Threadless Pin Won't Stay In: The pin is not bent enough, or the inside of the hollow post is filled with dried saline or soap residue. Clean the post with warm water and a cotton swab, dry it completely, and add a slightly sharper bend to the pin.
- The Threadless Pin is Impossible to Remove: You bent the pin too aggressively. To remove it, do not just pull. Grip the front gem and the flat back disc simultaneously and push them toward each other while pulling them apart, mimicking the motion of snapping a twig. The opposing leverage will break the tension seal.
- The Internally Threaded Pin Cross-Threads: You are forcing it at an angle. Back it out completely, ensure the front is perfectly perpendicular to the post, and start the twist gently. If you feel resistance, stop immediately to avoid stripping the gold or titanium threads.
- The Earring Droops Forward in the Lobe: Your post is too long for your lobe thickness, or the decorative front is too heavy for an 18g post. Size down to a 6mm post or upgrade to a thicker 16g post for better structural support.
Material Grades: What to Buy in 2026
When investing in flat back jewelry, material integrity is non-negotiable. The APP recommends only specific materials for long-term wear. Look for ASTM F136 implant-grade titanium, which is entirely nickel-free and highly biocompatible, making it the ultimate choice for sensitive ears or active piercings. If you prefer the warmth of gold, ensure it is 14k or 18k solid gold that is specifically alloyed to be nickel-free. Avoid "gold plated" or "gold vermeil" flat backs, as the friction of insertion and removal will quickly wear away the thin plating, exposing reactive base metals to your piercing channel.
Final Thoughts on Ear Curation
Mastering the mechanics of your jewelry elevates your entire styling experience. Once you understand the satisfying click of a threadless pin or the secure twist of an internal thread, you will never return to the frustration of traditional friction backs. By prioritizing implant-grade materials, precise post lengths, and proper insertion techniques, your 2026 curated ear stack will not only look flawless but will remain healthy, comfortable, and secure for years to come.


