How To Wear The Girl With A Pearl Earring Van Leeuwenhoek Style
Learn how to recreate the iconic girl with a pearl earring van leeuwenhoek inspired look with our step-by-step guide on pearl grading, hardware, and styling.

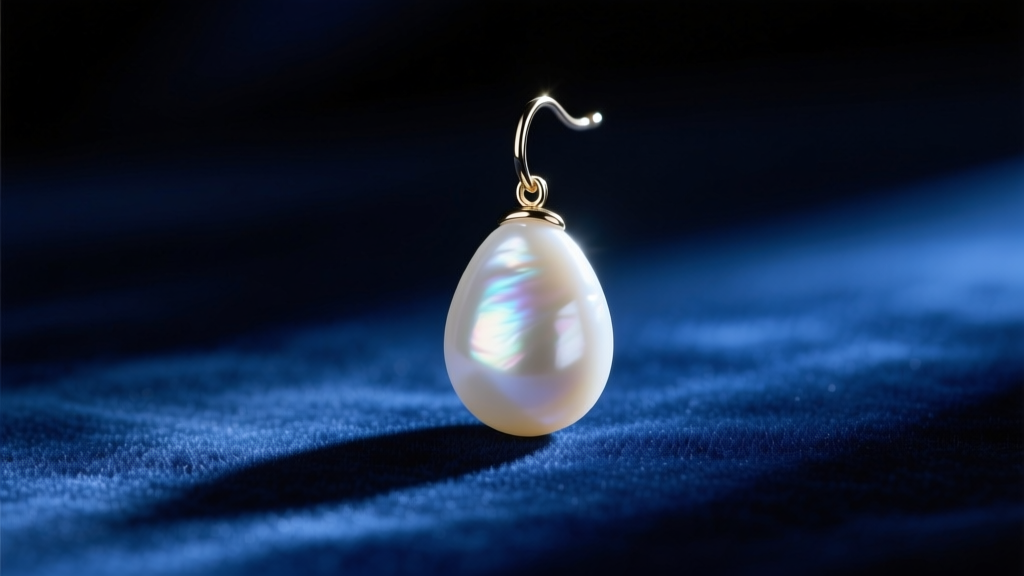
The Optical Science of the Delft Masters
Johannes Vermeer’s 1665 masterpiece, Girl with a Pearl Earring, has captivated art historians and jewelers for centuries. But to truly understand the optical brilliance of the painting's focal point, we must look through the lens of Vermeer’s contemporary, Antonie van Leeuwenhoek. As the father of microbiology and a master lens grinder in Delft, Van Leeuwenhoek understood light, refraction, and microscopic structures better than anyone in the 17th century. When exploring the historical and optical significance of the girl with a pearl earring van leeuwenhoek aesthetic, we are bridging two worlds of 17th-century Delft: the artistic mastery of chiaroscuro lighting and the scientific obsession with microscopic perfection.
Recreating this iconic look today requires more than simply buying a large pearl. It demands a deep understanding of gemological nacre structures, structural jewelry engineering to support heavy carat weights, and precise styling techniques to capture that legendary 'Vermeer light.' This step-by-step guide will teach you how to source, build, and style a statement pearl earring that honors both the art and the science of the Dutch Golden Age.
Step 1: Sourcing the 'Vermeer' Pearl
The pearl depicted in Vermeer's painting is massive, likely measuring between 14mm and 16mm in diameter. In the 1600s, a natural saltwater pearl of this size would have been astronomically expensive, leading some historians to debate whether it was a glass imitation coated in pearl essence. Today, we can achieve this exact look using high-grade cultured pearls. According to the Gemological Institute of America (GIA), the most critical factor in achieving the painting's glowing effect is the pearl's luster and nacre quality.
To replicate the deep, mirror-like reflection seen in the painting, you must seek out pearls with 'Excellent' or 'Very High' luster grades. The nacre—the microscopic layers of aragonite platelets bound by conchiolin—must be exceptionally thick to create the 'orient' (the iridescent play of colors) and deep overtone that makes the pearl appear illuminated from within.
Magnification: The Van Leeuwenhoek Method
Channeling Van Leeuwenhoek’s microscopic curiosity, you should inspect potential pearls using a 30x jeweler's loupe. Under magnification, a high-quality pearl will reveal a smooth, tightly packed crystalline structure. Avoid pearls that appear chalky, banded, or show visible concentric growth rings under magnification, as these will fail to catch the light in the dramatic fashion required for this specific aesthetic. For the authentic teardrop or heavy round shape, South Sea pearls and premium Edison freshwater pearls are your best options.
Step 2: Engineering Heavy-Duty Hardware
One of the most common failures in statement earring design is ignoring the physics of weight. A 15mm round pearl can weigh anywhere from 3.5 to 5.5 grams, depending on its density and drill hole size. Standard commercial earring wires are typically 20-gauge (0.81mm) or 22-gauge (0.64mm). If you hang a 5-gram pearl on a 20-gauge wire, the metal will permanently stretch and bend, causing the earring to droop forward and the pearl to hide against the neck.
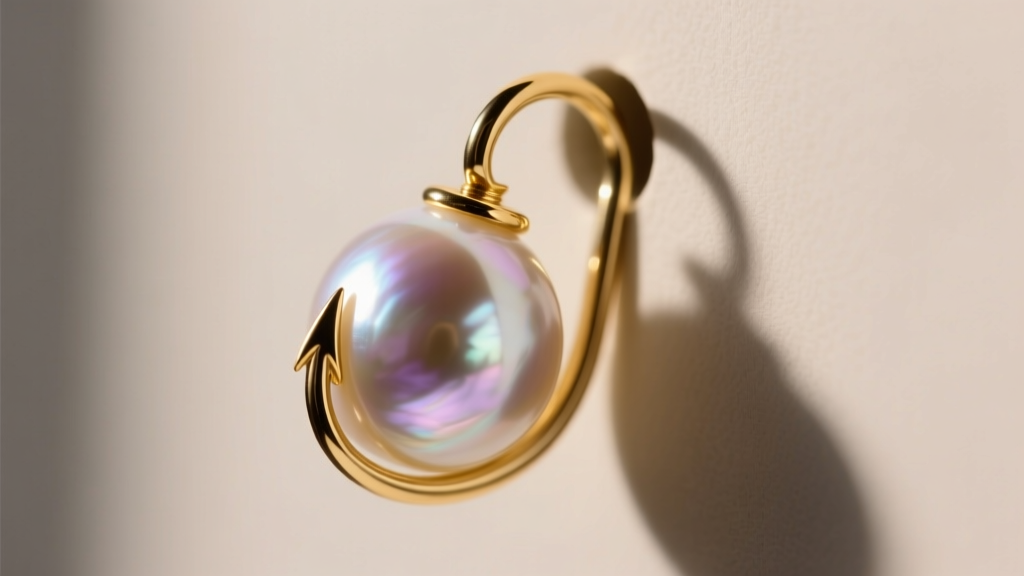
To engineer a structurally sound earring, you must upgrade your hardware. For pearls weighing over 3 grams, an 18-gauge (1.02mm) or 16-gauge (1.29mm) wire is mandatory. Furthermore, the type of ear wire dictates how the pearl sits on the earlobe.
| Pearl Size (mm) | Avg. Weight (grams) | Recommended Wire Gauge | Best Ear Wire Style | Required Backing |
|---|---|---|---|---|
| 10mm - 12mm | 1.5g - 2.8g | 20-Gauge (0.81mm) | Standard Fishhook | Standard Friction Post / Clutch |
| 13mm - 15mm | 3.0g - 4.5g | 18-Gauge (1.02mm) | Heavy-Duty Fishhook / Leverback | Silicone Stoppers (Large) |
| 16mm+ | 5.0g+ | 16-Gauge (1.29mm) | Omega Clip or French Clip | Integrated Clip Mechanism |
When drilling the pearl, ensure the lapidary uses a 1.0mm to 1.2mm drill bit. Attempting to force an 18-gauge wire through a standard 0.7mm drill hole will crack the nacre and ruin the gem. Always use a cup-and-peg setting with jeweler's epoxy for half-drilled pearls, as this distributes the tensile stress across the base of the pearl rather than relying solely on the wire's tension.
Step 3: Styling for Chiaroscuro Brilliance
The Mauritshuis Museum notes that the painting's power lies in its chiaroscuro—the stark contrast between the dark, undefined background and the luminous subject. To wear the girl with a pearl earring van leeuwenhoek style in a modern context, you must manipulate your environment and wardrobe to recreate this optical phenomenon.
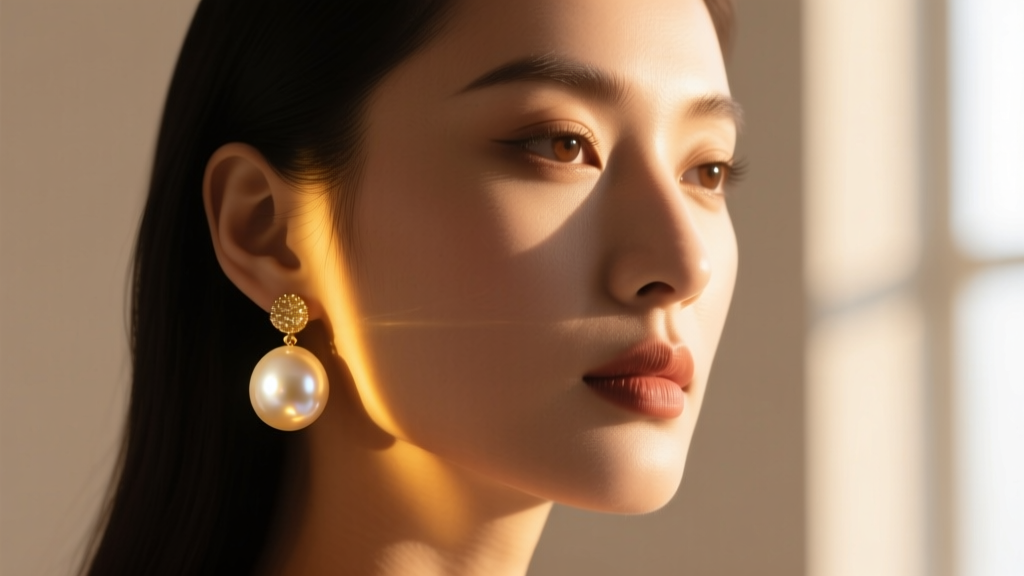
First, consider the backdrop. The pearl will only appear to 'glow' if it is contrasted against darker, matte fabrics. A deep navy, charcoal, or black velvet top absorbs ambient light, allowing the pearl's high-luster surface to act as a singular reflector. Avoid high-necked, ruffled, or heavily patterned collars, which create visual noise and scatter the light that should be hitting the pearl.
Second, manage your hair. The pearl must be fully exposed to the primary light source. Sweep your hair up into a loose, low chignon or tuck it behind the ear to ensure an unobstructed angle of incidence. The 'Vermeer light' typically hits from a high, 45-degree angle from the left or right. When positioning yourself for photographs or attending evening events, identify the primary directional light source and angle your profile so the light strikes the crown of the pearl, creating that signature crescent-shaped highlight.
Step 4: Long-Term Nacre Preservation
Antonie van Leeuwenhoek’s microscopic observations revealed the delicate, organic nature of biological structures. Pearls are no exception; they are organic gems composed of calcium carbonate and conchiolin, making them highly susceptible to acidic degradation. The natural oils, sweat, and cosmetics from human skin can slowly dissolve the nacre over time, reducing a brilliant 'Excellent' luster pearl to a dull, chalky bead.
To preserve the optical integrity of your statement piece, you must adhere to a strict maintenance protocol. Always put your pearl earrings on after applying perfumes, hairsprays, and lotions. After wearing, gently wipe the pearl with a soft, lint-free microfiber cloth dampened with distilled water to remove acidic skin oils. Never use ultrasonic cleaners, steamers, or chemical jewelry dips, as these will instantly strip the nacre's orient. Store the earrings in a soft silk pouch, separate from harder gemstones like diamonds or sapphires, which will easily scratch the pearl's relatively soft 2.5-3.0 Mohs hardness surface. By treating the pearl with the same scientific reverence that the Delft masters applied to their craft, you ensure the earring remains a luminous masterpiece for decades to come.


