How to Put in an Earring: The Ultimate Closure Buying Guide
Learn how to put in an earring with ease. Our buyer's guide compares threadless, hinged, and threaded closures for effortless insertion.

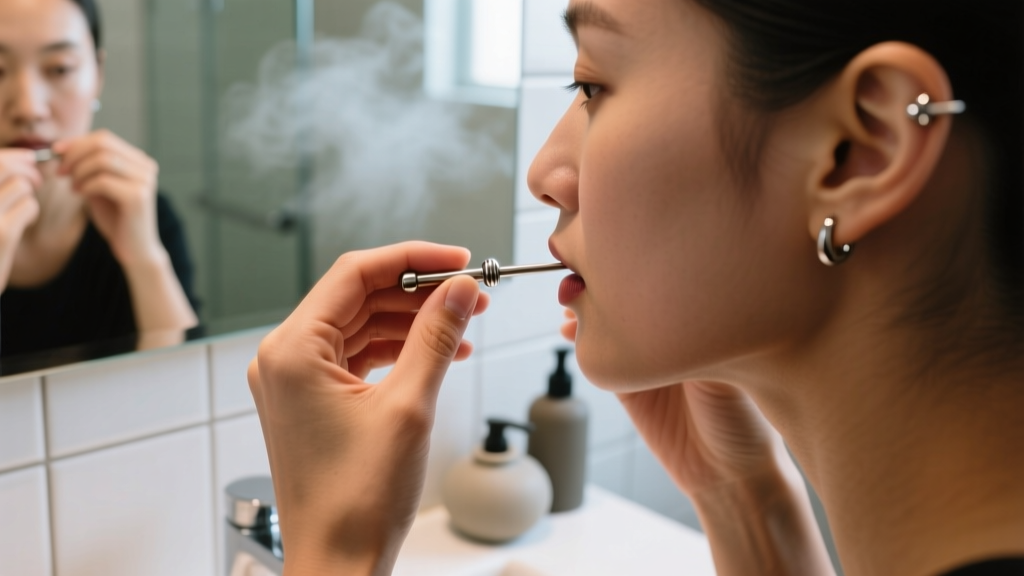
Why Closure Type Dictates Your Earring Experience
Learning how to put in an earring should not feel like a daily battle of dexterity and patience. Yet, thousands of jewelry buyers make a critical mistake at checkout: they prioritize the aesthetic of the front setting while entirely ignoring the closure mechanism and insertion mechanics. Whether you are shopping for a delicate 18-gauge lobe stud or a 14-gauge conch hoop, the anatomy of the earring's backing or hinge will determine whether your routine takes five seconds or five frustrating minutes.
From a buyer's perspective, understanding how to put in an earring requires matching the closure type to your specific piercing placement and personal hand dexterity. A rook or tragus piercing, for example, sits in a highly restricted anatomical pocket where your fingers have limited leverage. Buying a captive bead ring (CBR) for a rook is a notorious recipe for dropped jewelry and torn fistulas. According to the Association of Professional Piercers (APP), selecting jewelry with appropriate, high-quality closures is just as vital as choosing implant-grade materials for long-term tissue health.
Decoding Earring Closures: What to Buy for Easy Insertion
Before we break down the physical technique of how to put in an earring, you must select the right hardware. Below is a structural comparison of the most common closure types available on the market, rated by insertion difficulty and optimal placement.
| Closure Type | Mechanism | Insertion Difficulty | Best Piercing Placement |
|---|---|---|---|
| Threadless (Push-Pin) | Tension-fit bent pin into hollow shaft | Low (once mastered) | Helix, Conch, Flat, Tragus, Lobes |
| Internally Threaded | Screws into the hollow post (M1.0 or M1.2) | Moderate | Lobes, Medusa, Cartilage |
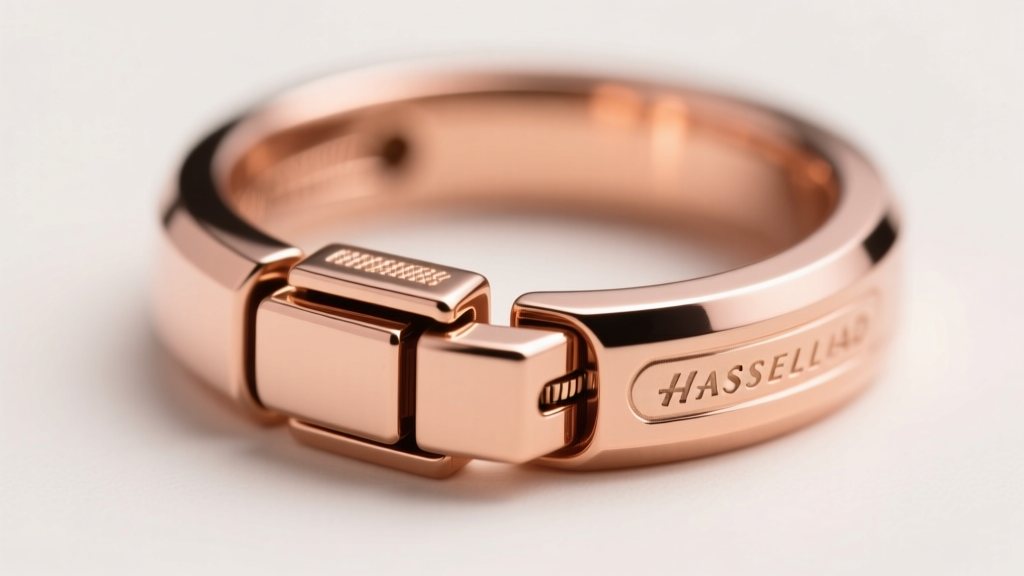
| Hinged Segment Ring | Click-lock hinge with a flush seam | Very Low | Daith, Septum, Helix, Forward Helix |
| Captive Bead Ring (CBR) | Tension-held bead in a continuous ring | Very High (requires tools) | Septum, Stretched Lobes (not cartilage) |
| Friction (Butterfly) Back | Push-on notched backing | Low | Standard Earlobes Only |
When shopping, always look for internal threading or threadless options. Externally threaded jewelry—where the screw ridges are on the post itself—acts like a microscopic file, shredding the delicate fistula lining every time you insert it. High-end brands like Anatometal and Neometal exclusively use internal threading or threadless tension systems to protect your tissue.
Step-by-Step: How to Put in an Earring by Closure Type
Now that you have selected the appropriate hardware, let us cover the exact methodology for insertion. The technique varies wildly depending on the engineering of the jewelry.
Mastering Threadless (Push-Pin) Labrets
Threadless jewelry is widely considered the gold standard for cartilage and facial piercings, but it confuses many first-time buyers. The secret to how to put in an earring of this type lies in the bend. The pin is not meant to go in perfectly straight.
- Prep the Pin: Insert the pin about one-third of the way into the shaft.
- Apply the Bend: Gently bend the pin to a 15-degree angle. This creates the internal spring tension required to lock the pieces together.
- Insert and Push: Slide the pin all the way into the hollow shaft and push firmly until it is flush. You should feel a distinct resistance and a slight "pop."
- Removal: To remove, grip the front gem and the back disc firmly, and pull them apart with a slight twisting motion. Do not simply yank, or you may damage the pin.
Navigating Internally Threaded Studs
Internally threaded earrings require precise alignment to avoid cross-threading, which can permanently strip the delicate M1.2 threads.
- Align the Threads: Place the threaded end against the hollow post. Do not force it immediately.
- Reverse First: Turn the gem counter-clockwise (left) until you feel a subtle "click" or drop. This means the threads are perfectly aligned.
- Tighten: Once aligned, turn clockwise (right) until snug. Never overtighten; finger-tight is sufficient. Overtightening can cause the jewelry to seize up, requiring pliers and a trip to your piercer to remove.
Snapping in Hinged Segment Rings (Clickers)
Huggies and clicker hoops are incredibly popular for their ease of use. To insert, simply align the tapered end of the ring with the piercing channel and gently push it through. Once the post clears the fistula, align it with the hollow hinge receiver and squeeze the ring closed until you hear an audible "click." Always run your fingernail over the seam; if it catches, the ring is not fully closed and could snag on your hair or clothing.
Troubleshooting Stubborn Piercings and Swollen Lobes
Even with the perfect jewelry, you may encounter resistance. Piercings can shrink within hours of removing jewelry, especially in the first two years of healing. If you are struggling to figure out how to put in an earring because the hole feels tight, never force the metal through. Forcing a blunt post through a shrunken fistula creates micro-tears, leading to irritation bumps and potential infection.
- Use an Insertion Taper: For gauges 14g and larger, or stubborn standard piercings, use a surgical steel insertion taper. Apply a drop of sterile saline to the taper, slide it through the piercing, and then immediately butt the earring post against the back of the taper, pushing them through together in one continuous motion.
- Proper Lubrication: If you lack a taper, use a water-based, sterile lubricant. According to Mayo Clinic guidelines on piercing care, you must avoid occlusive ointments like petroleum jelly (Vaseline) or Neosporin. These trap bacteria inside the piercing channel and block oxygen flow, drastically increasing the risk of anaerobic infections.
- Warm Compresses: If the tissue is swollen or tight, apply a warm, sterile saline compress for three minutes before attempting insertion. This increases local blood flow and softens the scar tissue, making the channel more pliable.
Metallurgy and Finish: Why Material Matters for Insertion
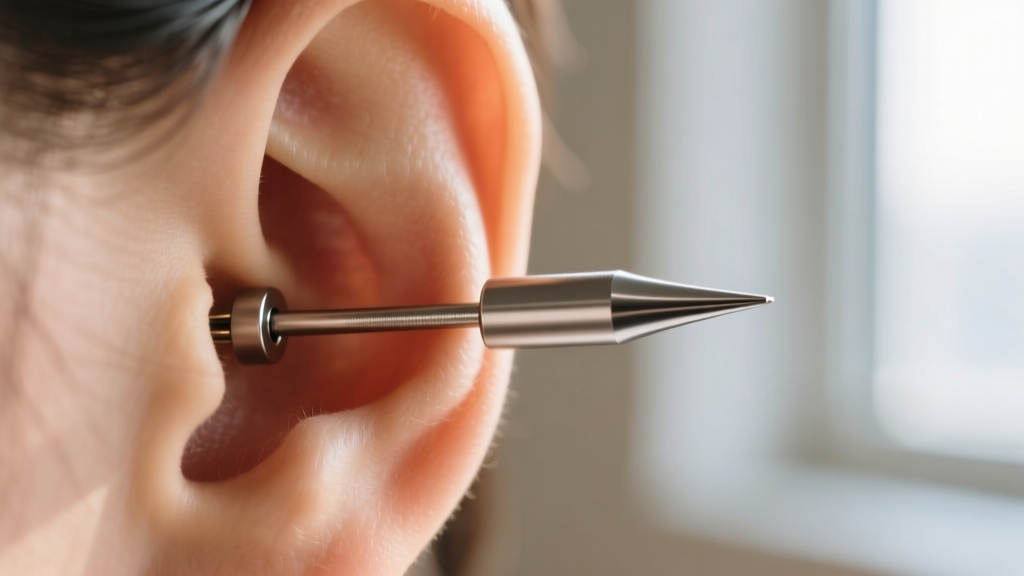
The physical act of insertion is heavily influenced by the surface finish and metallurgical grade of the jewelry. Cheap, mass-produced earrings often feature microscopic pits, scratches, or porous plating (like gold-plated brass) that catch on the delicate epithelial cells lining your piercing channel.
When shopping for easy-insertion jewelry, look for ASTM F-136 Implant-Grade Titanium. This specific alloy is not only hypoallergenic and nickel-free, but it is also polished to a mirror finish. A true mirror finish has a surface roughness average (Ra) of less than 0.2 micrometers, meaning it glides through the fistula with virtually zero friction. Conversely, matte-finished jewelry or heavily textured designs should never be worn in unhealed or easily irritated piercings, as the texture acts like sandpaper against the internal tissue during insertion and removal.
Final Verdict: Matching Your Dexterity to the Right Jewelry
Ultimately, knowing how to put in an earring flawlessly comes down to buying the right tool for your specific anatomy. If you have limited mobility, poor eyesight, or are reaching around a complex cartilage fold like a daith or rook, invest in hinged clicker rings or threadless labrets with large, easy-to-grip backings. If you prefer the classic security of threaded jewelry, ensure you are purchasing high-quality, internally threaded pieces with precision-machined ends. By prioritizing the mechanics of the closure alongside the beauty of the gemstone, you guarantee a lifetime of effortless, pain-free wear.


