How to Put On Cuff Earrings: Step-by-Step Guide for Secure Fit
Master how to put on cuff earrings securely with our step-by-step guide covering tension adjustments, placement, and cartilage styling hacks.

The Anatomy of an Ear Cuff: Why Placement Matters
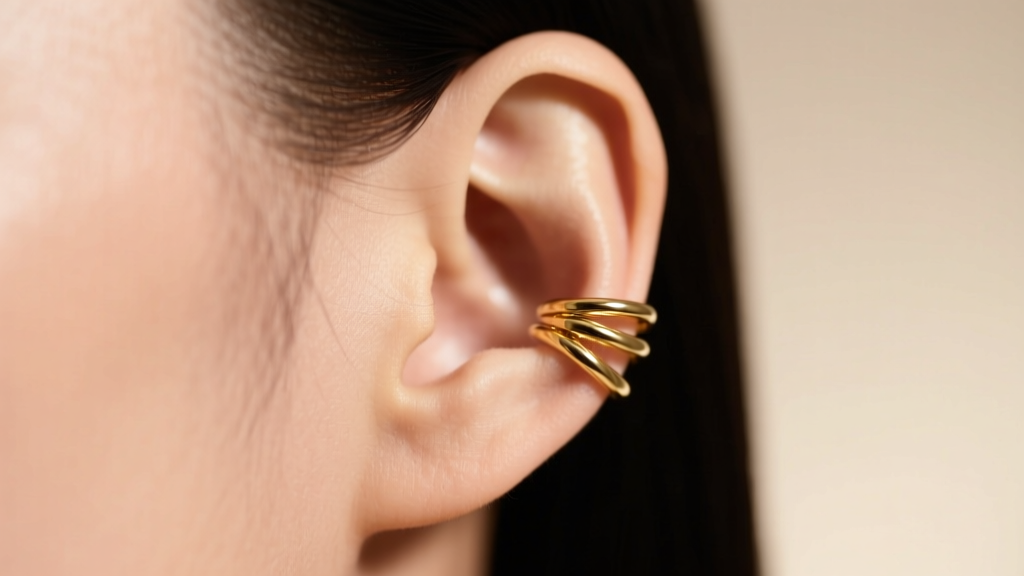
Learning how to put on cuff earrings securely requires a basic understanding of both jewelry mechanics and ear anatomy. Unlike traditional studs or hoops that rely on a post and backing, non-pierced ear cuffs rely entirely on tensile strength and anatomical friction. The human ear is not a uniform shape; cartilage thickness varies dramatically from person to person. According to anatomical data referenced by the Association of Professional Piercers (APP), the outer helix rim typically ranges between 1.0mm and 1.5mm in thickness, while the scapha (the shallow groove just inside the helix) can be significantly thinner.
Most tension-based ear cuffs are manufactured with a default gap of 2.0mm to 3.0mm. If you attempt to place a cuff on the thick upper cartilage near the apex of the ear, you will overstretch the metal, leading to permanent deformation. Conversely, placing it on the fleshy lobe provides no structural ridge for the cuff to grip, guaranteeing it will slide off. The secret to a secure fit lies in targeting the mid-to-lower helix rim, where the cartilage is pronounced enough to act as a natural anchor.
Step-by-Step: How to Put On Cuff Earrings (Non-Pierced)
To achieve an all-day hold without pinching or slipping, follow this precise application method. Never force a cuff over thick cartilage; instead, use the ear's natural geometry to your advantage.
- Locate the Sweet Spot: Feel the outer edge of your ear cartilage. Find the area roughly halfway between the top of your ear and your earlobe where the ridge is distinct but relatively thin (usually around 1.2mm thick).
- The Slide-On Technique: Do not pull the ends of the cuff apart like a wishbone. Instead, gently twist the top and bottom ends in opposite directions to widen the gap slightly. Slide the cuff over the thinnest edge of the helix rim.
- The Rotation: Once the cuff is over the outer edge, rotate it downward or upward along the ridge to your desired resting position. The cuff should now be sitting flat against the cartilage ridge.
- The Tension Squeeze: Using your thumb and index finger, gently squeeze the front and back of the cuff together. You should feel a slight, firm pressure. It should feel secure but never painful. Pain indicates excessive tension, which will cause the ear to swell slightly and eventually push the cuff off.
- The Lock-In: Tuck your hair behind your ear and ensure no strands are caught inside the tension gap, as hair acts as a lubricant and will cause the metal to slide.
Material Science: Bending and Tension Limits
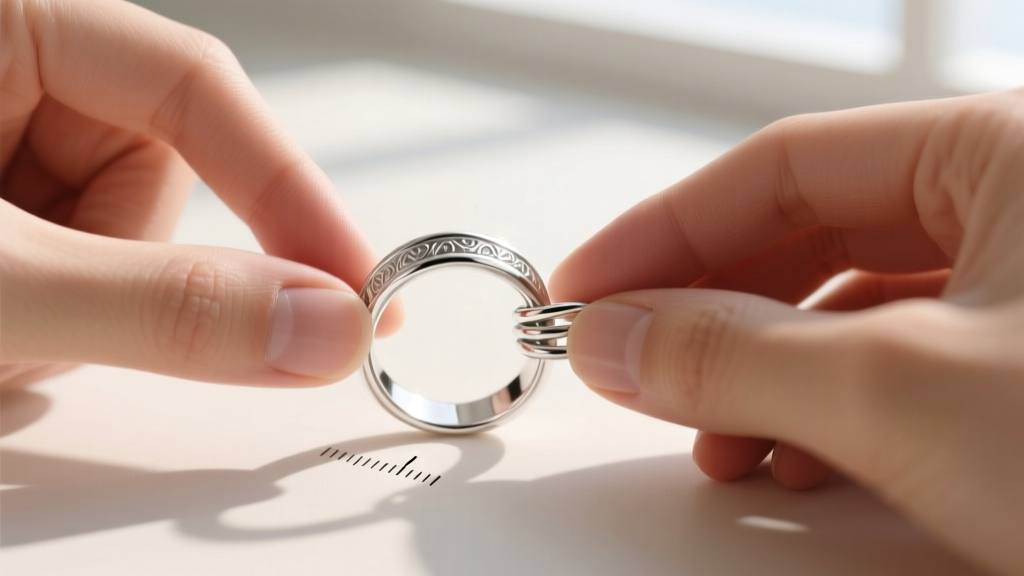
Not all ear cuffs are created equal. The metal composition dictates how much you can adjust the tension before the piece suffers from 'work hardening'—a metallurgical phenomenon where metal becomes brittle and snaps after repeated bending. According to Rio Grande's metallurgy guides, jewelry metals are categorized by their temper (hardness). Understanding this is crucial for maintaining your cuffs.
| Metal Type | Temper / Malleability | Adjustment Limit | Best Use Case |
|---|---|---|---|
| Sterling Silver (Dead Soft) | Highly malleable | High (Can be bent multiple times) | Custom-fitting to unique ear shapes |
| Sterling Silver (Half-Hard) | Moderate stiffness | Medium (Adjust 2-3 times max) | Standard daily wear cuffs |
| Brass / Copper | Stiff, prone to fatigue | Low (High risk of snapping) | Fashion jewelry, minimal adjusting |
| Titanium (Grade 23) | Memory metal, extremely rigid | None (Do not bend) | Screw-tension or hinged cuffs only |
| 14k Solid Gold | Soft but dense | Medium (Requires gentle pressure) | High-end, permanent-fit cuffs |
Expert Tip: If you purchase a sterling silver cuff and need to widen it, do so by applying slow, steady pressure with your thumbs. Never use pliers, as the steel jaws will mar the silver and create micro-fractures that lead to snapping.
Pierced Cartilage Cuffs: The Huggie Hack
While non-pierced cuffs are popular, they inherently lack the security of a pierced backing. In 2026, the prevailing trend among jewelry stylists is utilizing pierced huggie hoops as 'faux cuffs' on the helix or conch. If you have a healed cartilage piercing (typically 16g or 18g), you can achieve the cuff look with zero risk of losing the piece.
Sizing Your Huggie for a Cuff Look
To replicate the ear cuff aesthetic using a pierced huggie, the inner diameter is critical. A standard lobe huggie is usually 10mm to 12mm. However, cartilage is thicker and less compressible than the lobe. For a snug, cuff-like appearance on the helix, you need a huggie with an inner diameter of 8mm or 9mm, featuring a flat-back or seamless clicker closure. This ensures the hoop hugs the cartilage tightly without dangling, perfectly mimicking a tension cuff while remaining physically locked to your piercing.
Troubleshooting Common Cuff Earring Failures
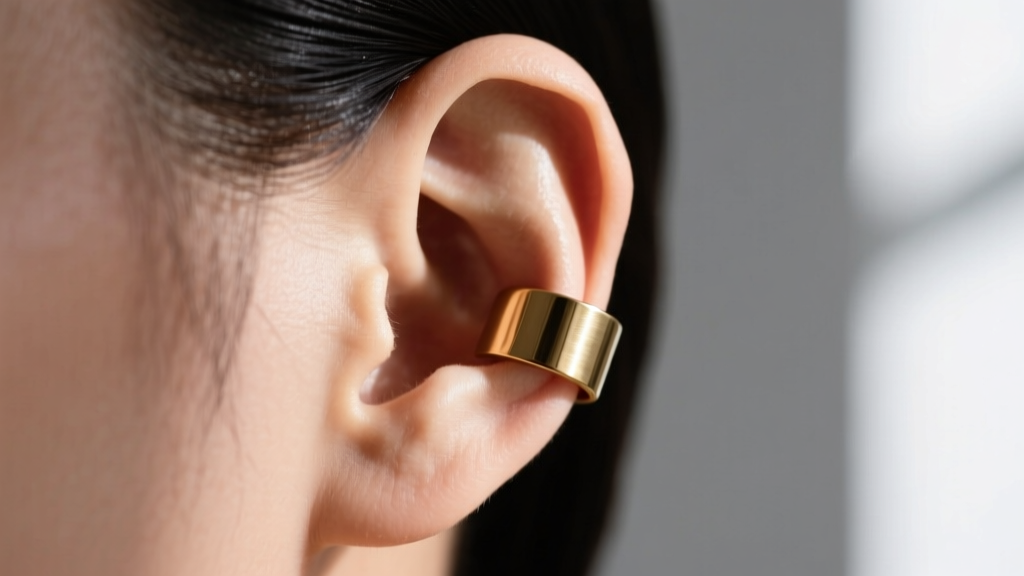
Even with perfect technique, environmental factors and anatomy can cause issues. Here is how to diagnose and fix the most common failure modes:
- The Cuff Slips When Talking: The jaw's temporomandibular joint (TMJ) causes the ear canal and surrounding cartilage to shift slightly when chewing or speaking. If your cuff is placed too low near the tragus, this movement will push it off. Fix: Move the cuff 5mm higher up the helix rim.
- The Cuff Causes a Headache: This is a sign of excessive clamping force compressing the perichondrium (the connective tissue covering the cartilage). Fix: Gently twist the cuff to widen the gap by 0.5mm. The cuff should rely on gravity and friction, not a vice-like grip.
- The Metal Turns Green: This is not an infection, but an oxidization reaction between copper alloys in base metals and your skin's natural pH and sweat. Fix: Coat the inner band of the cuff with a micro-layer of clear nail polish, or upgrade to hypoallergenic niobium or solid 14k gold.
Expert Tips for All-Day Security
For events where losing a piece of jewelry is not an option, professionals use a tiny dab of spirit gum or theatrical adhesive on the inner ridge of the cuff. However, for daily wear, proper storage is your best defense against tension loss. Never toss ear cuffs into a jewelry box where they can be crushed by heavier items. Store them in individual microfiber pouches to maintain their exact calibrated gap. By respecting the metallurgy of your jewelry and the unique topography of your ear, you can wear non-pierced cuffs with the same confidence as traditional fine jewelry.


