How to Take Off Earring With Flat Back: A Beginner's Guide
Learn exactly how to take off earring with flat back styles safely. Step-by-step guide for threadless, internal, and external threading cartilage studs.

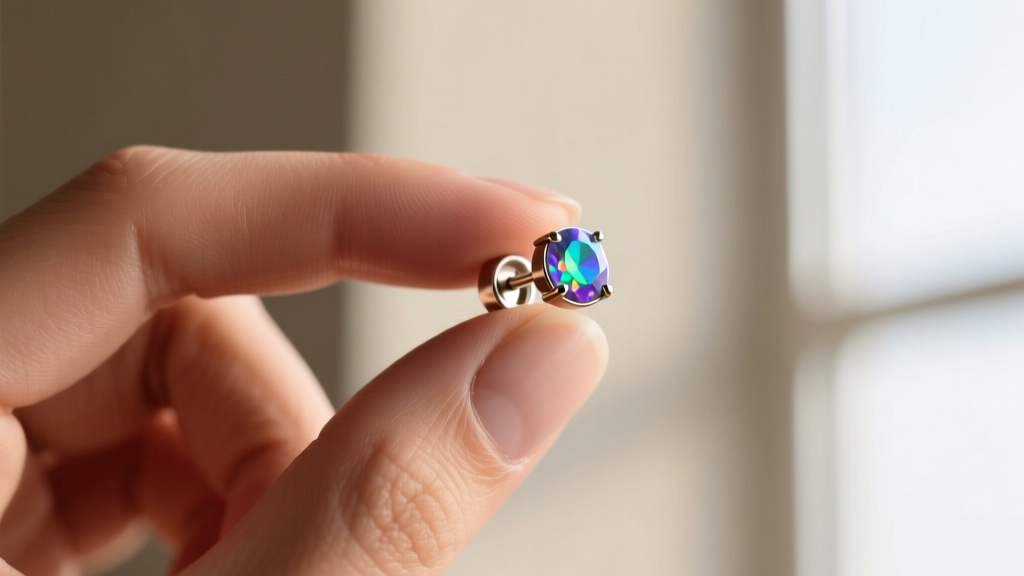
Flat back earrings, commonly known as labret studs, are the gold standard for cartilage piercings. Whether you are sporting a helix, tragus, conch, or flat piercing, the flat disc sits flush against the back of your ear, providing unparalleled comfort and minimizing the risk of snagging on hair or clothing. However, their sleek, low-profile design often leaves beginners wondering how to take off earring with flat back mechanics without irritating the delicate fistula (the piercing channel).
If you have ever found yourself twisting, pulling, and panicking in front of the bathroom mirror, you are not alone. The secret to painless removal lies in understanding the specific engineering of your jewelry. In this comprehensive guide, we will break down the exact mechanics of threadless and threaded flat backs, provide professional troubleshooting techniques, and share the insider tricks that elite piercers use every day.
The Anatomy of a Flat Back Earring
Before attempting removal, it is crucial to understand the three distinct components of a high-quality flat back earring. According to guidelines from the Association of Professional Piercers (APP), initial and long-term cartilage jewelry should be crafted from implant-grade titanium (ASTM F136) or niobium to prevent allergic reactions and metal toxicity.
- The Post (Shaft): The hollow or solid tube that passes through your piercing. Standard gauges for ear cartilage are 18G (1.0mm) or 16G (1.2mm), though 14G (1.6mm) is sometimes used for specific industrial or conch placements.
- The Flat Back (Disc): The smooth, flat base that rests against the back of your ear. Common diameters range from 2.5mm to 4.0mm. A properly sized disc prevents the jewelry from embedding into the skin.
- The Front (Gem/End): The decorative top that secures the jewelry in place. This is the part you interact with most during removal.
Why Do Flat Back Earrings Get Stuck?
When learning how to take off earring with flat back posts, resistance is the most common hurdle. This sticking is rarely due to a defect in the jewelry; rather, it is usually a result of biological and mechanical factors.
- Dried Lymph and Sebum: Your body naturally produces lymph fluid and sebum (skin oils). Over time, this mixture dries and calcifies around the microscopic gaps between the post and the gem, essentially gluing the components together.
- Sleeping Compression: If you sleep on your piercing, the continuous pressure pushes the flat disc and the front gem closer together. In threadless jewelry, this compresses the tension pin deeper into the shaft, exponentially increasing the grip strength.
- Cross-Threading: For threaded varieties, forcing the gem at an incorrect angle can strip the microscopic threads, causing the metal to bind and lock up.
Identify Your Threading Type
The removal method depends entirely on how the front gem attaches to the post. High-end brands like BVLA (Body Vision Los Angeles) and Anatometal primarily use two secure systems. Refer to the table below to identify your jewelry type before proceeding.
| Jewelry Type | Visual Identification | Removal Mechanism | Best For |
|---|---|---|---|
| Threadless (Push-Pin) | The pin on the gem is smooth and slightly bent. No spiral grooves visible. | Tension friction fit. Pull apart with a wiggle. | All piercings, especially those prone to frequent jewelry changes. |
| Internally Threaded | The post has a smooth hole; the gem has a tiny screw protruding from its base. | Screw mechanism. Twist gem counter-clockwise. | Healing piercings and long-term wear. |
| Externally Threaded | The post has spiral grooves (threads) on the outside; the gem has a tapped hole. | Screw mechanism. Twist gem counter-clockwise. | Not recommended by professionals; threads can damage the fistula. |
Step-by-Step: How to Take Off Earring With Flat Back Styles
Method 1: Removing Threadless (Push-Pin) Jewelry
Threadless jewelry relies on a bent pin that creates spring tension inside the hollow shaft. To remove it, you must overcome this friction.
- Prep Your Hands: Wash your hands thoroughly with antibacterial soap. Dry them completely. Moisture reduces friction, making it harder to grip the tiny metal components.
- Secure the Base: Reach behind your ear and firmly pinch the flat back disc between your thumb and index finger. Hold it completely stationary.
- Grip the Gem: With your other hand, pinch the front gem securely.
- The Pull-and-Wiggle: Do not just yank straight out. Pull the gem away from the ear while simultaneously wiggling it slightly side-to-side. This lateral movement eases the bent pin out of the hollow shaft without bending it further.
- Pop It Out: You will feel a distinct 'pop' as the tension releases and the pin slides free.
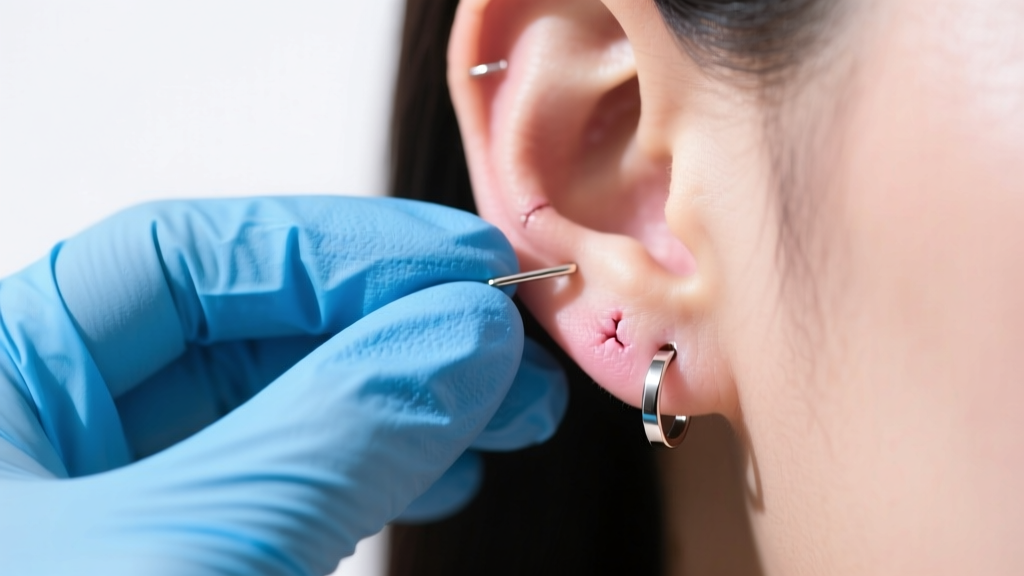
Method 2: Unscrewing Internally Threaded Jewelry
Internally threaded jewelry features a screw on the back of the gem that twists into the hollow post. The golden rule here is: Righty-tighty, lefty-loosey.
- Stabilize the Disc: Just like with threadless jewelry, you must hold the flat back disc completely still behind your ear. If you let the disc spin, you will twist the entire post inside your piercing, causing micro-tears and severe irritation.
- Apply Downward Pressure: Pinch the front gem and apply a very slight inward pressure toward your ear. This relieves tension on the threads.
- Twist Counter-Clockwise: Slowly turn the gem to the left (counter-clockwise).
- Clear the Threads: Once you feel the gem detach, pull it straight out. Do not pull at an angle, or you risk scraping the internal threads of the post.
Troubleshooting: What to Do When the Flat Back Won't Budge
If you have followed the steps above and the jewelry remains stubbornly stuck, do not resort to brute force. Brute force leads to swollen earlobes, bleeding cartilage, and damaged jewelry. Instead, employ these professional piercer troubleshooting techniques:
Pro-Tip from the Studio: Never use standard metal pliers on your jewelry. The hardened steel teeth will permanently scratch and dent implant-grade titanium, creating microscopic harbors for bacteria. Always use silicone-tipped jewelry pliers if mechanical leverage is required.
The Nitrile Glove Trick
The number one reason people cannot remove their flat backs is a lack of grip. Human skin naturally produces oils that cause fingers to slip on smooth titanium. Purchase a box of medical-grade nitrile gloves (avoid latex due to common allergies and inferior wet-grip). The textured nitrile provides immense mechanical grip, allowing you to apply the necessary torque to unscrew a tight gem or pull a stubborn push-pin without slipping.
The Warm Saline Soak
If dried lymph is the culprit, you need to dissolve it. Soak a sterile, non-woven gauze pad in warm (not hot) sterile saline solution (0.9% sodium chloride). Press the warm gauze against the front and back of the earring for 3 to 5 minutes. The warmth increases blood flow and softens the skin, while the saline breaks down the calcified biological glue. Wipe the jewelry completely dry before attempting removal again.
Check for Stripped Threads
If you are turning the gem counter-clockwise, but the entire post is just spinning in your ear without unscrewing, your internal threads may be stripped or cross-threaded. Stop immediately. Continuing to twist will only inflame the tissue. In this scenario, you must visit a professional piercer who can use specialized hemostats and silicone grips to safely extract the compromised jewelry.
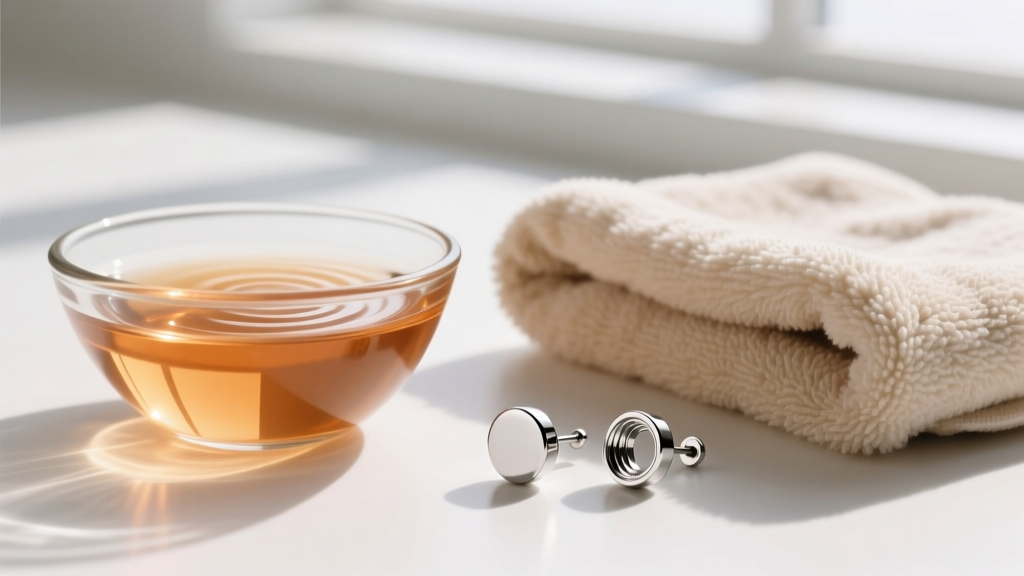
Aftercare and Reinsertion Best Practices
Once you have successfully figured out how to take off earring with flat back mechanics, proper maintenance ensures it will be just as easy to remove next time.
- Clean the Threads: Before storing or reinserting threaded jewelry, use a soft-bristled toothbrush and mild liquid soap to gently scrub the microscopic threads. Rinse with distilled water and dry completely.
- Lubricate Threadless Pins: For push-pin jewelry, a microscopic dab of pure, unrefined jojoba oil on the pin can help it slide into the shaft smoothly while maintaining tension. Avoid petroleum-based products like Vaseline, which can trap bacteria in the fistula.
- Store Safely: Keep your disassembled jewelry in a sealed, airtight container or a dedicated jewelry organizer to prevent loss and protect the delicate gems from scratching.
Mastering the removal of flat back earrings is a rite of passage for cartilage piercing enthusiasts. By understanding the specific mechanics of your jewelry, utilizing proper grip aids like nitrile gloves, and respecting the delicate biology of your piercing, you can change your jewelry safely and confidently.


