How to Remove Earrings: Stuck Backs, Cartilage & Healing Tips
Learn how to remove earrings safely, from stuck butterfly backs to threaded cartilage jewelry, with expert piercing care and cleaning tips.

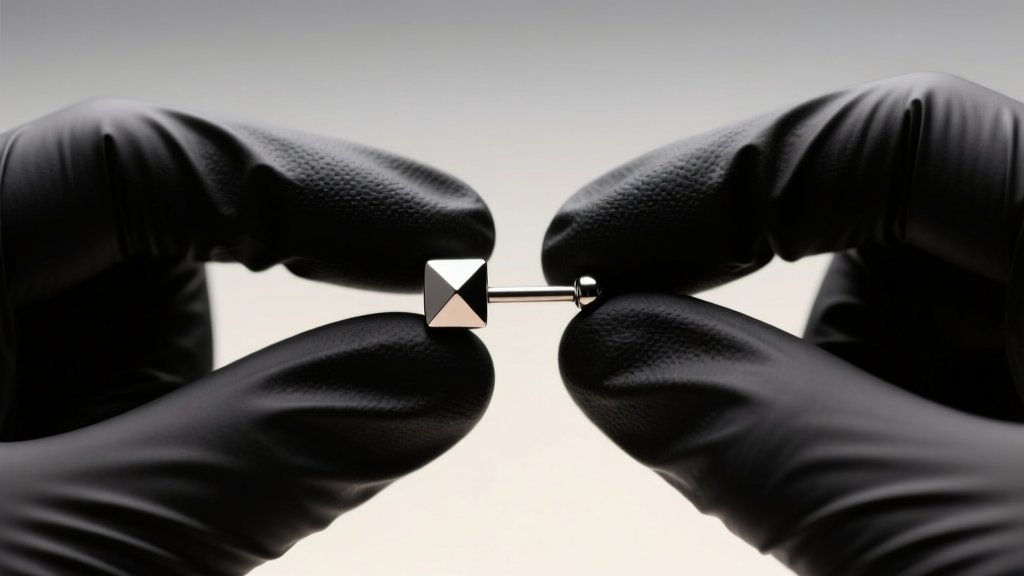
Learning how to remove earrings seems like a trivial skill until you are staring into a magnifying mirror at 2:00 AM, wrestling with a seized butterfly back or a swollen cartilage piercing. Whether you are dealing with a standard 20-gauge lobe stud or a 14-gauge threaded cartilage barbell, improper removal techniques can lead to micro-tears in the fistula (the piercing tunnel), embedded jewelry, and severe irritation bumps.
As a senior jewelry specialist, I have compiled this comprehensive, technically precise guide to removing every type of earring backing safely, addressing the specific failure modes of different metals and gauges.
The Anatomy of a Stuck Earring: Why It Happens
Before attempting removal, you must diagnose why the earring is stuck. The culprits generally fall into three categories:
- Biological Seizure: Dead skin cells, sebum, and dried blood act as a biological cement, particularly around the grooves of external threading or the clutch of a friction back.
- Chemical Calcification: Hard water minerals from showering, combined with soap scum, can create a concrete-like crust over 18K gold or surgical steel posts.
- Mechanical Cross-Threading: Forcing a screw-in flat back at the wrong angle damages the internal threads, effectively welding the ball to the post through metal-on-metal friction.
Step-by-Step: How to Remove Earrings with Friction Backs
Friction backs (butterfly clutches) are standard for 20G and 18G lobe piercings. When they refuse to budge, bare fingers are your worst enemy. Human skin produces natural oils that eliminate the friction required to pull the clutch off the post.
The Nitrile Glove Protocol
- Prep the Area: Soak a cotton pad in sterile 0.9% sodium chloride (wound wash saline) and hold it against the earlobe for 3 minutes to soften biological debris.
- Glove Up: Put on a pair of powder-free nitrile medical gloves. The textured surface provides a 400% increase in grip compared to bare skin.
- The Pinch and Twist: Grip the front of the earring stud firmly with your non-dominant hand. With your dominant hand, grip the butterfly back. Do not just pull straight back; apply a gentle twisting motion while pulling away from the ear to break the vacuum seal.
Navigating Threaded and Hinged Jewelry (16G to 14G Cartilage)
Cartilage piercings (helix, tragus, conch) typically utilize 16G or 14G jewelry with specialized backings. Understanding the mechanics of these backings is critical to learning how to remove earrings in these sensitive areas without causing trauma.
| Backing Type | Common Gauge | Removal Tool | Primary Failure Mode |
|---|---|---|---|
| Threadless (Push-Pin) | 16G - 14G | Nitrile Gloves, Hemostats (for bent pins) | Pins bent during insertion, requiring excessive pulling force. |
| Internally Threaded | 16G - 12G | Nitrile Gloves, Rubber Jar Gripper | Cross-threading from forced insertion; seized by sebum. |
| Hinged Segment Ring | 16G - 14G | Fingers (Snap mechanism) | Hinge calcification; snapping the ring open too aggressively. |
| Captive Bead Ring (CBR) | 16G - 10G | Ring Opening Pliers | Using standard hardware pliers, which mar the metal and crush the bead. |
Dealing with Threadless (Push-Pin) Jewelry
Threadless jewelry relies on tension. The decorative end has a slightly bent pin that wedges into the hollow post. To remove it, you must grip the front gem and the flat back disc simultaneously and pull them apart with a slight wiggling motion. Never twist threadless pins, as this will snap the titanium or steel pin inside the post, requiring surgical intervention to extract.
Emergency Protocol: Embedded Backings and Swollen Lobes
If an earring backing has become embedded in the earlobe tissue due to swelling or wearing a post that is too short, do not attempt to dig it out with tweezers or needles. This introduces staphylococcus bacteria directly into the bloodstream.
"If jewelry becomes embedded, the pressure of the swelling tissue over the jewelry can cut off circulation, leading to necrosis. Seek a professional piercer or urgent care clinic immediately for sterile removal." — Association of Professional Piercers (APP)
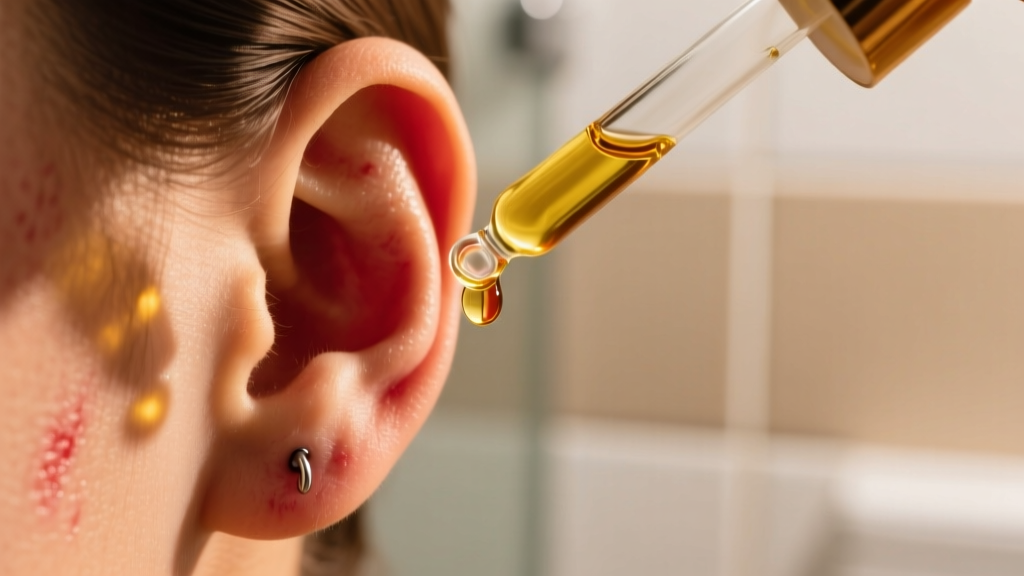
If the earring is simply tight due to mild swelling (not fully embedded), apply a drop of pure, cold-pressed jojoba oil or vitamin E oil around the post. These oils mimic human sebum, lubricating the fistula without trapping anaerobic bacteria like petroleum jelly does. Gently rotate the post to distribute the oil, then attempt the nitrile glove removal method.
Material Reactions: When Metals Seize in the Ear
Not all stuck earrings are the result of biological buildup; sometimes, the issue is metallurgical. If you wear mixed-metal jewelry—such as a sterling silver post with a brass or copper alloy clutch—you may experience galvanic corrosion. The natural moisture and salt content of human sweat act as an electrolyte, creating a microscopic battery effect between the two dissimilar metals. This causes the metals to oxidize and literally fuse together at the microscopic level.
If you suspect galvanic corrosion (common in cheap fashion jewelry left in the ear for weeks), soaking the earring in a 50/50 solution of distilled white vinegar and warm water for 10 minutes can help dissolve the oxidation layer. However, this should only be done if the earring is already removed from the ear. Never apply vinegar to an active piercing. To prevent this entirely, upgrade to implant-grade titanium (ASTM F136) for both the post and the backing, which is entirely inert and immune to galvanic reactions in the human body.
Post-Removal Care and Cleaning the Fistula
Successfully learning how to remove earrings is only half the battle. The fistula (the healed tunnel of skin) is highly vulnerable immediately after jewelry extraction.
- Flush the Channel: Use a sterile saline spray to flush out any trapped sebum or calcified debris from the empty piercing hole.
- Avoid Harsh Chemicals: Never use rubbing alcohol, hydrogen peroxide, or witch hazel. According to the Mayo Clinic, these agents destroy newly formed epithelial cells and delay the healing of micro-tears caused by removal.
- Rest the Ear: If the piercing is less than 6 months old, leaving it empty for more than 2 hours can cause the fistula to shrink or close entirely. If you are not reinserting jewelry immediately, use a sterile PTFE (Teflon) retainer to keep the channel patent.
Frequently Asked Questions
Can I use Vaseline to help slide a stuck earring out?
No. Petroleum jelly (Vaseline) is highly occlusive. While it provides temporary lubrication, it traps dead skin cells and bacteria inside the piercing channel, significantly increasing the risk of a localized abscess. Always use plant-based oils like jojoba or sterile saline.
Why does my earring smell bad when I take it out?
The odor, often colloquially called "ear cheese," is a combination of oxidized sebum, dead skin cells, and bacterial breakdown. It is most common in friction-back earrings where the clutch creates a dark, moist environment. Clean your earring posts and backings weekly with warm water and a mild, fragrance-free glycerin soap to prevent this buildup.


