How to Secure and Clean a Screw Earring: Step-by-Step Guide
Learn how to properly insert, secure, and maintain your screw earring. Our step-by-step guide covers threading, cleaning, and preventing loss.

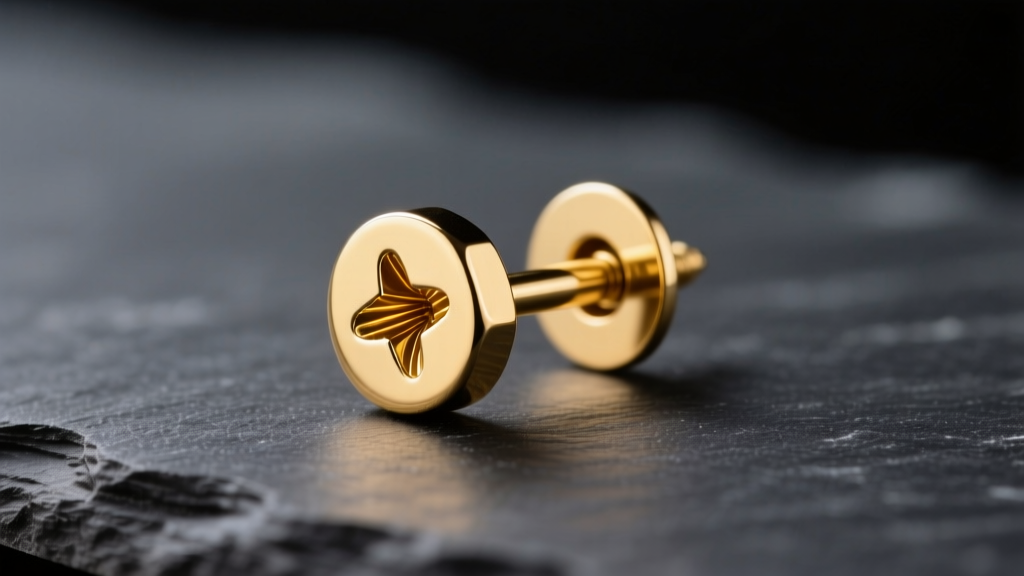
Losing a fine jewelry stud or waking up to find your favorite diamond missing from its setting is a universal frustration. While friction backs and butterfly clutches are the industry standard for mass-market jewelry, they are inherently flawed. The prongs lose tension over time, catching on hair and clothing, eventually leading to lost earrings and lost money. Enter the screw earring: a mechanically secure, precision-engineered alternative that guarantees your jewelry stays exactly where it belongs. Whether you are dealing with a high-end diamond stud, an internally threaded cartilage labret, or a secure sleep earring, mastering the mechanics of threaded jewelry is essential for both security and tissue health.
Why Screw Earrings Are the Gold Standard for Security
The fundamental difference between a push-back (friction) earring and a screw earring lies in the retention mechanism. Friction backs rely on the elastic deformation of metal prongs gripping a grooved post. Over months of wear, these prongs fatigue, widen, and lose their grip. A screw earring, conversely, utilizes a continuous helical thread. The backing is rotated onto the post, creating a mechanical lock that cannot be pulled off by accident. For high-value items like diamond solitaires or heirloom pearls, a screw back is not just a preference; it is an insurance policy.
Furthermore, for body piercings beyond the standard lobe—such as the helix, tragus, or conch—threaded jewelry is the only acceptable standard. The Association of Professional Piercers (APP) strongly advocates against externally threaded jewelry for cartilage, as the jagged threads can tear the delicate fistula (the healed piercing channel) upon insertion. This brings us to a critical distinction in screw earring anatomy.
Understanding the Anatomy: Internal vs. External Threading
Before you attempt to insert your jewelry, you must identify the threading style. This dictates how the jewelry interacts with your skin and how you should handle the components.
External Threading (Avoid for Piercings)
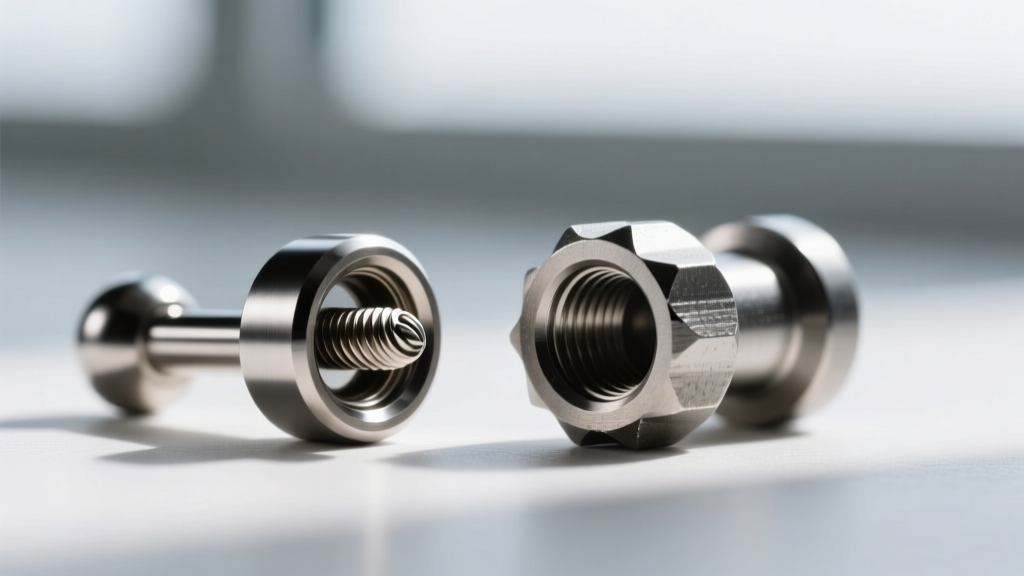
In externally threaded jewelry, the screw pattern is cut into the post itself. The backing has a smooth hole. When you push this through a piercing, the sharp, jagged threads act like a cheese grater against the inside of your ear. While common in cheap mall-kiosk jewelry, it causes micro-tears, irritation bumps, and delayed healing.
Internal Threading (The Professional Standard)
Internally threaded jewelry flips the design: the post is completely smooth, and the screw pattern is cut into the inside of the decorative end or the backing. This means the part that passes through your ear is perfectly smooth, eliminating tissue trauma. High-end body jewelry brands machine these threads into implant-grade titanium (ASTM F-136) or solid 14k/18k gold, ensuring the threads never strip or cross-thread under normal use.
Step-by-Step Guide: How to Insert a Screw Earring
Threading a microscopic screw onto a post while looking in a mirror requires patience and technique. Follow this protocol to avoid cross-threading and ensure a secure fit.
Step 1: Preparation and Hygiene
Always wash your hands with antibacterial soap before handling fine jewelry. Oils and lotions on your fingers reduce friction, making the tiny backing difficult to grip. If you are working with a high-value diamond screw earring, put on a pair of powder-free nitrile gloves. The rubber provides immense grip on smooth metal, preventing you from dropping a $2,000 backing down the bathroom sink drain.
Step 2: The 'Reverse-Drop' Threading Technique
The most common mistake people make is forcing the backing onto the post at an angle, which immediately cross-threads the metal. To prevent this, use the reverse-drop method:
- Hold the front of the earring steady against your earlobe.
- Bring the screw backing to the post, but do not turn it clockwise yet.
- Gently press the backing against the post and turn it counter-clockwise (lefty-loosey).
- You will feel a distinct, subtle 'click' or 'drop' when the threads align perfectly.
- Once you feel the drop, reverse direction and turn clockwise to tighten.
Step 3: Securing the Fit Without Overtightening
A screw earring should be tightened until it is 'snug,' not until it is immovable. Overtightening a backing against the back of the earlobe restricts blood flow, which can lead to tissue necrosis or severe swelling. Tighten it until you feel resistance, then give it one final, gentle quarter-turn. If your ear swells due to heat or allergies, you must ensure the backing is not choking the tissue.
Troubleshooting Common Screw Earring Problems
Even with precision-machined jewelry, mechanical issues can arise. Use this diagnostic table to solve common threading failures.
| Problem | Root Cause | Actionable Solution |
|---|---|---|
| Cross-Threading | Forcing the backing at an angle; damaged threads. | Stop immediately. Back it out, clean the threads with a soft brush, and use the reverse-drop technique. |
| Stuck / Frozen Backing | Overtightening, dried sebum, or titanium galling. | Apply a warm compress to the ear to soften debris. Use rubber gloves for grip. Never use pliers, which will crush the metal. |
| Stripped Threads | Low-quality base metals (brass/silver) wearing down. | Replace the jewelry entirely. Upgrade to 14k gold or ASTM F-136 titanium, which have higher tensile strength. |
| Post Too Short | Swelling or incorrect gauge sizing for the anatomy. | Measure the post length. Standard lobes need 6mm-8mm; cartilage may require 5mm-7mm depending on tissue thickness. |
Maintenance and Cleaning Protocol
Because screw earrings feature microscopic grooves, they are magnets for dead skin cells, sebum, soap residue, and hair products. If left uncleaned, this debris acts like cement, freezing the backing in place and harboring bacteria.
Weekly Surface Cleaning
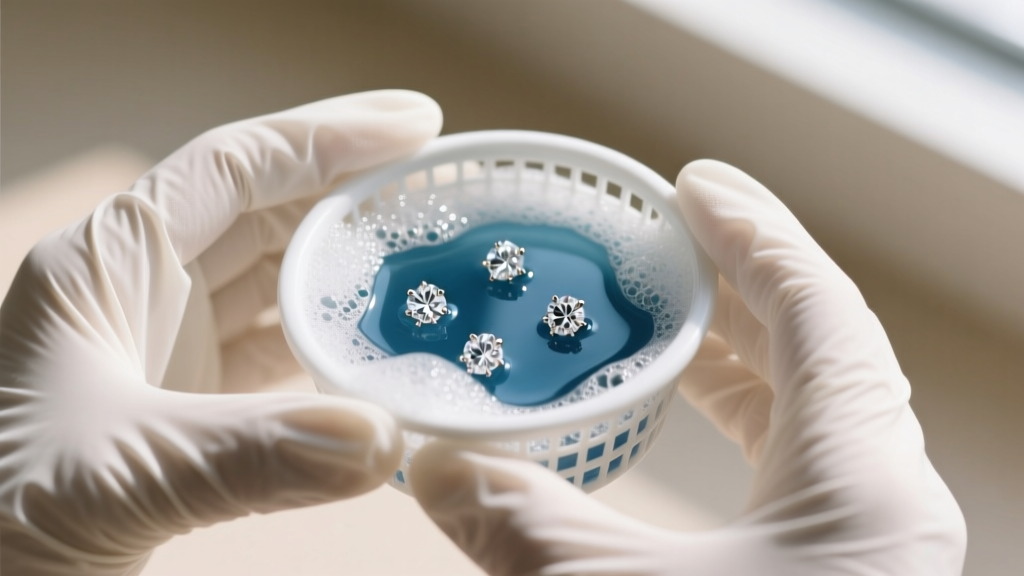
For everyday maintenance, use a soft-bristled baby toothbrush and a mild, phosphate-free dish soap. Gently scrub the threads of both the post and the backing. Rinse thoroughly with distilled water to prevent hard water spots, and dry completely with a lint-free microfiber cloth before reattaching. Moisture trapped in the threads can lead to oxidation in lower-karat golds or sterling silver components.
Deep Cleaning with Ultrasonics
If you own an ultrasonic jewelry cleaner, it is the most effective way to blast debris out of internal threads. Fill the tank with warm water and a few drops of jewelry-safe detergent. Run the machine for 3 to 5 minutes. Warning: Never use an ultrasonic cleaner on porous gemstones like pearls, opals, emeralds, or turquoise, as the high-frequency vibrations can fracture the stones or strip their natural oils. For these delicate pieces, stick to manual brushing and steam cleaning.
When to Upgrade Your Screw Backs
If you currently own friction-back diamond studs, you do not necessarily need to buy entirely new earrings. Many high-end jewelers offer conversion services. A bench jeweler can laser-solder a threaded post onto your existing diamond head, or provide a specialized silicone-lined screw backing that grips standard smooth posts. The cost for a pair of solid 14k gold screw back conversions typically ranges from $80 to $150, a small fraction of the cost of replacing a lost diamond. According to gemological experts at the Gemological Institute of America (GIA), securing your settings and mountings is just as vital as checking your prongs for stone security. By switching to a screw earring mechanism, you ensure that the structural integrity of your jewelry matches the value of the gemstones it holds.


