How to Stack Earrings: A Beginner's Guide to Ear Curation
Learn how to stack earrings with our beginner-friendly guide. Discover placement rules, gauge sizes, and metal pairings for a curated ear.


The Anatomy of a Curated Ear: Understanding Placement
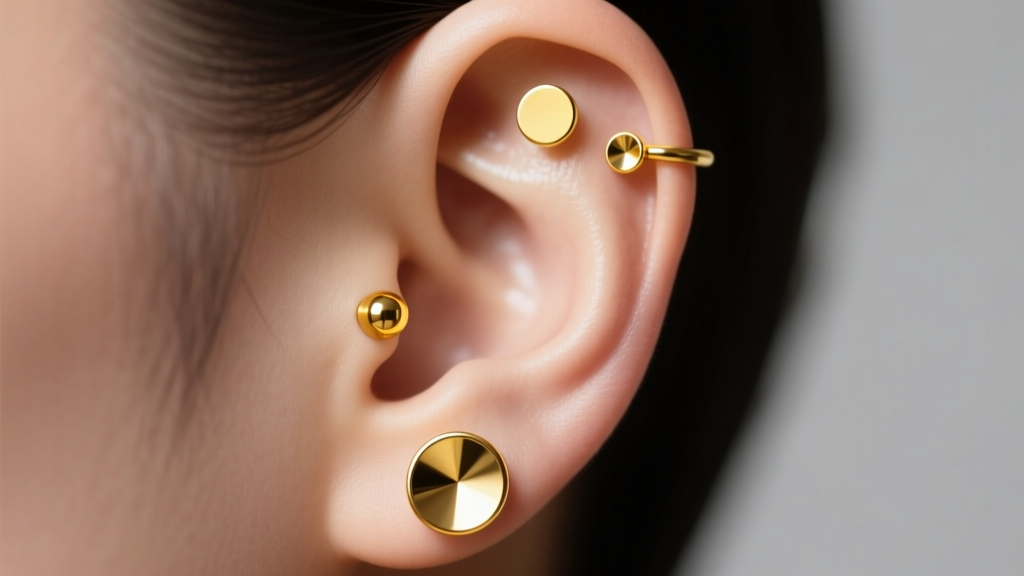
Ear curation is the art of strategically placing and styling multiple piercings to create a cohesive, personalized look. Unlike random piercing, a curated ear considers the unique topography of your ear cartilage and lobes. When figuring out how to stack earrings, you must first understand the distinct zones of the ear. The lobe offers the most versatile canvas, typically accommodating two to four piercings. Moving upward, the helix (outer rim), flat (upper inner cartilage), conch (lower inner cup), and tragus (the small flap covering the ear canal) each present unique spatial constraints. A successful stack balances these zones, ensuring that jewelry on the helix does not visually compete with a statement piece in the conch. Spatial awareness is the foundation of any professional ear curation.
How to Stack Earrings: The Golden Rules of Proportion
The most common mistake beginners make when learning how to stack earrings is ignoring visual weight. To achieve a harmonious look, professional piercers rely on the graduation rule. This principle dictates that your jewelry should gradually decrease in size and visual heaviness as you move away from your primary anchor point.
For a standard three-lobe stack, your first lobe piercing (Lobe 1) should carry the most weight. This is the ideal placement for a 10mm diamond stud, a chunky 12mm huggie hoop, or a medium-sized drop earring. Lobe 2 should step down to a 6mm stud or an 8mm seamless ring. Lobe 3, often placed near the upper edge of the lobe, should feature a delicate 3mm dot stud, a tiny bezel-set gem, or a minimalist ear cuff. If you are incorporating cartilage, a helix piercing pairs beautifully with a 16g flat-back labret featuring a 4mm or 5mm gemstone top, ensuring it does not overwhelm the lobe stack below it.
Material Grades and Gauge Sizes: The Technical Foundation
A beautiful stack will quickly fail if the hardware causes contact dermatitis, irritation bumps, or migration. According to the Association of Professional Piercers (APP), the safest metals for long-term wear and sensitive ears are implant-grade titanium (ASTM F136) and 14k or 18k solid gold. You must strictly avoid gold-plated brass, nickel alloys, and sterling silver for cartilage stacks. Silver is highly porous and can harbor bacteria, while plating will inevitably wear off, exposing base metals that trigger allergic reactions.
Equally critical is understanding gauge thickness. Standard lobe piercings are typically 20g (0.81mm) or 18g (1.02mm). Cartilage piercings, such as the helix, flat, or conch, are almost universally pierced at 16g (1.29mm) or 14g (1.60mm). Wearing a thin 20g wire in a 16g cartilage hole can lead to the "cheese-cutter effect," where the thin jewelry slowly migrates and slices through the tissue under pressure.
| Piercing Zone | Standard Gauge | Ideal Post Length / Diameter | Best Jewelry Style |
|---|---|---|---|
| Standard Lobe | 20g or 18g | 6mm - 8mm post | Butterfly backs, huggies, drops |
| Upper Lobe | 18g or 16g | 5mm - 6mm post | Flat-back labrets, tiny studs |
| Helix / Flat | 16g (sometimes 18g) | 6mm - 8mm post | Flat-back labrets, seamless hoops |
| Conch | 16g or 14g | 8mm - 10mm post | Large flat-backs, conch hoops |
| Tragus | 16g | 6mm - 8mm post | Flat-back labrets, small balls |
Step-by-Step: Building Your First 5-Piece Stack
If you already have the piercings and are ready to style them, follow this framework to build a balanced, five-piece curated ear.
- The Anchor (Lobe 1): Start with your statement piece. A 14k solid gold huggie hoop with a 10mm inner diameter or a 7mm bezel-set diamond stud grounds the entire ear.
- The Secondary (Lobe 2): Complement the anchor without mimicking it. If Lobe 1 is a hoop, make Lobe 2 a 5mm geometric stud or a pearl.
- The Tertiary (Lobe 3 or Upper Lobe): Keep it minimal. A 3mm gold dot or a tiny 2mm diamond on a flat-back post ensures the upper lobe does not look cluttered.
- The Cartilage Anchor (Helix): Choose a 16g flat-back labret with a 4mm gemstone top. The flat back is crucial here, as butterfly backs will dig into the back of your ear when you sleep or wear headphones.
- The Connector (Flat or Tragus): Bridge the gap between your lobe and helix with a delicate piece. A simple 3mm titanium ball or a tiny star stud in the flat region ties the upper and lower halves of the ear together seamlessly.
Troubleshooting Common Stacking Mistakes
Even with perfect placement, hardware mechanics can ruin a stack. Keep these troubleshooting tips in mind to maintain ear health and aesthetic cohesion:
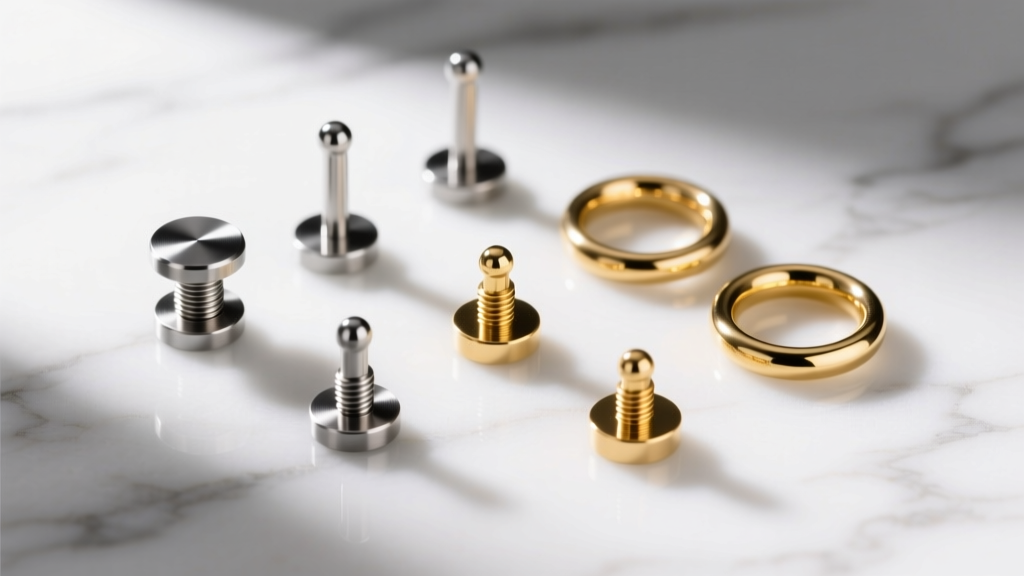
- Ignoring Thread Types: Always opt for internally threaded or threadless (push-pin) jewelry for cartilage. Externally threaded jewelry has grooves on the post that tear through delicate fistula (piercing channel) tissue during insertion, leading to irritation bumps. The APP strongly recommends internally threaded jewelry for all healing and sensitive piercings.
- Mixing Metal Tones Poorly: While mixing gold and silver is a modern trend, doing it haphazardly looks messy. If you mix metals, do it intentionally by alternating tones across the ear (e.g., gold on Lobe 1, silver on Lobe 2, gold on the Helix) to create a deliberate pattern rather than a random clash.
- Overcrowding the Cartilage: Cartilage needs room to breathe. Placing a helix, flat, and faux-rook too close together not only increases the risk of cross-irritation but also makes the jewelry physically overlap. Maintain at least 6mm to 8mm of physical space between cartilage piercings.
- Sleeping in Hoops: While huggies and clickers are beautiful, sleeping in them puts uneven pressure on the piercing angle, which can cause the hole to stretch or migrate. For long-term comfort and stacking health, swap your hoops for flat-back labrets before bed.
Final Thoughts on Ear Curation
Learning how to stack earrings is an ongoing process of refining your personal style while respecting the anatomical limits of your body. By prioritizing implant-grade materials, adhering to proper gauge sizes, and applying the graduation rule for visual proportion, you can transform a chaotic cluster of piercings into a sophisticated, curated masterpiece. Take your time, invest in high-quality solid gold or titanium hardware, and let your ear's natural architecture guide your design.


