The Ultimate Buyer's Guide on How to Sterilise an Earring Safely
Learn exactly how to sterilise an earring safely. Our buyer's guide covers the best hypoallergenic metals, autoclave methods, and boiling techniques.

When building a high-quality jewelry collection or preparing for a fresh piercing, understanding the intersection of material science and hygiene is non-negotiable. Many consumers confuse basic cleaning with true sterilisation. While wiping down a stud with alcohol removes surface oils, it does not eliminate bacterial spores. If you are researching how to sterilise an earring properly, you must first start at the point of purchase. Not all metals can withstand the rigorous heat or chemical processes required for true sterilisation. This comprehensive buyer’s guide will help you identify which earrings are safe to sterilise, which materials to avoid entirely, and the exact methodologies used by professionals to ensure your ear lobe and cartilage jewelry remains completely pathogen-free.
The Buyer’s Checklist: Metals You Can Actually Sterilise
Before you can safely sterilise your jewelry, you must buy pieces made from non-porous, biocompatible materials. According to the Association of Professional Piercers (APP), only specific metal grades are recommended for initial piercings and long-term wear because they can endure extreme sterilisation protocols without degrading, melting, or leaching toxic alloys into your skin.
1. Implant-Grade Titanium (ASTM F136)
This is the gold standard for body jewelry. Titanium is incredibly lightweight, entirely nickel-free, and highly resistant to corrosion. Because it has a mirror-smooth surface finish when properly polished, bacteria have nowhere to hide. It can withstand autoclave temperatures (up to 134°C / 273°F) and prolonged boiling without warping or losing its structural integrity. Expect to pay between $20 and $60 for high-quality, internally threaded titanium studs or hoops.
2. Niobium
Niobium is a highly malleable, hypoallergenic metal that is an excellent alternative to titanium, especially for seamless rings and huggies. While it is slightly heavier than titanium, it shares the same non-porous, biocompatible properties. Niobium can be safely boiled and chemically sterilised, though it is often anodized (colored using electricity). Note that the anodized color layer is safe for sterilisation, but harsh chemical abrasives can dull the finish over time.
3. Solid 14k or 18k Gold (Nickel-Free)
Gold is a classic choice for luxury earrings, but it must be alloyed correctly for body safety. You must buy solid 14k or 18k gold that is specifically alloyed without nickel or cadmium. White gold is particularly risky, as it is frequently alloyed with nickel to achieve its color; always opt for palladium-based white gold or stick to yellow/rose gold. Solid gold can be autoclaved and boiled, but repeated exposure to harsh cold sterilants can cause micro-abrasions on the polished surface.
Sterilisation Compatibility Chart
| Material | Autoclave Safe? | Boiling Safe? | Chemical Safe? | Avg. Price Range (USD) |
|---|---|---|---|---|
| Implant-Grade Titanium | Yes | Yes | Yes | $20 - $80 |
| Niobium | Yes | Yes | Yes (May dull anodization) | $15 - $50 |
| Solid 14k/18k Gold | Yes | Yes | Yes (Use mild solutions) | $80 - $300+ |
| Surgical Steel (316L) | Yes | Yes | Yes | $10 - $30 |
| Gold-Plated Brass/Silver | No (Plating strips) | No (Plating strips) | No | $5 - $25 |
| Acrylic / BioPlast | No (Melts) | No (Warps/Melts) | No (Degrades) | $5 - $15 |
How to Sterilise an Earring: 3 Proven Methods
Once you have purchased safe, biocompatible metals, you must choose the right sterilisation method. The CDC Guidelines for Disinfection and Sterilization clearly differentiate between disinfection (reducing pathogens) and sterilisation (complete elimination of all microbial life). Here is how to achieve true sterilisation at home or in a studio.
Method 1: The Autoclave (Professional Standard)
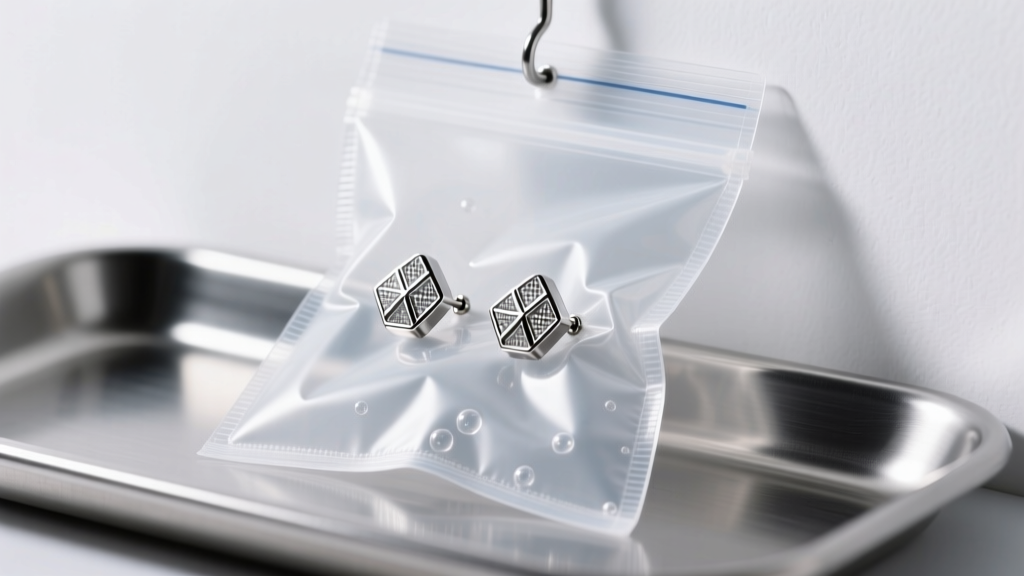
An autoclave uses pressurised steam to reach temperatures of 121°C to 134°C, destroying all bacteria, viruses, and spores. This is the only method accepted for clinical and professional piercing environments. As a consumer, you cannot easily buy an autoclave for home use due to the cost ($1,000+) and maintenance requirements. The Buyer's Workaround: Purchase earrings that come pre-sterilised in sealed, medical-grade autoclave pouches from reputable brands like Neometal or BVLA. The pouch features a chemical indicator strip that changes color when the sterilisation cycle is complete. Do not open the pouch until the exact moment you are ready to insert the jewelry.
Method 2: Boiling Water (The Best Home Method)
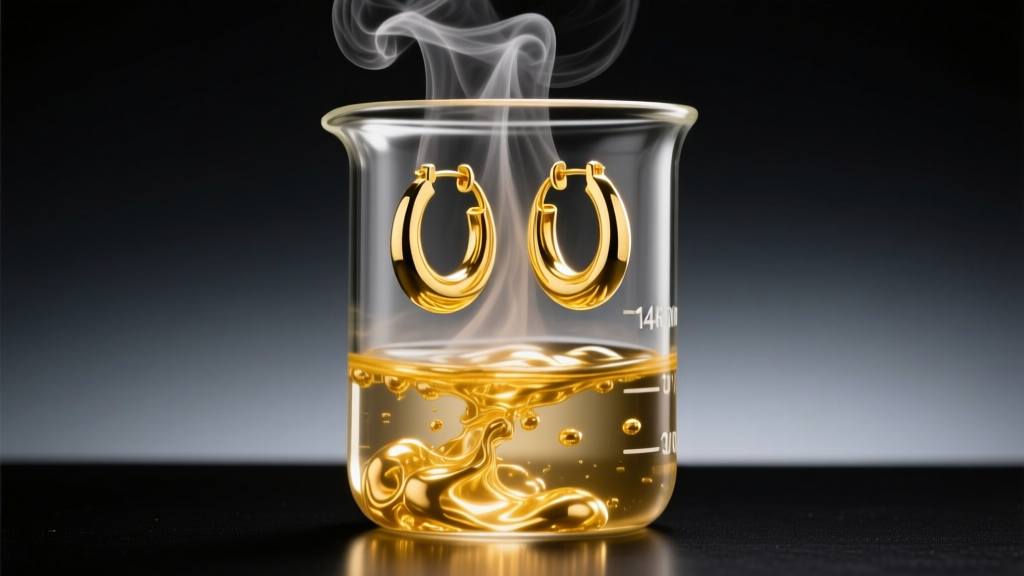
If you need to sterilise solid metal earrings at home, boiling is the most effective and accessible method. This works exclusively for solid titanium, niobium, and solid gold.
The Protocol:
- Place your metal earrings in a dedicated, clean stainless steel or glass strainer.
- Submerge the strainer in a pot of boiling distilled water (tap water contains minerals that can leave microscopic deposits on the metal).
- Maintain a rolling boil for exactly 20 minutes. This duration is critical to ensure the heat penetrates any microscopic crevices in the threading or hinges.
- Remove with sterilised tongs and allow to air dry on a clean paper towel inside a dust-free environment.
Failure Mode Warning: Never boil earrings featuring opals, turquoise, pearls, or glued-in gemstones. Thermal shock will shatter porous stones, and boiling water will dissolve the adhesives used in cheap jewelry settings.
Method 3: Chemical Sterilisation (Cold Sterilants)
For items that cannot be heated, or for complex pieces with intricate hinges (like certain clicker hoops), submerging the jewelry in a high-level chemical sterilant is required. Products containing glutaraldehyde or ortho-phthalaldehyde (such as Madacide or Barbicide) can achieve sterilisation, but they require prolonged submersion. You must soak the earrings in the solution for a minimum of 10 to 12 hours, followed by a thorough rinse with sterile saline or distilled water to remove toxic chemical residue before the metal touches your skin.
What to Avoid: Earrings That Fail the Sterilization Test
Knowing what not to buy is just as crucial as knowing how to sterilise an earring. The market is flooded with materials that are fundamentally incompatible with sterilisation protocols.
- Plated Jewelry: Gold-plated, silver-plated, or rhodium-plated earrings consist of a thin microscopic layer of precious metal over a base metal like brass or copper. Boiling or autoclaving will cause the plating to blister, peel, and expose the reactive base metal, leading to severe contact dermatitis.
- Surgical Steel (316L): Despite the clinical-sounding name, 'surgical steel' is a marketing term. Most 316L stainless steel contains up to 10% nickel. While it can technically survive boiling, the nickel content makes it a poor choice for healing piercings or sensitive ears, and the surface is often more porous than implant-grade titanium, trapping bacteria even after cleaning.
- Acrylic and BioPlast: These porous plastics are notorious for harboring bacteria in microscopic scratches. They will melt in an autoclave, warp in boiling water, and break down into toxic compounds when exposed to alcohol or chemical sterilants.
Pre-Sterilisation Prep and Long-Term Storage
You cannot sterilise a dirty earring. Organic matter (dead skin cells, sebum, dried blood) acts as a shield, protecting bacteria from heat and chemicals. Before applying any sterilisation method, you must perform an ultrasonic clean. Submerge the earrings in an ultrasonic cleaner filled with warm water and a few drops of mild, fragrance-free dish soap for 5 minutes. The cavitation bubbles will blast debris out of the threading and gemstone settings. Rinse thoroughly before boiling or autoclaving.
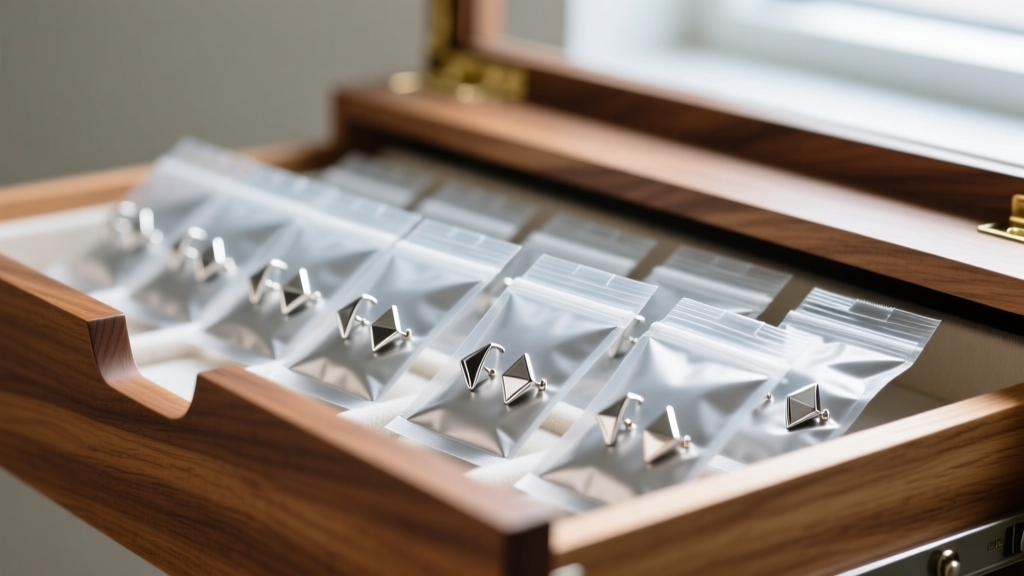
Once sterilised, storage is paramount. Leaving a sterilised earring on a bathroom counter immediately re-contaminates it. Store your treated jewelry in sealed, sterilisation-rated pouches or a dedicated UV-lined jewelry box. If you are traveling, keep the earrings in a hard-shell, sterilised capsule rather than a soft fabric pouch, which can shed microscopic lint and fibers into the metal's threading.
"True sterilisation is a chain of events. It begins with buying the correct ASTM-certified metal, continues through proper ultrasonic cleaning, and ends with verified heat or chemical treatment. Skipping the buying guide phase guarantees failure in the hygiene phase." — Senior Body Modification Specialist
Final Verdict
Mastering how to sterilise an earring safely requires a shift in how you shop. By investing exclusively in implant-grade titanium, niobium, or solid, nickel-free gold, you unlock the ability to use rigorous, spore-killing methods like boiling and autoclaving. Avoid the temptation of cheap, plated fashion jewelry for any piercing that requires strict hygiene. Your ear tissue will reward your meticulous buying choices with rapid healing, zero allergic reactions, and a lifetime of safe, beautiful wear.


