How to Take Flat Back Earrings Out: A Safe Step-by-Step Guide
Learn exactly how to take flat back earrings out safely. Step-by-step guide for threadless, threaded, and stuck labret studs in cartilage or lobes.

Understanding Your Flat Back Earring Hardware
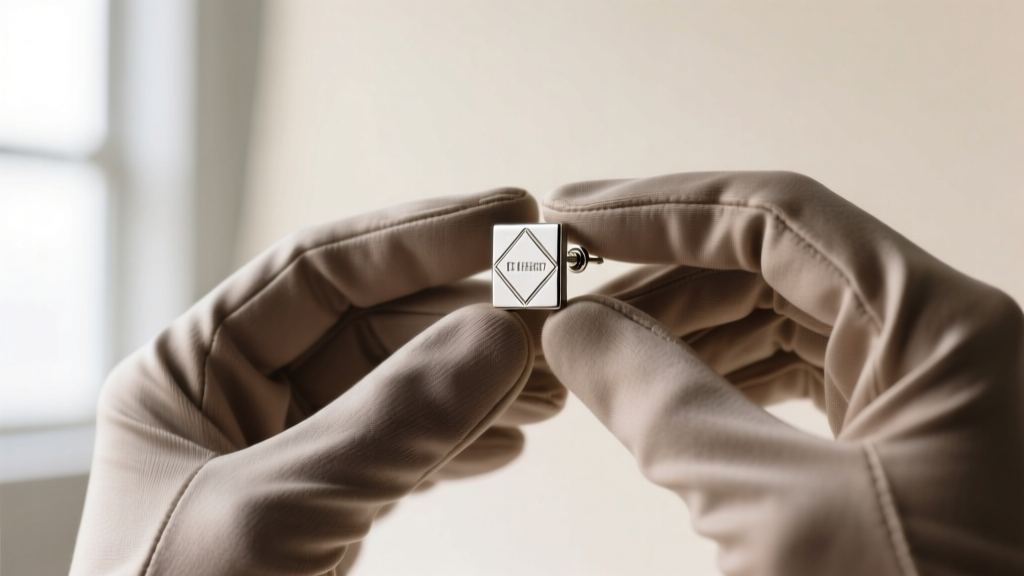
Flat back earrings, technically known as labret studs, are the gold standard for cartilage, conch, tragus, and lobe piercings. Unlike traditional butterfly-back studs that harbor bacteria and press into the skin, flat backs feature a smooth, disc-shaped backing that rests flush against the ear. However, their secure design often leads to a common frustration: figuring out how to take flat back earrings out without damaging the piercing channel or the jewelry itself.
Before attempting removal, you must identify your jewelry's locking mechanism. According to the Association of Professional Piercers (APP), high-quality body jewelry typically falls into two categories: threadless (push-pin) or internally threaded. Externally threaded jewelry (where the screw is on the post) is largely obsolete in professional studios due to the tissue damage it causes during insertion, but it may still be found in older or lower-quality pieces.
Threadless (Push-Pin) vs. Internally Threaded
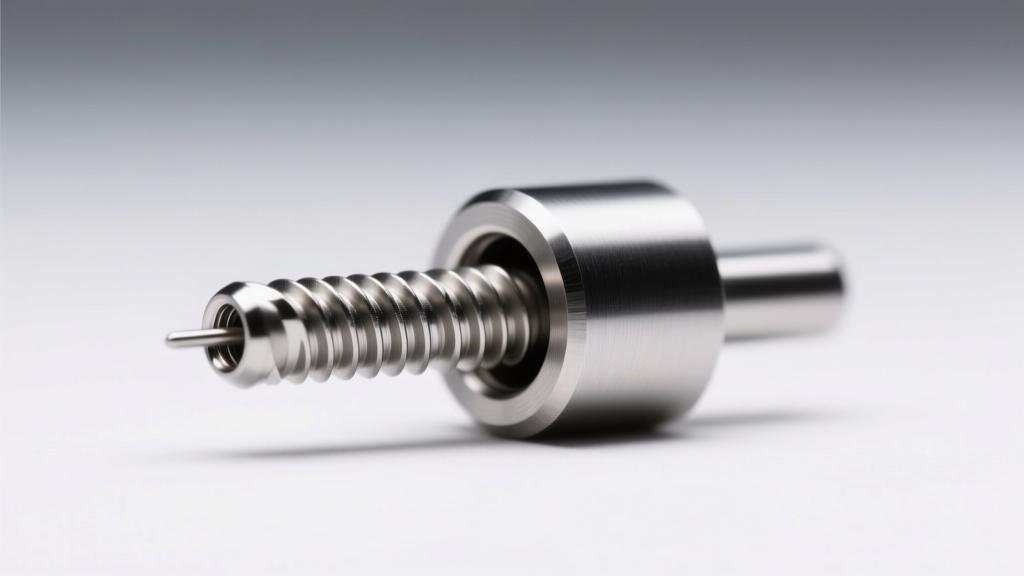
Threadless (Push-Pin): The decorative top has a tiny metal pin that is slightly bent before being pushed into the hollow shaft of the flat back post. The tension of the bent metal against the inside wall of the shaft holds the jewelry together. This is currently the most popular style for 16-gauge (1.2mm) and 14-gauge (1.6mm) cartilage piercings.
Internally Threaded: The decorative top features a small screw that threads directly into a hollow, tapped shaft on the flat back post. The connection relies on rotational friction.
Essential Tools for Safe Removal
Attempting to remove flat back jewelry with bare, slippery fingers often results in pinched skin, broken nails, and cross-threaded hardware. Assemble the following tools before you begin:
- Nitrile Gloves: Latex can cause allergic reactions and degrades when exposed to skin oils. Nitrile provides the necessary tactile grip to twist and pull tiny components.
- Sterile Saline Spray (0.9% Sodium Chloride): Essential for softening lymph buildup (commonly called "sleep crust") that acts like biological cement around the jewelry base.
- Warm Water: Steam and warmth help dilate the tissue slightly and melt sebum buildup.
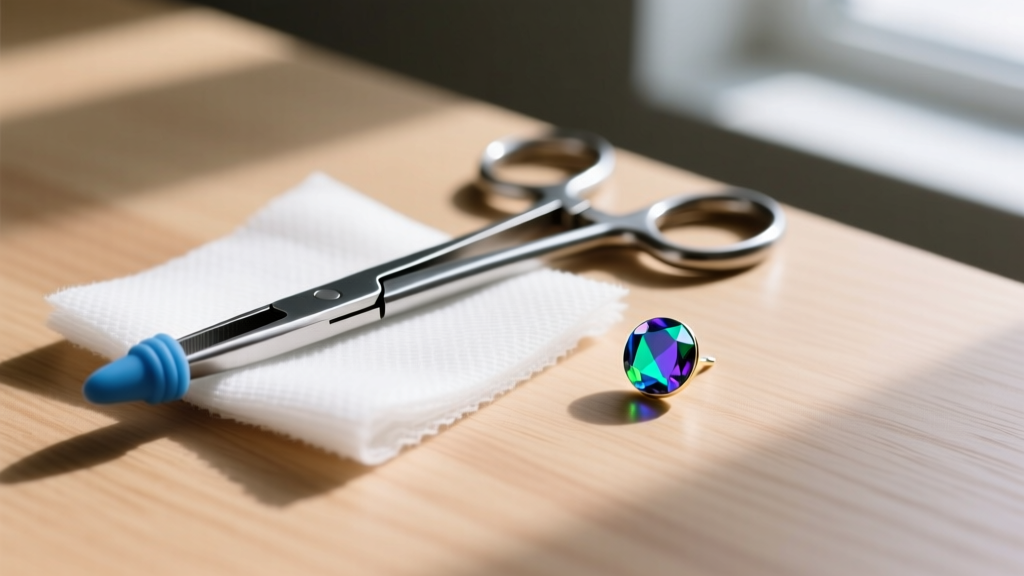
- Silicone-Tipped Hemostats (Optional): If the jewelry is severely stuck, a pair of locking hemostats with food-grade silicone tubing slipped over the jaws will grip the metal without scratching anodized titanium or crushing gemstone settings.
Step-by-Step: How to Take Flat Back Earrings Out
The removal technique depends entirely on the mechanism of your jewelry. Follow the specific guide below that matches your hardware.
Method 1: Removing Threadless (Push-Pin) Flat Backs
Because threadless jewelry relies on tension, pulling it straight out without preparation can cause a sudden pop that traumatizes the fistula (the piercing hole).
- Clean and Soften: Spray the front and back of the earring with sterile saline. Let it sit for 60 seconds to dissolve any dried lymph.
- Grip Securely: Put on your nitrile gloves. Place your thumb and index finger of your non-dominant hand on the flat back disc behind your ear. Use your dominant hand to pinch the decorative front gem.
- The Push-and-Pull Technique: Gently push the front gem slightly inward (about 1 millimeter) to relieve the tension of the bent pin. While pushing, twist the gem slightly (about a quarter turn) and pull it outward in a smooth, firm motion.
- Extract the Post: Once the top is off, the flat back post should slide out easily from the back. If it resists, do not force it; the tissue may be swollen, or the post may be caught on a healing ridge inside the channel.
Method 2: Removing Internally Threaded Flat Backs
Internally threaded jewelry requires rotational force. The golden rule is "lefty-loosey" (counter-clockwise to remove).
- Prepare the Area: Wash your hands, don your nitrile gloves, and apply saline to soften any crusties binding the gem to the skin.
- Stabilize the Back: Reach behind your ear and hold the flat back disc completely still. If the disc spins, you will not be able to unscrew the top.
- Twist the Top: Pinch the decorative front firmly and turn it counter-clockwise. Use slow, deliberate pressure. If you feel a harsh grinding sensation, stop immediately—you are likely cross-threading the screw, which can permanently ruin the jewelry.
- Remove the Post: After the top unscrews, gently slide the post out from the rear of the ear.
Troubleshooting: What to Do When the Earring Won't Budge
If you have followed the steps above and the jewelry remains stuck, do not panic. The Cleveland Clinic notes that piercings can experience minor swelling or localized irritation that makes jewelry removal difficult. Here are the professional troubleshooting methods for stuck flat backs.
The Shower Method (For Lymph Buildup)
If the jewelry is glued in place by bodily fluids, take a warm shower. Let the warm water run directly over the ear for 3 to 5 minutes. The heat and moisture will soften the sebum and dead skin cells. Once out of the shower, dry your hands, put on nitrile gloves, and attempt the removal steps again while the skin is still warm and pliable.
The Hemostat Method (For Spinning Threaded Tops)
If you have an internally threaded earring and the front gem spins endlessly without unscrewing, the screw may be stripped or cross-threaded. Take your hemostats (ensure they have silicone tubing on the jaws to prevent scratching the metal). Clamp the hemostats gently but firmly onto the flat back disc behind the ear to lock it in place. With the back immobilized, use your gloved fingers to twist the front gem counter-clockwise with increased torque.
The Floss Trick (For Threadless Pins Stuck Too Deep)
Sometimes, a threadless pin is bent too far down, or pushed in too deeply, creating immense tension. Take a piece of clean, unwaxed dental floss and slide it between the gem and the skin. Gently pull the floss outward to create a tiny bit of leverage, which can help break the vacuum seal and tension holding the pin inside the shaft.
Comparison of Flat Back Mechanisms and Removal Difficulty
| Mechanism Type | Standard Gauges | Removal Technique | Common Failure Mode | Difficulty Level |
|---|---|---|---|---|
| Threadless (Push-Pin) | 18g, 16g, 14g | Push in slightly, twist, pull | Pin bent too deeply; lymph seal | Moderate |
| Internally Threaded | 16g, 14g, 12g | Hold back still, twist counter-clockwise | Cross-threading; spinning back disc | Easy to Moderate |
| Externally Threaded | 20g, 18g, 16g | Hold back still, twist counter-clockwise | Stripped threads; tissue tearing | High (Not Recommended) |
Aftercare and Reinsertion Tips
Once you have successfully figured out how to take flat back earrings out, proper care of the empty channel and the jewelry is vital. If you plan to leave the piercing empty, clean the area with sterile saline twice a day for 48 hours, as the fistula may weep slightly after the physical removal of the metal. Note that cartilage piercings can shrink or close entirely within hours if not fully healed (which takes 6 to 12 months for a helix or conch).
If you are swapping to a new piece of ASTM F136 implant-grade titanium jewelry, clean the new post with antibacterial soap and warm water before insertion. For threadless jewelry, remember that you must bend the pin slightly before inserting it into the shaft. A bend of roughly 15 to 20 degrees, located about one-third of the way down the pin, provides the ideal tension for a secure fit that won't fall out during sleep, yet remains easy to remove when necessary.


