How to Take Off Earring Safely: Budget Fixes for Stuck Backs
Learn how to take off earring backs safely without ruining jewelry or paying piercer fees. Budget hacks, tool guides, and value tips for stuck studs.

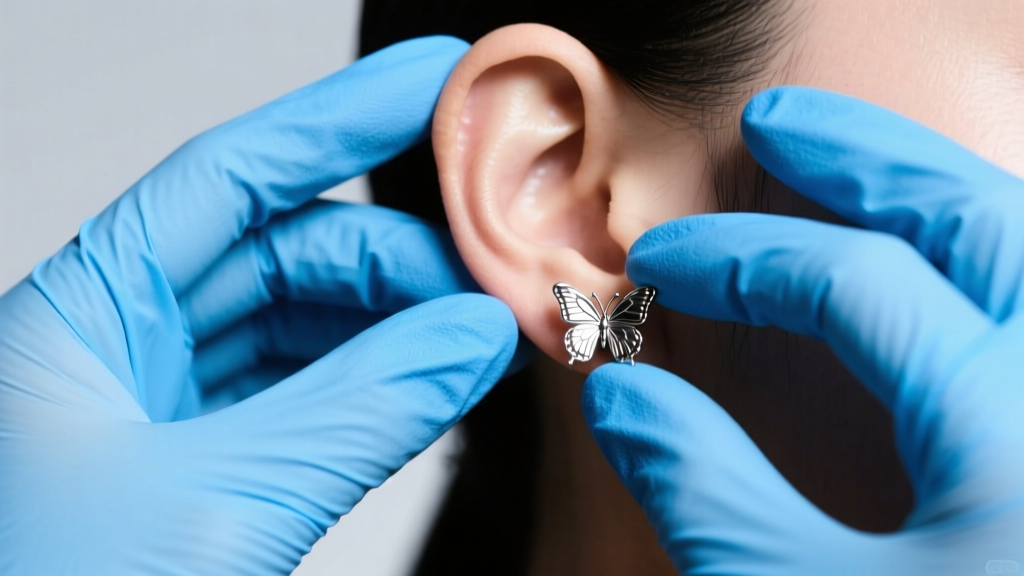
There are few jewelry emergencies more frustrating—and potentially expensive—than a stuck earring. Whether it is a calcified butterfly back on a standard lobe piercing or a cross-threaded flat back on a cartilage stud, figuring out how to take off earring hardware that has seized requires patience, the right technique, and a basic understanding of jewelry metallurgy. For budget-conscious collectors, a stuck earring isn't just an annoyance; it represents a hidden financial drain. Paying a professional piercer for an emergency removal can cost between $25 and $75, completely negating the savings of buying cheap jewelry in the first place.
In this comprehensive value assessment, we break down the true cost of stuck earrings, provide actionable DIY removal methods, and evaluate when it is time to upgrade your hardware to save money in the long run.
The Hidden Costs of Cheap Earring Hardware
To understand the value of proper removal techniques, we first must examine why budget earrings get stuck. Inexpensive earrings are typically plated brass, copper alloys, or low-grade stainless steel. These porous metals react with the body's natural sebum, sweat, and dead skin cells. Over time, this organic matter calcifies around the post and the earring back, essentially gluing the components together.
Furthermore, cheap 'butterfly' or friction backs lose their tension. When they are pushed on too tightly to compensate for this looseness, they compress the earlobe, restricting blood flow and causing swelling. The swollen tissue then engulfs the back, making it nearly impossible to grip. According to the Association of Professional Piercers (APP), wearing non-implant-grade metals can also trigger contact dermatitis, leading to inflammation that further traps the jewelry.
Step-by-Step: How to Take Off Earring Backs by Type
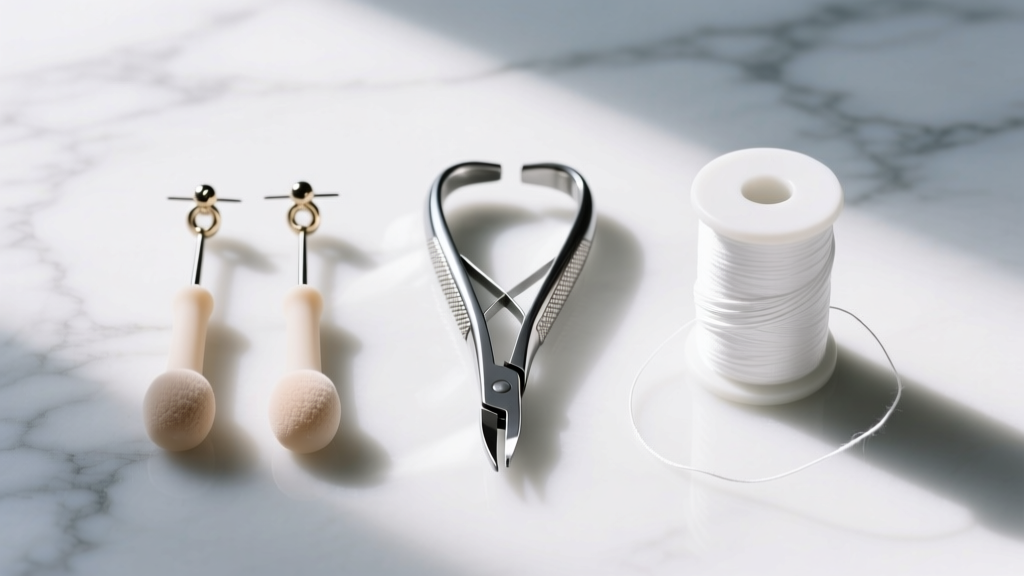
Different earring mechanisms require different removal strategies. Applying brute force to the wrong mechanism will bend the post, ruining the earring and potentially tearing the fistula (the piercing hole).
1. Friction / Butterfly Backs (The Grip Method)
The most common culprit for stuck earrings is the standard push-back. If the metal is smooth and your fingers are slipping, you need to increase friction without damaging the skin.
- The Nitrile Glove Trick: Put on a pair of tight-fitting, latex-free nitrile exam gloves. The textured grip provides immense traction on smooth metal.
- The Warm Compress: If the earlobe is swollen around the back, apply a warm, damp washcloth for three minutes to reduce tissue inflammation and soften calcified sebum.
- The Twist-and-Pull: Grip the front of the stud with your non-dominant hand to stabilize the post. With your gloved dominant hand, grip the back and pull straight out while applying a micro-rotational twist.
2. Screw Backs (Dealing with Cross-Threading)
Screw backs are designed to be secure, but cheap manufacturing often leads to 'cross-threading,' where the threads strip and lock together.
- Reverse Threading: Ensure you are turning the back counter-clockwise. If it feels entirely locked, do not force it with pliers immediately, as you will snap the post.
- The Lubrication Hack: Apply a microscopic drop of sterile saline or vitamin E oil to the seam where the back meets the post. Let it sit for five minutes to break down organic buildup before attempting to unscrew again.
3. Hinged Hoops and Clickers (The Floss Method)
Huggies and clickers can seize at the hinge due to soap scum and hard water deposits.
- The Dental Floss Trick: Take a piece of unwaxed dental floss and thread it through the hinge gap. Gently pull the floss back and forth like a shoeshine rag to saw through calcified debris without scratching the metal.
- Warm Water Soak: Submerge the ear in a bowl of warm water and mild castile soap for five minutes to loosen the hinge mechanism.
Budget-Friendly Tools vs. Professional Removal
When DIY methods fail, you face a decision: buy specialized tools or pay a professional. Here is a value assessment to help you decide the most cost-effective route.
| Removal Method | Estimated Cost | Success Rate | Risk of Jewelry Damage |
|---|---|---|---|
| Nitrile Gloves + Warm Compress | $10 (for a box of gloves) | 85% | Very Low |
| Curved Hemostat (Locking Pliers) | $15 - $25 | 95% | Moderate (can scratch metal) |
| Piercer Emergency Removal Fee | $30 - $75 | 99% | High (jewelry is often sacrificed) |
| Urgent Care / ER Visit | $150 - $500+ | 100% | Guaranteed (jewelry will be cut) |
The Hemostat Investment: If you frequently wear budget jewelry with stubborn backs, purchasing a pair of stainless steel curved hemostats (locking forceps) is a high-value investment. Hemostats allow you to lock onto a butterfly back with zero hand fatigue, providing steady, even pressure to pull the back straight off the post without pinching the earlobe. However, you must wrap the tips in medical tape to prevent the serrated teeth from scratching or ruining the finish of your jewelry.
Investing in Better Hardware: A Long-Term Value Assessment
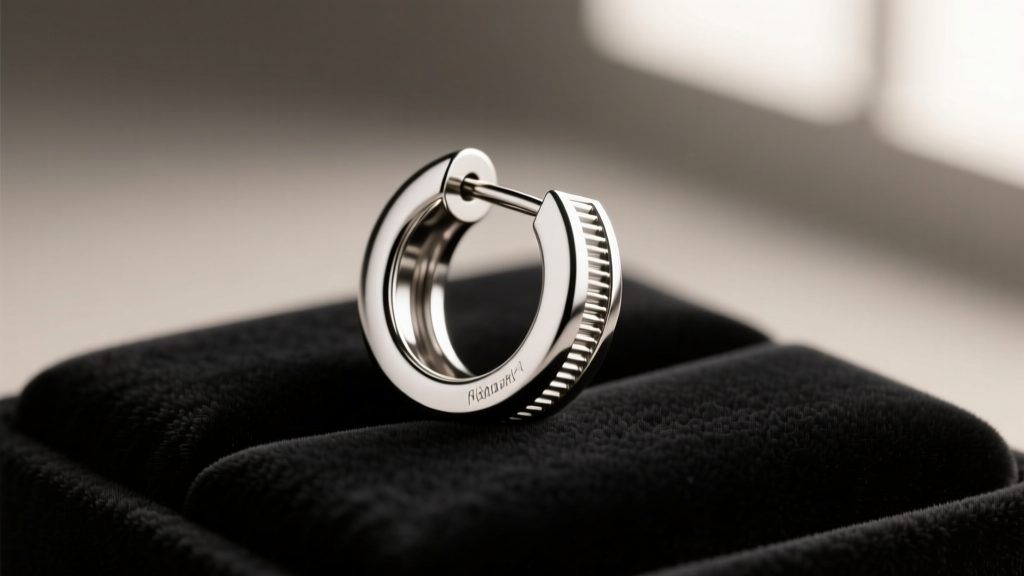
The ultimate budget hack for stuck earrings is to stop buying earrings that get stuck. While a $5 pair of alloy studs seems like a bargain, the hidden costs of ruined jewelry, damaged piercings, and removal fees make them a poor financial choice. Let us look at the Mayo Clinic's warnings regarding nickel and cheap alloys causing contact dermatitis, which leads to the exact swelling that traps earrings in the first place.
Upgrading to ASTM F-136 Implant-Grade Titanium jewelry with internal threading or threadless (push-pin) mechanisms represents a superior long-term value.
Why Internal Threading Saves You Money
In cheap screw-back earrings, the threads are on the outside of the post (external threading). These sharp threads act like a file, scraping the inside of your piercing every time you insert or remove them, and they are highly prone to cross-threading and seizing. Internal threading means the threads are inside the ball or back, while the post is perfectly smooth. This eliminates cross-threading, prevents tissue damage, and ensures the earring will unscrew smoothly every single time, even after years of wear.
The Threadless (Press-Fit) Alternative
Threadless jewelry uses a tiny bent pin that creates tension inside the hollow post. Because there are no threads to strip and no backs to calcify, threadless jewelry is virtually immune to getting stuck in the way butterfly backs do. A high-quality titanium threadless end and post will cost between $25 and $45, but it will last a lifetime and eliminate the need for emergency piercer visits.
When to Stop DIY and See a Professional
While budget-friendly DIY fixes are excellent for standard stuck backs, there is a strict line between a stubborn earring and a medical issue. You must abandon DIY removal and visit a professional piercer or a doctor if you experience any of the following:
- Embedding: If the earlobe has completely swollen over the front or back of the earring, do not attempt to dig it out. A piercer can use a sterile taper and specialized tools to remove it without causing scar tissue.
- Signs of Infection: If the ear is hot to the touch, radiating pain, or discharging yellow/green pus, removing the jewelry yourself can trap the infection inside the fistula as the hole closes. Seek medical advice immediately.
- Stripped or Snapped Posts: If the post bends or snaps while you are applying pressure with tools, stop immediately. Forcing a jagged, broken post through the ear canal will cause severe lacerations.
Summary Checklist for Earring Maintenance
To ensure you never have to frantically search for how to take off earring hardware again, adopt these low-cost maintenance habits:
- Clean Weekly: Remove your earrings (if healed) and clean the posts and backs with warm water and mild soap to prevent sebum calcification.
- Upgrade Your Backs: If you wear standard friction studs, purchase aftermarket silicone O-rings or secure locking clutches (like La poupeé backs) to replace cheap metal butterflies.
- Lubricate Threads: For screw-backs, a tiny dab of jojoba oil on the threads once a month keeps them turning smoothly.
- Invest in Titanium: Gradually replace your everyday, sleep-in jewelry with implant-grade titanium to eliminate tissue swelling and allergic reactions.
By understanding the mechanics of your jewelry and investing a few dollars in proper grip tools or upgraded materials, you protect both your piercings and your wallet from the hidden costs of stuck earrings.


