How to Take Off Types of Earrings: Expert Removal Guide
Master how to take off types of earrings safely. Expert guide on removing threaded, threadless, and continuous hoop backings without tissue damage.

The Biomechanics of Earring Backings and Removal Tension
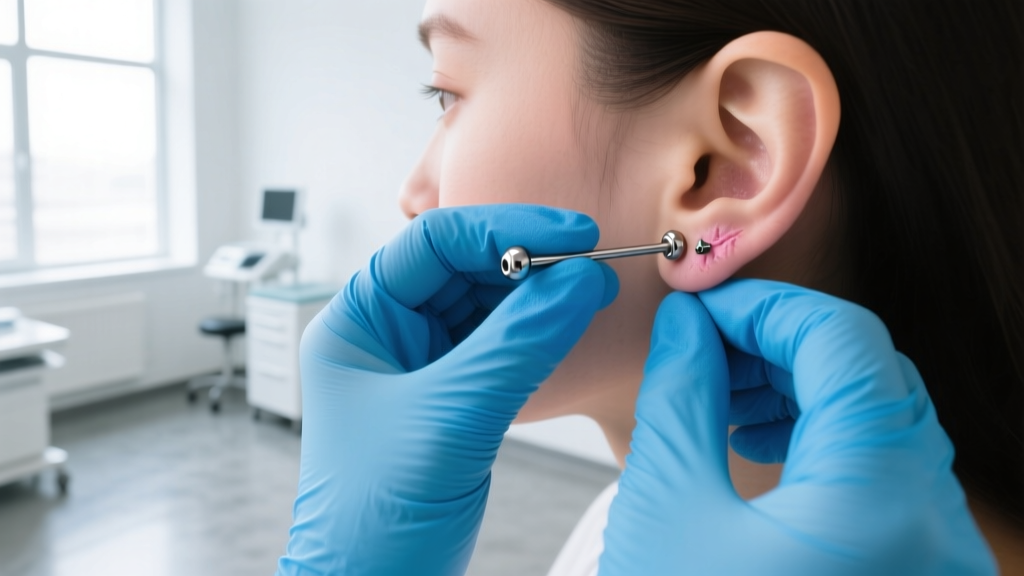
Understanding how to take off types of earrings requires more than basic dexterity; it demands a mechanical understanding of jewelry engineering and tissue biomechanics. When an earring is seated in a piercing, it interacts with the fistula (the skin tube of the piercing channel). Swelling, sebum accumulation, and microscopic debris can create immense friction against the jewelry post. Furthermore, the torque applied during installation—often exceeding the manual grip strength of bare fingers—can make certain high-end body jewelry seemingly impossible to remove without specialized techniques.
According to the Association of Professional Piercers (APP), the most common cause of tissue trauma during earring removal is the application of lateral shear force rather than axial extraction force. Pulling an earring at an angle compresses the fistula, leading to micro-tears and subsequent hypertrophic scarring. This expert deep dive explores the precise mechanical disengagement protocols for the most complex earring backings on the market, focusing on implant-grade titanium (ASTM F136) and solid 14k/18k gold pieces.
Step-by-Step: How to Take Off Types of Earrings by Mechanism
Different earring styles utilize vastly different locking mechanisms. A technique that works for a standard friction-backed stud will fail entirely on a threadless labret or a continuous hoop. Below is the technical breakdown for removing high-security earring types.
Internally Threaded Flat-Back Labrets
Internally threaded jewelry features the screw mechanism on the decorative end, which threads into a hollow, tapped post. This design protects the fistula from sharp threads during insertion. The thread pitch varies by gauge: 14-gauge (1.6mm) and 16-gauge (1.2mm) posts typically utilize an M1.2 thread pitch, while 18-gauge (1.0mm) and 20-gauge (0.8mm) use an M0.9 pitch.
- Grip Enhancement: Bare skin lacks the coefficient of friction required to break the initial torque seal. Always use powder-free nitrile gloves. The textured surface increases grip torque by up to 40%.
- Counter-Tension: Place your thumb and index finger behind the ear, firmly pinching the flat back disc to prevent it from spinning. Use your dominant hand to grip the decorative front.
- Directional Force: Remember the standard right-hand thread rule: turn the decorative end counter-clockwise (left) to loosen. Apply steady, increasing pressure rather than sudden jerks, which can lead to cross-threading if the piece is already misaligned.
Threadless (Press-Fit) Flat-Back Labrets
Threadless jewelry relies on the spring tension of a bent metal pin. The decorative end features a thin titanium or gold pin that is inserted into the hollow post and bent slightly (usually 10 to 15 degrees) before being pushed flush. The tension against the inner wall of the post holds it securely in place.
To remove threadless earrings, you must overcome this lateral spring tension. Grip the flat back securely with one hand. With the other hand, grip the decorative end and pull straight outward along the axis of the post. Do not twist or rotate, as this will not release the tension pin and may damage the internal post wall. If the piece is stuck, a gentle side-to-side wiggling motion (like a joystick) while pulling outward will collapse the bent pin's profile, allowing extraction.
Continuous (Endless) Hoops and Segment Rings
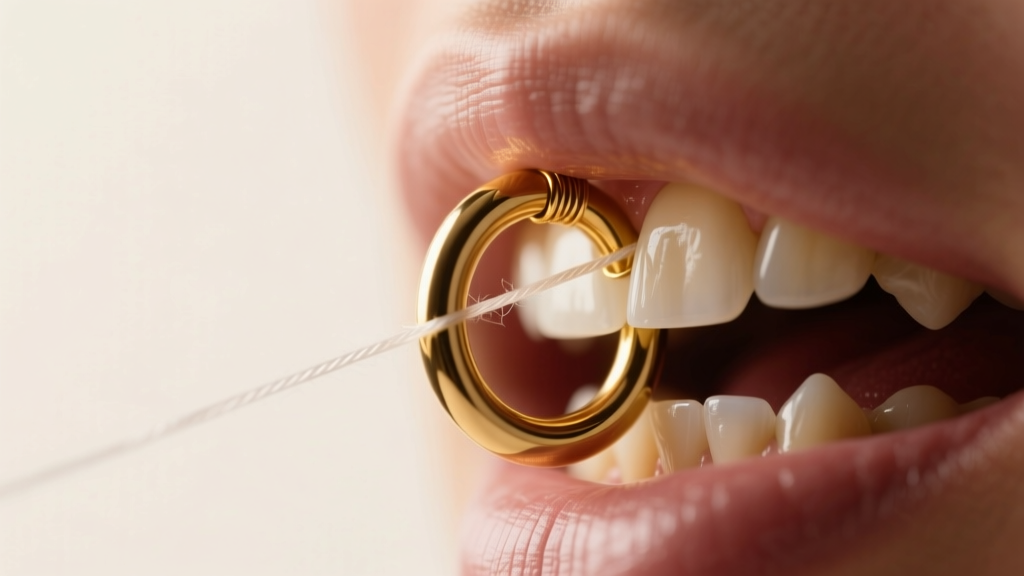
Continuous hoops feature a seamless design with a removable segment that locks into place via lateral tension. The gap between the segment and the hoop is intentionally manufactured to be smaller than the wire diameter (typically a 1mm to 1.5mm deficit). When installed, the segment is squeezed into the hollow tube of the hoop, creating a friction lock.
Attempting to pull the segment out with fingernails often results in nail damage or slipping. The expert extraction method involves using unwaxed dental floss. Wrap a piece of floss tightly around the segment, creating a loop. Pull the floss laterally (away from the center of the hoop) while using your other hand to squeeze the main hoop ring slightly with pliers padded in silicone tubing. This relieves the compressive tension and allows the segment to slide out effortlessly.
Hinged Latch-Backs and Clickers
Clickers and hinged segment rings utilize a mechanical clasp. A small hinge pin on one side allows the segment to swing open, while a machined groove on the opposite side snaps over a detent bead or ridge on the main ring. You will hear an audible 'click' when it locks.
To remove a clicker, locate the microscopic seam opposite the hinge. Insert a fingernail or a specialized jewelry opening tool (a blunt, polished steel wedge) into the seam. Apply gentle outward prying pressure. Never pull the hinged segment straight down, as this will warp the hinge pin and permanently misalign the locking groove.
Troubleshooting Stuck or Seized Earring Components
Even with perfect technique, environmental and biological factors can cause earring components to seize. Understanding the root cause of the failure is critical to safe extraction without resorting to destructive cutting tools.
Sebum Calcification and Biofilm Buildup
Over time, dead skin cells, sebum, and soap residue can accumulate in the threads of internally threaded earrings or inside the hollow posts of threadless jewelry. This biofilm acts as a biological cement. If an earring will not unscrew, do not force it. Apply a warm sterile saline compress (0.9% sodium chloride) to the area for 10 minutes. The warmth and moisture will soften the calcified sebum, restoring mechanical clearance.
Cross-Threading and Metal Galling
If an internally threaded earring was forced in at an angle, the male and female threads can cross-thread, effectively locking the metal together. In softer metals like 18k gold, this can cause 'galling,' where the metals cold-weld under friction. If you suspect cross-threading, stop turning immediately. Continuing to apply torque will shear the post.
The Hemostat Extraction Technique
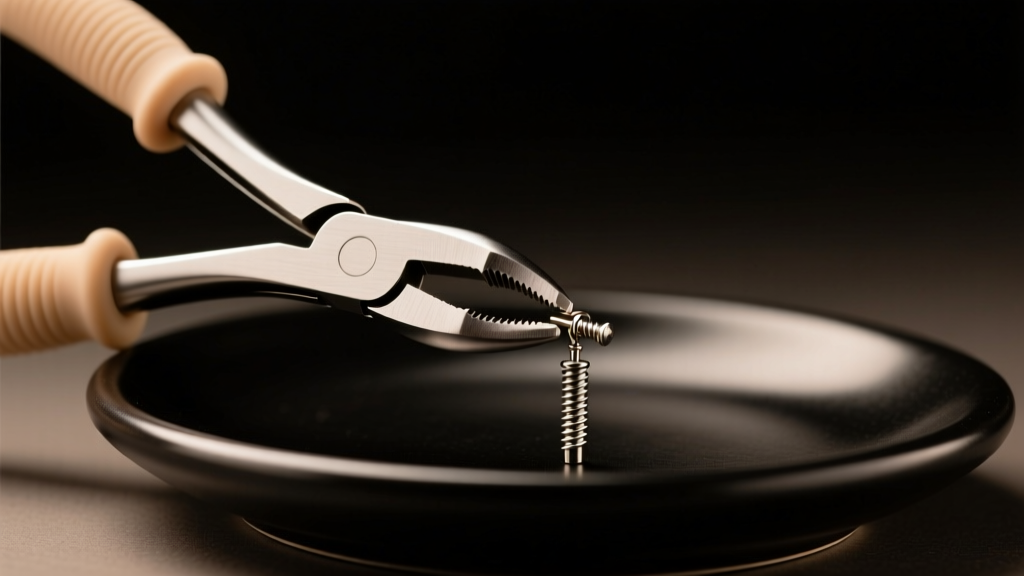
When finger grip fails, professional piercers use locking hemostats (forceps). To prevent the serrated steel jaws from crushing the earring post or scratching the precious metal, the jaws must be sleeved in soft silicone tubing (typically 3mm inner diameter medical-grade tubing cut into 1-inch sections). Clamp the hemostat onto the decorative end, lock the ratchet to the first or second tooth, and use the long handles for superior leverage to break the torque seal.
Earring Backing Failure Modes and Extraction Solutions
The following table outlines specific mechanical failure modes encountered when learning how to take off types of earrings, alongside the precise technical solutions required for each scenario.
| Failure Mode | Earring Type | Root Cause | Extraction Solution |
|---|---|---|---|
| Spinning Post | Internally Threaded Labret | Flat back lacks friction against tissue; post rotates with the decorative end. | Use a flat-head screwdriver on the back disc's machining slot while unscrewing the front. |
| Pin Slippage | Threadless (Press-Fit) | The bent pin has lost its spring tension or the post interior is coated in lubricating sebum. | Grip the front with silicone-padded pliers and pull axially while pushing the back disc forward. |
| Clasp Warp | Hinged Clicker / Segment Ring | Improper closing technique has bent the detent groove, preventing the clasp from releasing. | Apply gentle inward compression to the main ring to relieve tension on the clasp groove before prying. |
| Thread Seizure | Any Threaded Component | Cross-threading, galvanic corrosion (mixed metals), or calcified biofilm. | Warm saline soak followed by hemostat extraction with silicone jaw sleeves. |
Post-Removal Piercing Care and Tissue Recovery
Once the earring is successfully removed, the fistula requires immediate care, especially if the removal process involved prolonged manipulation. The Journal of Clinical and Aesthetic Dermatology notes that mechanical irritation during jewelry changes can trigger localized contact dermatitis or temporary swelling.
Spray the empty piercing channel with a sterile, preservative-free 0.9% saline wound wash. Avoid using harsh chemicals like rubbing alcohol or hydrogen peroxide, as these destroy the delicate epithelial cells lining the fistula. If you plan to insert a new piece of jewelry immediately, ensure the new post is coated in a water-based lubricant or sterile saline to glide through the channel without catching. If you are leaving the piercing empty, gently massage the surrounding tissue to promote lymphatic drainage and prevent the channel from contracting too rapidly, which can trap shed skin cells inside the fistula.
Expert Sourcing and Maintenance References
Mastering the removal of complex body jewelry is a matter of respecting the engineering of the piece and the biology of the tissue. For further technical specifications on jewelry mechanics, thread pitches, and safe extraction protocols, consult the Association of Professional Piercers (APP) safety guidelines. Always invest in high-quality, internally threaded or threadless jewelry from reputable manufacturers to ensure that the mechanical tolerances remain precise, making future removals a seamless and painless process.


