How to Take Out Starter Earrings Safely: A Beginner's Guide
Learn exactly how to take out starter earrings without pain or infection. Expert tips on removing stubborn butterfly backs and upgrading jewelry.

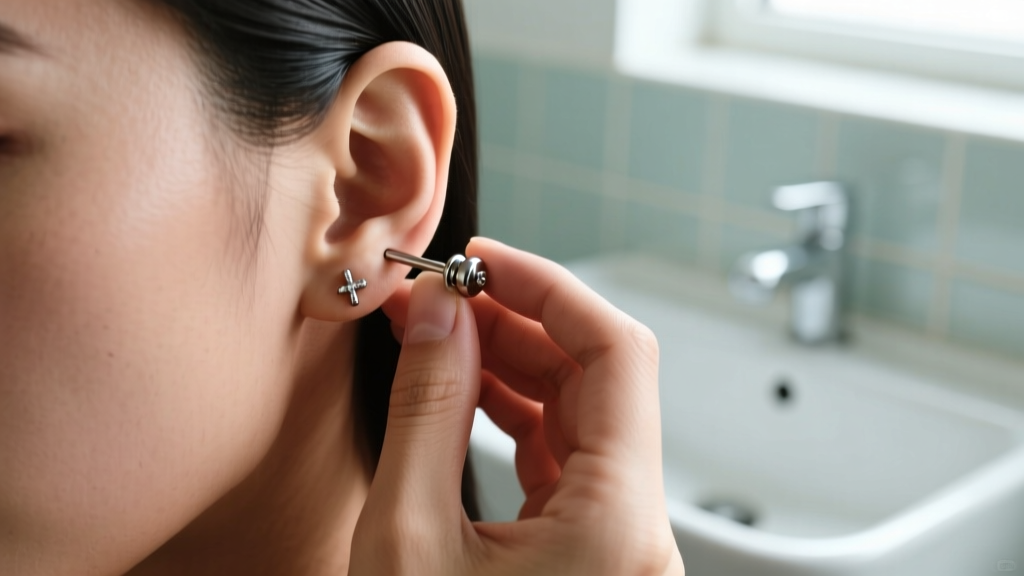
Getting your ears pierced is an exciting milestone, but the first time you attempt to change the jewelry, it can quickly turn into a frustrating ordeal. If you are searching for exactly how to take out starter earrings, you are far from alone. The combination of healing tissue, tight friction-fit backs, and nervous hands makes this a universal hurdle for beginners.
This guide strips away the guesswork. We will cover the exact mechanics of stubborn earring backs, the biological timelines of fistula healing, and the step-by-step physical technique required to remove your starter jewelry without tearing your delicate new piercing channel.
The Anatomy of the Struggle: Why Starter Earrings Get Stuck
To understand how to remove the jewelry, you must first understand why it feels welded to your ear. Most starter earrings provided by mall kiosks or standard retail stores utilize a 'butterfly back' (also known as a push-back or clutch). This mechanism relies entirely on friction. The tiny metal scroll grips a microscopic groove near the end of the earring post.
When you combine this mechanical friction with the biological reality of a healing piercing, removal becomes difficult for three reasons:
- Healing Lymph (Crusties): Your body secretes lymph fluid to heal the wound. This fluid dries and acts like biological cement inside the grooves of the butterfly back.
- Tissue Swelling: Even if the external swelling has subsided, the internal fistula (the tube of healing skin) may still be slightly inflamed, gripping the post tightly.
- Slippery Surfaces: The smooth metal of the earring front offers very little grip for your fingers, making it hard to apply the necessary opposing force.
The Golden Rules of Timing: When Are You Actually Ready?
Before you attempt removal, you must ensure your piercing is biologically ready. Taking out jewelry too early can cause the fistula to collapse within minutes, or worse, introduce bacteria into an open wound.
Expert Insight: A piercing is not just a hole; it is a newly formed tube of tissue called a fistula. Until the epithelial cells have fully lined this tube, removing the jewelry risks micro-tears and immediate closure.
Refer to the Association of Professional Piercers (APP) guidelines for standard healing timelines based on placement and gauge size:
- Standard Earlobes (20G to 18G / 0.81mm - 1.02mm): Minimum 6 to 8 weeks, though 12 weeks is vastly superior for a stable fistula.
- Upper Lobes / Helix (16G to 14G / 1.29mm - 1.63mm): Minimum 6 to 9 months. Cartilage lacks the blood supply of the lobe, healing much slower.
- Tragus / Conch (16G / 1.29mm): 9 to 12 months minimum.
Step-by-Step: How to Take Out Starter Earrings Without Pain
Once you have confirmed your piercing is fully healed, follow this precise protocol to remove the jewelry safely.
Phase 1: Preparation and Softening
Never attempt to remove starter earrings with dry hands or dry jewelry. Start by washing your hands thoroughly with an unscented antibacterial soap. Next, soak a clean cotton pad in warm water (or sterile 0.9% sodium chloride saline wound wash) and hold it against the back of your earlobe for 3 to 5 minutes. This crucial step softens and dissolves the dried lymph fluid locking the butterfly clutch in place.
Phase 2: The Grip and Pull Technique
Dry your hands completely; moisture will cause your fingers to slip. You need to create opposing tension.
- Secure the Front: Pinch the decorative front of the earring firmly between your non-dominant thumb and index finger. Hold it completely still against the front of your earlobe.
- Grip the Back: With your dominant hand, pinch the butterfly back. Do not just pull straight back. Instead, use a slight 'wiggling' motion while pulling away from the ear.
- The Release: You will feel a distinct 'pop' as the metal scroll clears the groove on the post. Once it pops, slide it the rest of the way off.
Troubleshooting: The Dental Floss Trick for Stubborn Backs
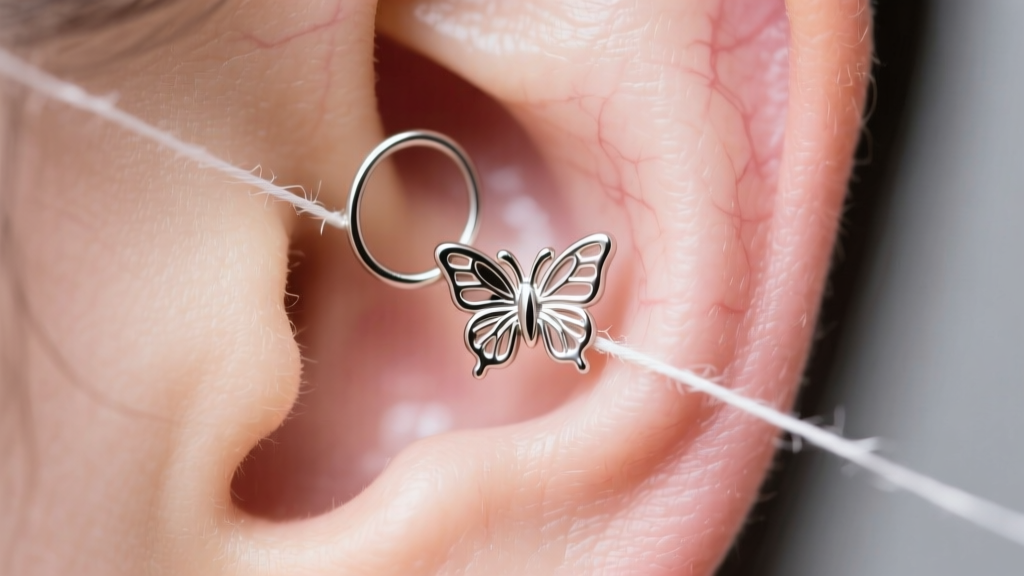
If the butterfly back refuses to budge, do not use pliers or excessive force, which can crush the post and trap it permanently. Instead, use the dental floss method. Take a piece of clean, unwaxed dental floss and slide it between the earlobe and the butterfly back. Wrap the floss tightly around the post behind the clutch. Pull the ends of the floss outward and away from your ear. The floss will act as a wedge, evenly distributing pressure and forcing the clutch off the post without damaging your skin.
Material Matters: What to Insert Immediately After
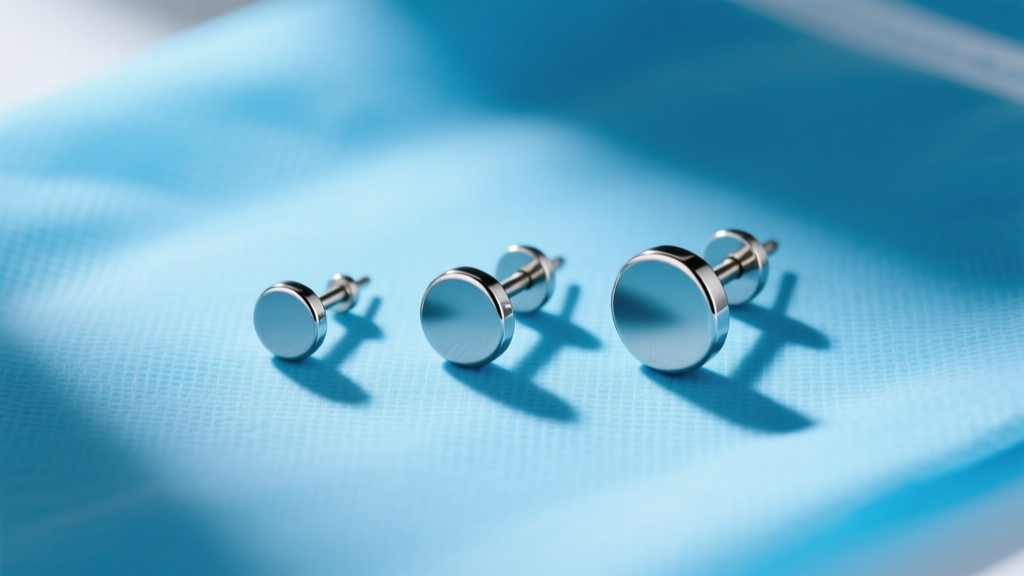
Once the starter earring is out, your fistula is exposed. Most starter earrings are made of 316L 'surgical steel,' which contains 8% to 10% nickel. Prolonged exposure can cause contact dermatitis. You must immediately insert high-quality, body-safe jewelry. According to the Mayo Clinic, hypoallergenic materials are essential to prevent delayed healing and allergic reactions.
| Material Grade | Nickel Content | Best Use Case | Price Range (USD) |
|---|---|---|---|
| 316L Surgical Steel | 8% - 10% | Avoid for fresh/healing piercings | $5 - $15 |
| ASTM F-136 Titanium | 0% (Nickel-Free) | Gold standard for fresh & healing fistulas | $25 - $60 |
| Niobium | 0% (Nickel-Free) | Excellent for sensitive skin, limited styles | $20 - $45 |
| 14k / 18k Solid Gold | 0% (If alloyed correctly) | Fully healed piercings only (avoid white gold) | $80 - $300+ |
Note: Never use silver-plated or gold-plated jewelry in a newly healed piercing. The plating will wear off inside the fistula, trapping base metals against your tissue.
Common Mistakes That Lead to Infection or Closure
Knowing what not to do is just as important as the removal technique itself. Avoid these critical failure modes:
- Removing Jewelry Over the Sink: The moment the back pops off, the earring can easily fall and slide down the drain. Always perform jewelry changes over a clean towel or a plugged basin.
- Leaving the Hole Empty: A newly healed fistula can shrink or close entirely within 15 to 30 minutes. Have your new titanium jewelry sterilized and ready to insert the second the starter comes out.
- Forcing a Thicker Gauge: If your starter was an 18G (1.0mm) and you try to force a 16G (1.2mm) taper or earring through, you will cause a 'blowout' or tear the fistula lining. Always match the exact gauge of your starter jewelry for your first change.
- Using Harsh Chemicals: Never use rubbing alcohol or hydrogen peroxide to clean the jewelry or the ear. These destroy the newly formed epithelial cells. Stick strictly to sterile 0.9% saline.
When to See a Professional Piercer
Sometimes, DIY removal is not the safe option. You should immediately visit an APP-certified professional piercer if you experience any of the following:
- Embedding: If the earlobe has swollen over the front or back of the earring, hiding the metal entirely. Do not dig for it with tweezers.
- The 'Spin' Test Fails: If the earring post will not rotate freely at all, the tissue may have healed around the metal, or severe crusting is locking it. A piercer has the sterile tools to safely dissolve the bond.
- Signs of Infection: If the ear is hot to the touch, emitting thick green/yellow pus, or if you have a fever, leave the jewelry in and see a doctor. Removing the jewelry can trap the infection inside the tissue, leading to an abscess.
Learning how to take out starter earrings is a rite of passage. By respecting the healing timeline, utilizing the warm compress and dental floss techniques, and upgrading to implant-grade titanium, you ensure your piercing remains healthy, stable, and ready for the beautiful jewelry you have been waiting to wear.


