How Do You Take Out an Earring? Safe Removal & Care
Learn how do you take out an earring safely, troubleshoot stuck jewelry, and master post-removal cleaning protocols for optimal ear health.

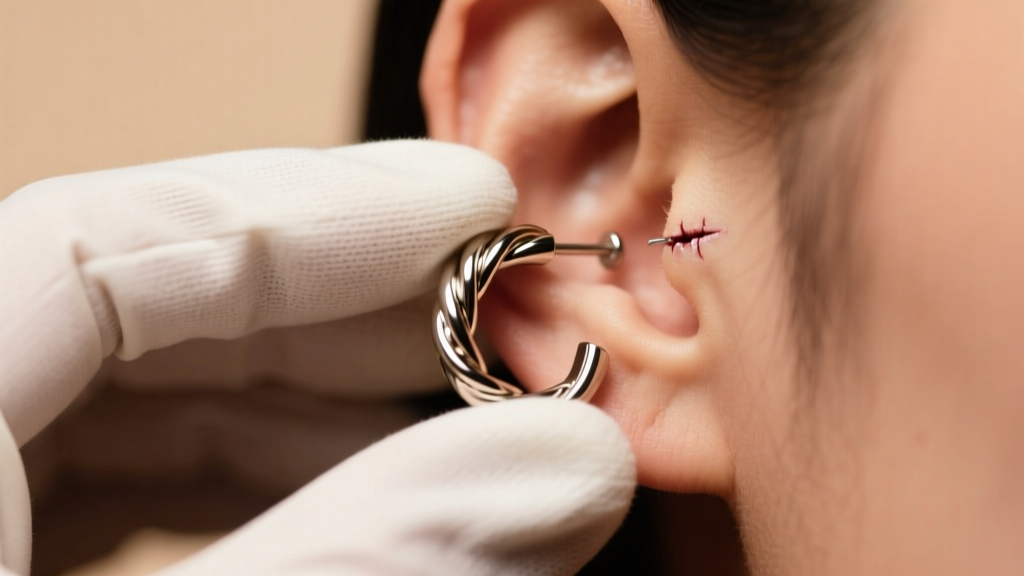
The Anatomy of Stuck Earrings: Why Force is the Enemy
When asking, "how do you take out an earring," the most common mistake is applying brute force. The ear is a highly vascular, delicate cartilage and tissue network that responds to trauma with immediate inflammation. In 2026, the shift toward high-quality body jewelry—such as threadless push-pin and internally threaded flat-back labrets from brands like BVLA and Anatometal—has vastly improved piercing health. However, improper insertion, lymph buildup, and tissue swelling can still cause jewelry to become stubbornly lodged.
Friction is the primary culprit. Standard butterfly backs (friction backs) feature deep grooves that trap sebum, dead skin cells, and dried lymph fluid, essentially gluing the backing to the post. Threadless jewelry, which relies on a bent pin for tension, can become stuck if the pin was bent too sharply during insertion or if the piercing channel has swollen around the post. Internally threaded jewelry can cross-thread or become locked by microscopic debris. Understanding the mechanics of your specific earring type is the first step in safe removal.
Step-by-Step: How Do You Take Out an Earring Safely?
Before attempting removal, you must create a sterile, well-lit environment. Never attempt to remove stubborn jewelry in a dimly lit bathroom mirror with unwashed hands.
1. Preparation and Lubrication
Wash your hands thoroughly with an antimicrobial soap and dry them with a lint-free paper towel. If your earring is stuck due to dried lymph or sebum, apply a few drops of sterile wound wash saline or pure, unrefined jojoba oil to the front and back of the piercing. Allow it to sit for three to five minutes to soften the biological debris.
2. The Grip and Motion
According to the Association of Professional Piercers (APP), using clean, dry fingers is usually sufficient for healed piercings. However, if your fingers are slipping, don a pair of sterile nitrile gloves to dramatically increase your grip friction.
- For Butterfly Backs (Friction): Hold the front stud firmly in place. Pinch the butterfly back and pull straight back along the axis of the post. Do not twist, as this can cause the grooves to scrape the delicate fistula (piercing channel).
- For Threadless (Push-Pin): Grip the front gem and the flat back simultaneously. Apply a gentle bending motion while pulling apart. The tension relies on a slight curve in the pin; bending it slightly mimics the insertion angle and releases the lock.
- For Internally Threaded: Hold the back stationary and twist the front gem counter-clockwise (lefty-loosey). If it resists, do not force it, as you risk stripping the internal threads.
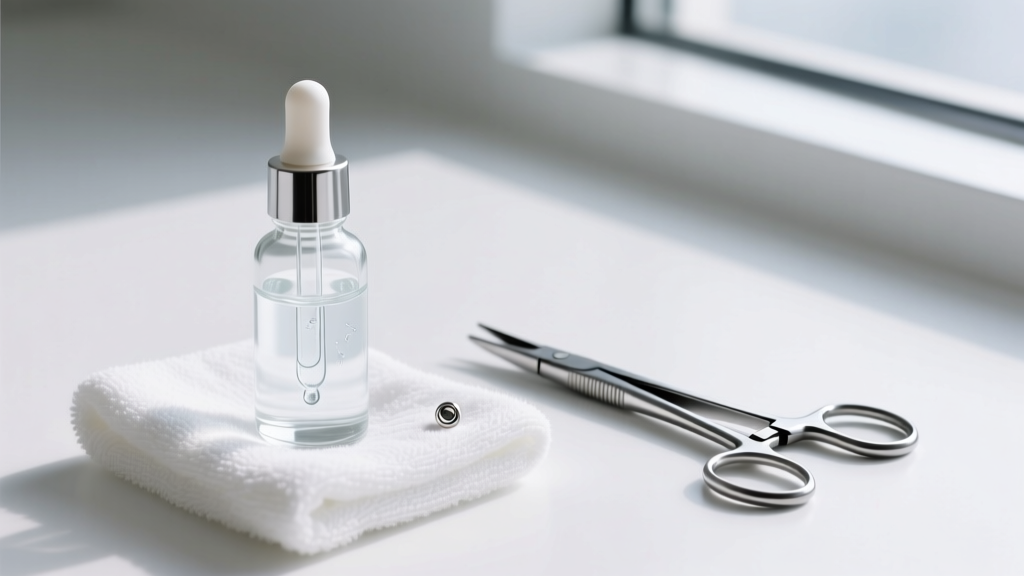
Troubleshooting: What to Do When the Earring Won't Budge
If the standard removal techniques fail, you are likely dealing with either severe biological buildup, cross-threading, or embedding. Embedding occurs when the tissue swells over the jewelry backing, often due to wearing a post that is too short for your anatomy.
"Never use pliers or household tools to grip jewelry. The slip risk is immense, and the crushing force can permanently deform the metal, making professional removal even more difficult."
If you suspect embedding (the skin is partially covering the flat back or butterfly), stop immediately. The Mayo Clinic Piercing Care Guide warns against digging into swollen tissue, which can introduce staphylococcal bacteria and lead to perichondritis (cartilage infection). Visit a professional piercer who possesses sterilized titanium hemostats and taper tools to safely release the jewelry without tearing the fistula.
For stubborn threadless pins that refuse to pull out, a professional piercer can use a specialized clamping tool to grip the flat back securely while applying controlled outward pressure, preventing the pin from snapping inside the channel.
Material Matters: Earring Types and Removal Friction
The material of your earring dictates how much friction and corrosion will occur over time. Cheaper alloys oxidize, creating a rough surface that snags on the healing or healed piercing channel. Below is a comparison of common earring materials and their removal profiles.
| Material Grade | Corrosion Risk | Removal Friction | Best Use Case |
|---|---|---|---|
| Implant-Grade Titanium (ASTM F-136) | None | Ultra-Low (Mirror Polish) | All piercings, especially fresh or sensitive |
| 14k / 18k Solid Gold (Nickel-Free) | Very Low | Low | Healed lobes and cartilage |
| Surgical Steel (316L) | Moderate | Medium (Can pit over time) | Healed lobes (Avoid if nickel-sensitive) |
| Acrylic / Bioplastic | High (Micro-tears) | High (Porous surface) | Short-term wear only |
As noted in a National Center for Biotechnology Information (NCBI) study on contact dermatitis, surgical steel contains up to 12% nickel, which can cause localized allergic swelling, making the jewelry feel "stuck" due to tissue inflammation rather than mechanical failure.
Post-Removal Care and Cleaning Protocols
Once you have successfully navigated how do you take out an earring, the maintenance phase begins. Proper cleaning extends the life of your jewelry and protects your piercing channel.
Cleaning the Jewelry
Biological buildup requires more than a simple rinse. For solid metal jewelry (Titanium, Gold, Platinum), an ultrasonic jewelry cleaner is the gold standard. Fill the ultrasonic tank with warm water and a single drop of mild, fragrance-free dish soap. Run the machine for three minutes. The cavitation bubbles will dislodge microscopic sebum and dead skin from threading and gem settings. Rinse thoroughly with distilled water and dry with a microfiber cloth.
Warning: Never use ultrasonic cleaners on porous gems (like opals, pearls, or turquoise) or plated jewelry, as the vibrations can shatter the stones or strip the plating.
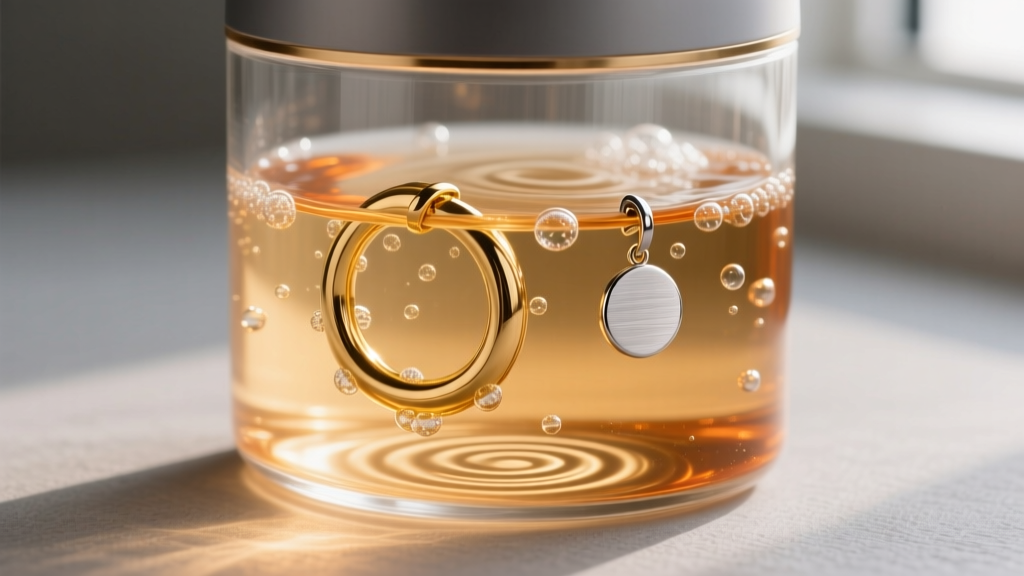
Cleaning the Piercing Channel
If the piercing is fully healed and you plan to leave it empty for a few hours, gently wipe the exterior with a cotton swab dipped in sterile saline. If the piercing is still in the healing phase (under 6 months for lobes, 12+ months for cartilage), do not remove the jewelry at all unless directed by a medical professional or your piercer. Leaving a healing piercing empty, even for a few minutes, can cause the fistula to shrink and trap bacteria inside the channel.
Preventative Maintenance to Avoid Future Stuck Earrings
The best way to handle a stuck earring is to prevent it from getting stuck in the first place. Incorporate these maintenance habits into your routine:
- Downsize After Healing: Initial piercing jewelry is intentionally long to accommodate swelling. Once the swelling subsides (usually 2-4 weeks post-piercing), visit your piercer to "downsize" to a shorter post. Excessively long posts move around, collect debris, and increase the risk of the backing becoming embedded in the back of the ear.
- Check O-Rings and Threading: For screw-in backs, ensure the threads are free of debris. A soft-bristled toothbrush can gently clean internal threads.
- Bend Threadless Pins Correctly: When inserting threadless jewelry, the pin should only have a very slight bend (about 10 to 15 degrees). Bending it into a sharp "V" shape creates immense tension that makes removal nearly impossible without tools.
- Rotate and Clean Weekly: If you wear continuous hoops or huggies, remove them once a week to clean the hinge and clasp mechanism. Sebum acts like cement in these tiny crevices over time.
By understanding the mechanics of your jewelry and respecting the biology of your ear, removing and maintaining your earrings becomes a seamless, painless process.


