How to Make Beaded Hoop Earrings: 2026 Trend Guide
Master how to make beaded hoop earrings with our 2026 trend guide. Learn wire gauges, structural closures, and curated maximalist styles.

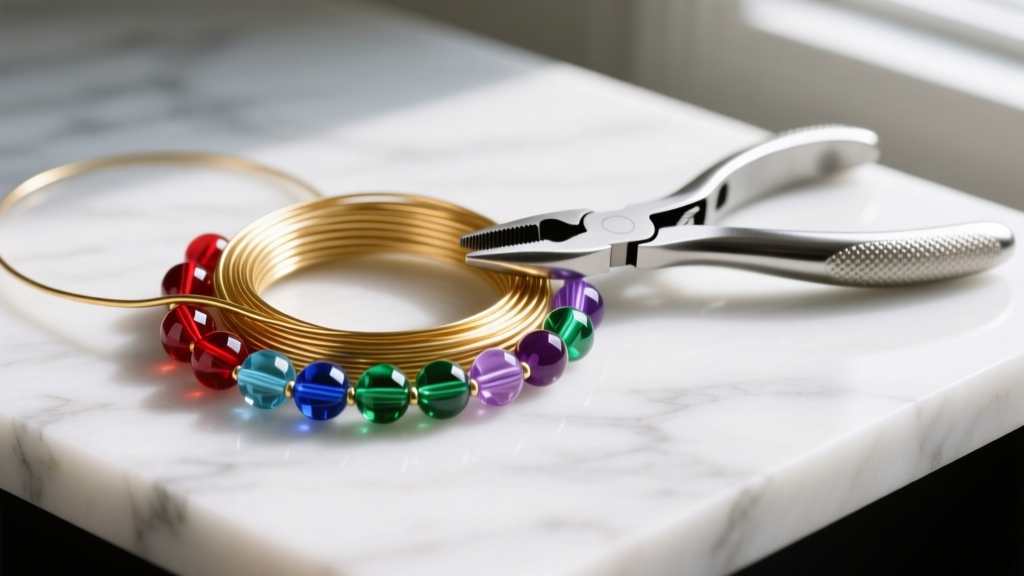
The 2026 Renaissance of Beaded Hoops: Why DIY is Dominating
The jewelry landscape of 2026 has decisively pivoted away from mass-produced, minimalist basics toward what industry analysts call 'curated maximalism.' At the forefront of this movement is the artisanal beaded hoop. Learning how to make beaded hoop earrings is no longer just a niche craft; it is a vital skill for designers and enthusiasts looking to capture the contemporary demand for personalized, tactile accessories. Unlike the rigid, uniform hoops of the early 2020s, today's trending beaded hoops feature organic textures, asymmetrical bead placements, and mixed-metal armatures. According to trend forecasters at Interweave, the modern maker is blending traditional indigenous beadwork techniques with contemporary metallurgy, resulting in pieces that feel both heirloom-quality and fiercely modern.
Material Science: Selecting Wire and Beads for Structural Integrity
The most common point of failure for DIY jewelry makers is selecting the wrong wire temper and gauge. When constructing a hoop that must support the weight of glass crystals or freshwater pearls while maintaining a perfect circle, understanding metallurgy is non-negotiable.
Wire Temper and Gauge Breakdown
Wire temper refers to the metal's hardness and springiness. 'Dead-soft' wire is highly malleable but will warp under the weight of beads or the pressure of an earlobe. 'Full-hard' wire is brittle and will snap if bent into a tight circle. The gold standard for learning how to make beaded hoop earrings that last is half-hard wire. It offers the perfect equilibrium: malleable enough to form a smooth loop, yet rigid enough to retain its shape during daily wear.
| Wire Gauge | Diameter (mm) | Best Hoop Size | Ideal Bead Weight | Recommended Use |
|---|---|---|---|---|
| 18-Gauge | 1.02mm | 50mm - 75mm | Heavy (Lampwork, large crystals) | Statement maxi hoops, structural armatures |
| 20-Gauge | 0.81mm | 30mm - 50mm | Medium (Glass, gemstones) | Standard everyday hoops, versatile styling |
| 22-Gauge | 0.64mm | 15mm - 25mm | Light (Seed beads, small pearls) | Huggies, cartilage hoops, delicate stacks |
For metal composition, 14k gold-filled wire provides the best balance of luxury and durability for the 2026 market, while Argentium silver offers superior tarnish resistance compared to traditional sterling. For a comprehensive breakdown of precious metal alloys and their workability, refer to the metallurgical guides provided by Rio Grande, a premier authority in jewelry supply.
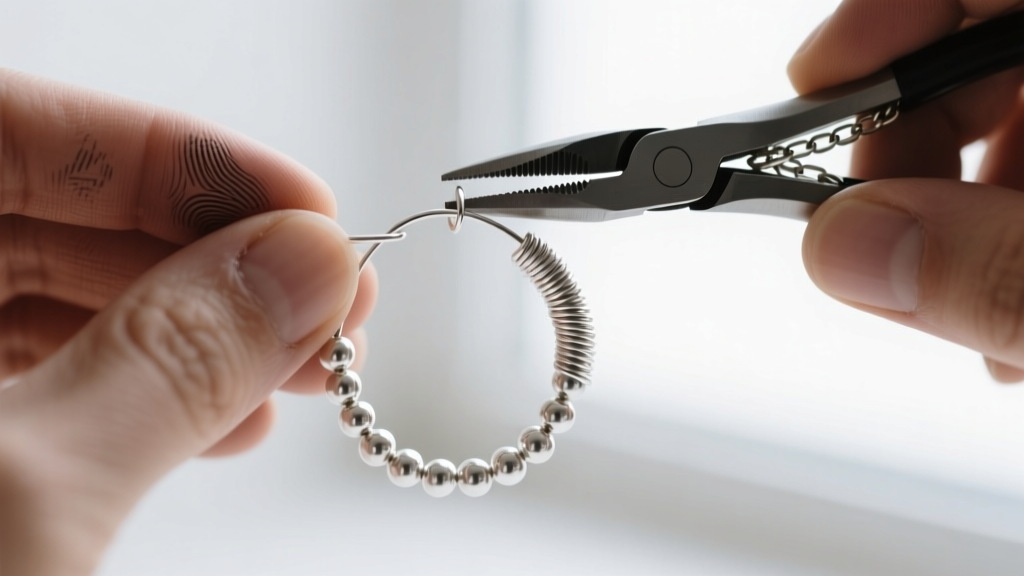
Step-by-Step: Engineering the Perfect Beaded Hoop
Creating a structurally sound hoop requires more than just sliding beads onto a wire. It requires an understanding of tension, work-hardening, and secure closure mechanisms. Here is the professional framework for constructing a 35mm standard hoop using 20-gauge half-hard gold-filled wire and Miyuki Delica 11/0 seed beads.
Phase 1: The Foundation Loop and Work-Hardening
Cut a 5-inch length of 20-gauge half-hard wire. Using round-nose pliers, form a small, closed loop at one end. This is your 'stopper' loop. Before stringing any beads, you must work-harden the straight length of the wire. Grip the wire with nylon-jaw pliers and pull firmly from the loop down to the end. This compresses the metal's molecular structure, increasing its rigidity and preventing the hoop from stretching into an oval shape once worn.
Phase 2: Bead Stringing and Tension Control
Thread your Miyuki Delica beads onto the wire. Delicas are preferred over standard round seed beads for hoop construction because their cylindrical shape and uniform 1.6mm diameter create a seamless, gapless surface. Leave exactly 15mm of bare wire at the terminal end. This bare section is critical for executing the closure wrap without bead interference.
Phase 3: The Secure Closure Mechanism
The hallmark of amateur jewelry is the 'twist and tuck' closure, which inevitably snags on hair and sweaters. Instead, use the wrapped loop technique. Bend the bare 15mm terminal end at a 90-degree angle directly against the last bead. Form a loop that meets the base of the bead strand. Then, wrap the tail tightly around the stem of the loop three times, pushing the wraps down flush against the bead. Trim the excess wire with flush cutters and use a cup bur to smooth the cut edge, ensuring zero snag points.
Trend Spotlight: 3 Beaded Hoop Aesthetics to Master
As we navigate the 2026 style cycle, three distinct beaded hoop aesthetics are dominating editorial spreads and street style alike. Adapting your DIY skills to these specific trends will elevate your portfolio from basic craft to high-fashion design.

1. The 'Quiet Luxury' Pearl Huggie
This style relies on 15mm to 20mm 22-gauge hoops tightly packed with 4mm AAA-grade freshwater potato pearls. The trend dictates a slightly irregular, organic look, achieved by mixing pearl shapes rather than using perfectly round, machine-drilled beads. The closure should be a seamless French wire hook for cartilage comfort.
2. The 'Dopamine' Seed Bead Maxi Hoop
Maxi hoops (60mm+) are back, but they are constructed using 18-gauge wire and entirely encased in vibrant, color-blocked Miyuki seed beads. The 2026 twist is the 'gradient fade'—starting with deep indigo at the earlobe and transitioning into bright chartreuse at the apex of the hoop. Because of the hoop's size, a structural inner armature of brass wire wrapped in the beaded gold-filled wire is often required to prevent bending.
3. The Asymmetric Heirloom Drop
This avant-garde style features a standard 30mm hoop where beads are clustered only on the bottom third, anchored by a single, heavy faceted briolette. The empty wire on the upper two-thirds is intentionally left bare but textured with a jeweler's hammer to catch the light, creating a striking contrast between negative space and dense beadwork.
Troubleshooting Common DIY Hoop Failures
Even experienced makers encounter structural issues. Here is how to diagnose and fix the most common failure modes in beaded hoop construction:
- Bead Spin: If your beads rotate freely around the wire, your wire gauge is too thin for the bead's drill hole. Solution: Use a micro-crimp tube or a tiny dab of flexible jewelry adhesive (like E6000) at the terminal ends to lock the bead strand in place.
- Wire Kinking: Kinks occur when using dead-soft wire or when bending the wire with serrated pliers. Solution: Always use half-hard wire and ensure your pliers have smooth, polished jaws. If a kink occurs, do not bend it back; the metal is fatigued and will snap. Start with a new piece of wire.
- Earlobe Tearing: Heavy beaded maxi hoops can stretch the piercing. Solution: Incorporate a secondary support chain that hooks over the upper ear cartilage, distributing the 15+ gram weight away from the delicate lobe tissue.
Expert Insight: The difference between a craft fair trinket and a boutique-ready piece of jewelry lies entirely in the finishing. Always tumble your completed gold-filled or silver beaded hoops in a rotary tumbler with stainless steel shot and a drop of burnishing compound for 45 minutes. This not only polishes the bare wire to a mirror finish but further work-hardens the metal, ensuring your hoops remain perfectly circular for years to come.
Mastering how to make beaded hoop earrings is a journey of blending artistic vision with structural engineering. By respecting the physical properties of your metals, selecting uniform, high-quality beads, and executing flawless closures, you can create pieces that perfectly align with the sophisticated, tactile demands of the 2026 jewelry market.


