How to Make Clip On Earrings Not Hurt: A Beginner's Comfort Guide
Discover exactly how to make clip on earrings not hurt with expert tension hacks, padding tricks, and mechanism guides for all-day comfort.

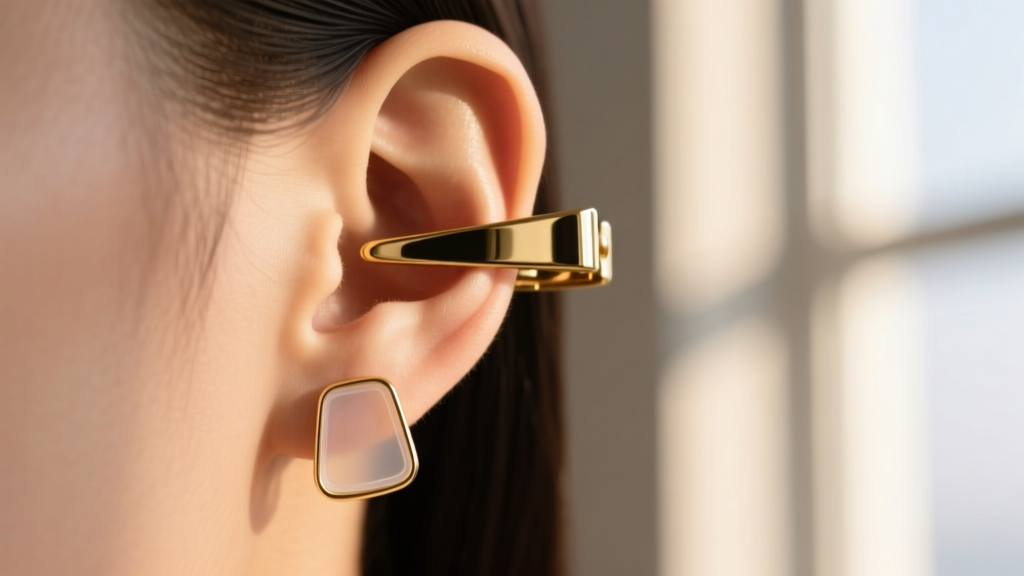
For decades, clip-on earrings have carried an unfair reputation for being painful, pinching relics of the past. But as non-pierced jewelry experiences a massive renaissance in 2026, modern findings and clever adjustment techniques have completely transformed the experience. If you love the look of statement earrings but dread the throbbing ache that sets in after an hour, you are not alone. The secret to all-day wearability isn't just about buying the right pair; it is about understanding the physics of ear tension and knowing how to calibrate your jewelry. In this comprehensive beginner's guide, we will break down exactly how to make clip on earrings not hurt, turning your favorite accessories from a source of pain into a comfortable, seamless extension of your personal style.
The Anatomy of Clip-On Pain: Why Your Ears Ache
To fix the problem, we first need to understand the biology of the earlobe. The lobule is densely packed with nerve endings and a delicate network of capillaries. When a traditional spring clip clamps down, it exerts localized pressure. If that pressure exceeds roughly 3 PSI (pounds per square inch), it restricts capillary blood flow. Within 30 to 45 minutes, the localized tissue experiences mild ischemia (oxygen deprivation), which your brain interprets as a deep, throbbing ache. When you finally take the earrings off, the sudden rush of blood back into the capillaries causes that familiar warm, stinging sensation.
Pressure vs. Contact Dermatitis: Diagnosing the Discomfort
Before adjusting your earrings, you must accurately diagnose the source of your pain. Is it mechanical pressure, or is it a chemical reaction?
- Mechanical Pain: Characterized by a deep ache, throbbing, or tenderness that only occurs while wearing the earring and fades an hour after removal. This is a tension and weight distribution issue.
- Allergic Contact Dermatitis: Characterized by itching, redness, flaking, or a burning sensation on the skin's surface. According to the Mayo Clinic, nickel allergy is one of the most common causes of jewelry-related skin reactions. Cheap brass alloys often contain nickel. If your ears itch, no amount of padding will help; you must switch to hypoallergenic materials like 316L surgical stainless steel, titanium, or 14k solid gold.
5 Proven Methods: How to Make Clip On Earrings Not Hurt
Now that we have ruled out allergies, let us dive into the actionable, professional techniques used by jewelers to eliminate mechanical pain.
1. Upgrade to Silicone Comfort Guards
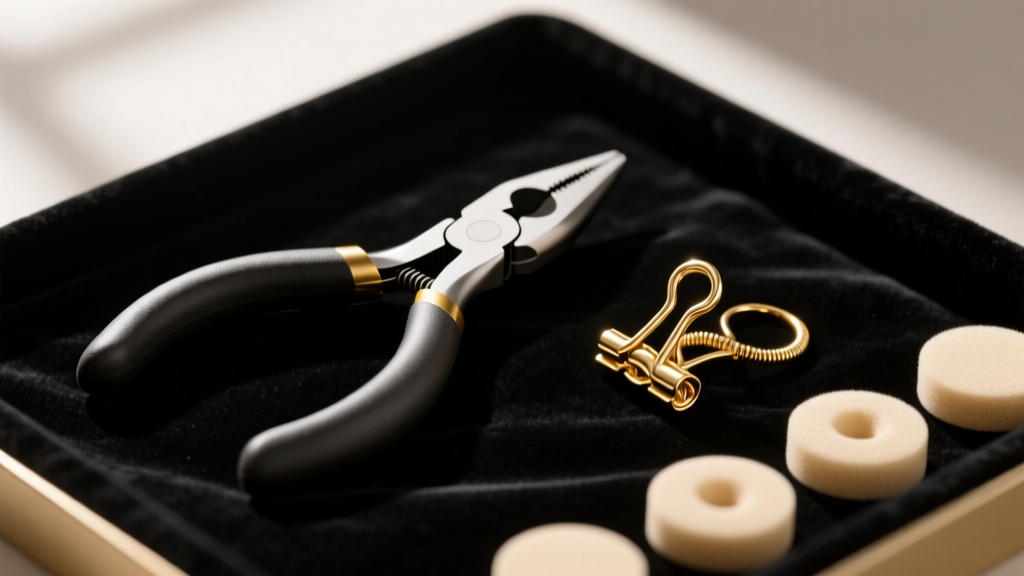
The fastest and most effective solution is adding a barrier between the metal and your skin. Silicone earring cushions (often called comfort guards) slide over the pressure plate of the clip. They work by dispersing the clamping force over a wider surface area, dropping the localized PSI below the pain threshold. For lightweight studs, a 2mm thick pad is sufficient. For heavy dangles or drop earrings, opt for 4mm thick pads to provide adequate shock absorption.
2. Calibrate Spring Tension with Nylon-Jaw Pliers
Most modern clip-ons use a spring-hinge mechanism that is factory-set to a 'one-size-fits-all' tension, which is usually far too tight for comfortable wear. You can easily recalibrate this at home. Purchase a pair of nylon-jaw pliers (the soft plastic jaws prevent scratching the metal). Gently grip the base of the spring clip and bend the pressure plate outward by exactly 2 to 3 millimeters. Test it on your ear. You want the earring to stay secure when you gently shake your head, but loose enough that you can slide a piece of paper between the clip and your earlobe with minimal resistance.
3. Adjust Vintage Screw-Backs
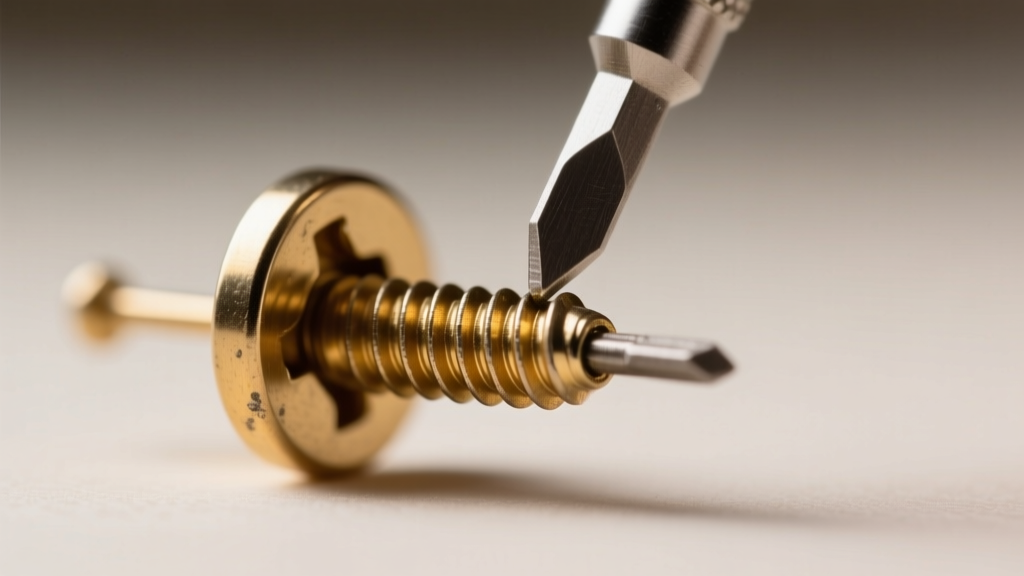
Vintage screw-back earrings from the mid-century are highly collectible but notoriously painful if left fully tightened. The screw mechanism allows for micro-adjustments. Place the earring on your lobe and turn the micro-screw counter-clockwise until the back plate rests against your skin without actively pinching. To prevent the screw from loosening throughout the day, apply a microscopic dot of clear nail polish or jeweler's wax to the threads once you find your perfect tension setting.
4. The EVA Foam Weatherstripping Hack
If you cannot find silicone pads, head to a hardware or craft store and look for EVA foam weatherstripping tape. Buy the 1/8-inch (3mm) thickness. Cut tiny circles or ovals using a standard office hole punch and adhere them to the inside of the metal pressure plate. EVA foam is closed-cell, meaning it will not absorb sweat or oils from your skin, keeping your earrings hygienic and comfortable for hours.
5. Redistribute the Weight
Gravity is the enemy of clip-ons. A heavy dangle earring pulls downward, causing the top of the clip to dig into the front of your earlobe like a lever. If you are designing or buying statement pieces, look for hollow resin components, acrylics, or lightweight aluminum instead of solid brass or heavy glass. If you already own a heavy pair, consider having a jeweler solder a small, clear acrylic 'ear saddle' to the top of the finding, which hooks over the top of the ear to bear the weight rather than relying solely on the lobe's pinch grip.
Clip-On Mechanism Comparison Chart
Not all clip-on findings are created equal. When shopping for non-pierced jewelry, understanding the mechanism is crucial for predicting comfort. Below is a breakdown of the most common findings available through suppliers like Rio Grande jewelry findings.
| Mechanism Type | Tension Source | Max Weight Capacity | Comfort Rating (1-10) | Best Adjustment Method |
|---|---|---|---|---|
| Spring Clip | Internal metal coil | Medium (up to 15g) | 6/10 | Nylon-jaw pliers bending |
| Screw-Back | Threaded micro-screw | Heavy (up to 25g) | 7/10 | Manual screw loosening |
| Omega Back | Hinged wire loop | Light (up to 8g) | 9/10 | Bending the wire loop base |
| Paddle Back | Wide flat tension plate | Medium (up to 15g) | 8/10 | Adding silicone/foam pads |
| Magnetic | Neodymium magnets | Very Light (up to 5g) | 5/10 | Swapping magnet strength |
Advanced DIY Padding Hacks for Immediate Relief
For those who want a custom-molded fit, consider using Sugru, a moldable silicone glue that cures into a durable, flexible rubber. Take a small pinch of Sugru, press it onto the metal pressure plate of your clip-on, and then gently clip it onto your ear (place a piece of plastic wrap over the Sugru first so it doesn't stick to your skin). Hold it in place for five minutes while it takes the exact impression of your earlobe's unique curvature. Once cured, you will have a bespoke, perfectly contoured cushion that eliminates all localized pressure points.
Pro Tip: Never use standard superglue or hot glue to attach makeshift padding to your earrings. These adhesives degrade when exposed to the natural sebum and sweat produced by your skin, leading to messy failures and potentially ruined jewelry finishes.
When to Ditch the Clip: Alternative Non-Pierced Options
Sometimes, despite your best efforts, the anatomy of your earlobes (such as having exceptionally thin or thick lobules) makes traditional clip-ons a losing battle. If you have mastered how to make clip on earrings not hurt but still crave a different experience, explore these modern alternatives:
Magnetic Studs (N52 Grade)
Magnetic earrings have evolved past the weak, easily-lost toys of the 1990s. Modern magnetic studs utilize N52 grade neodymium magnets, which offer an incredibly strong hold while distributing pressure evenly across the front and back of the lobe. They are virtually invisible from the side and are perfect for minimalist diamond or pearl studs. However, they are strictly for lightweight designs; heavy pendants will cause the magnets to slide down the earlobe.
Cartilage Ear Cuffs
If your lobes are highly sensitive, shift the real estate to your cartilage. Ear cuffs wrap around the outer helix or conch of the ear. Because cartilage is firmer and less vascular than the fleshy lobule, it can withstand higher clamping tension without the throbbing ache associated with capillary restriction. Look for cuffs made from memory metal or adjustable sterling silver wire, which can be gently squeezed to match the exact millimeter width of your ear's ridge.
Final Thoughts on All-Day Wearability
Learning how to make clip on earrings not hurt is a rite of passage for non-pierced jewelry lovers. By shifting your focus from simply enduring the pinch to actively managing tension, weight, and material contact, you unlock a world of styling freedom. Whether you are gently bending a spring hinge with nylon pliers, slipping on a 4mm silicone guard, or molding a custom Sugru cushion, these micro-adjustments make a macro difference. Your ears deserve comfort, and with these professional techniques, your favorite vintage and modern clip-ons can be worn from morning to midnight without a single ache.


