How to Make a Hypoallergenic Beaded Earring: Step-by-Step Guide
Learn how to make a hypoallergenic beaded earring with our step-by-step wire wrapping guide. Master gauge sizes, metals, and assembly techniques.

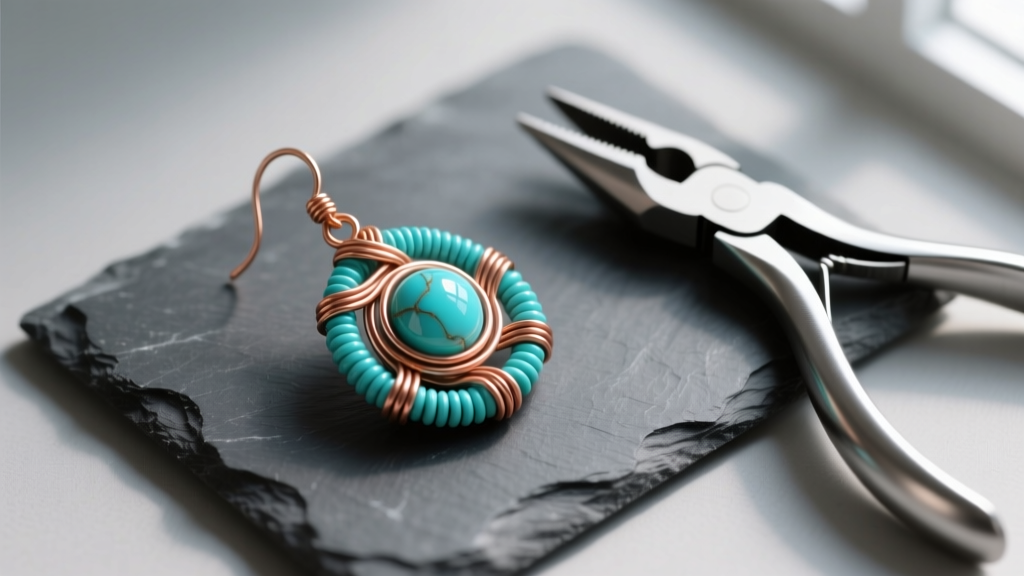
The demand for bespoke, skin-safe jewelry has surged, with artisans and hobbyists alike seeking complete control over the materials that touch their skin. Crafting a custom beaded earring is one of the most rewarding entry points into jewelry fabrication, but it requires a precise understanding of metallurgy, wire temper, and structural mechanics. A poorly constructed earring can lead to lost gemstones, while the wrong metal choice can trigger severe contact dermatitis. This comprehensive guide will walk you through the exact specifications, tools, and step-by-step techniques required to forge a professional-grade, hypoallergenic beaded earring from raw wire and loose gemstones.
Material Science: Selecting Hypoallergenic Wire and Findings
The foundation of any skin-safe jewelry piece lies in its metallurgical composition. The term "surgical steel" is largely unregulated in the commercial jewelry market; many items labeled as such are 316L stainless steel, which contains 8% to 12% nickel—a primary allergen. When designing a beaded earring for sensitive lobes, you must source certified hypoallergenic metals.
- ASTM F136 Titanium (Grade 23): The gold standard for body jewelry. It is entirely nickel-free, highly corrosion-resistant, and lightweight. However, it is notoriously difficult to work-harden, making it less ideal for intricate wire weaving but excellent for simple ear wires.
- Pure Niobium: A reactive metal that can be anodized into vibrant colors using a simple DC power supply. It is completely hypoallergenic and softer than titanium, making it easier to bend for French ear wires.
- 14k/18k Gold-Filled Wire: Unlike gold-plated wire (which has a microscopic flash of gold that wears off), gold-filled wire features a thick, mechanically bonded outer layer of karat gold comprising at least 5% of the total weight. Reputable suppliers like Rio Grande provide certified nickel-free gold-filled options ideal for wrapping.
The Anatomy of Wire Gauges and Hardness
Wire is categorized by its thickness (gauge) and its temper (hardness). Selecting the correct combination is critical; using a wire that is too soft for an ear hook will result in a beaded earring that falls out of the ear, while a wire that is too hard will snap during the wrapping process.
| Gauge | Diameter (mm) | Temper | Best Application |
|---|---|---|---|
| 20g | 0.81mm | Half-Hard | French ear wires, structural frames, jump rings |
| 24g | 0.51mm | Dead Soft | Wrapped loops, securing briolettes, linking components |
| 28g | 0.32mm | Dead Soft | Micro-weaving, securing small freshwater pearls |
Essential Tooling for Precision Assembly
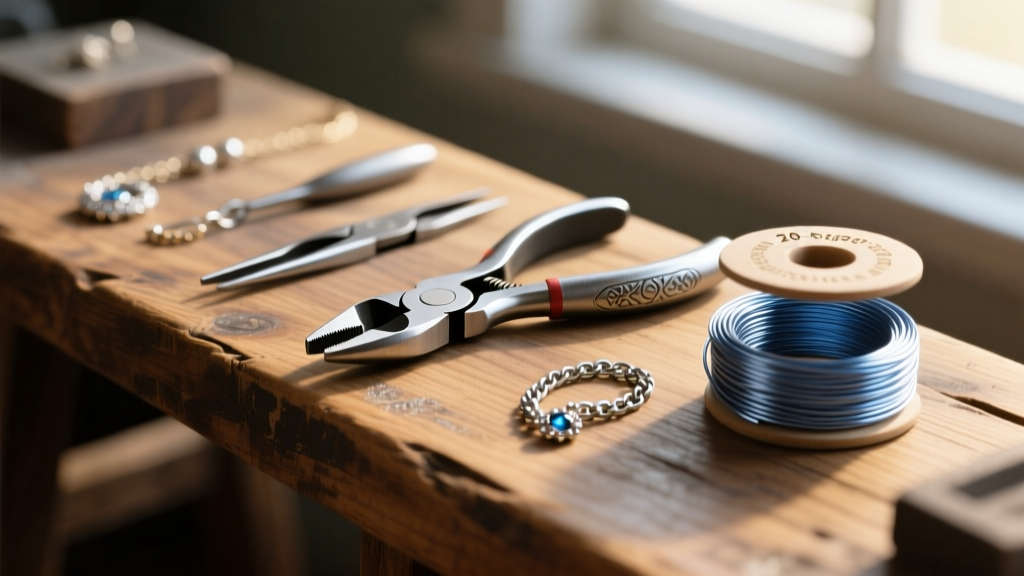
To achieve professional results, you must move beyond basic craft-store pliers. Your toolkit should include:
- Flush Cutters: For making perfectly flat cuts on soft wire without pinching the ends into sharp points.
- Chain-Nose Pliers (x2): One with smooth jaws (no serrated teeth) to grip wire without marring the metal surface.
- Step-Jaw Pliers: Features conical, graduated jaws to form perfectly round, consistent loops for ear wires.
- Cup Burr & Pin Vise: Essential for rounding the sharp tip of the ear wire so it glides through the piercing without scratching the delicate fistula tissue.
- Nylon-Jaw Pliers: Used to work-harden and straighten wire without scratching the finish.
Step 1: Forging the Hypoallergenic Ear Wire
Cutting and Shaping
Cut a 3-inch length of 20-gauge, half-hard niobium or gold-filled wire. Using your chain-nose pliers, create a small, simple loop at one end. This loop will eventually connect to your beaded component. Next, place the wire against the second-largest step of your step-jaw pliers and bend the wire around the jaw to form the sweeping curve of the French hook.
Filing and Finishing
Cut the wire to your desired length (typically leaving a 1.5-inch tail after the curve). The freshly cut end will be razor-sharp. Secure a #2 cup burr into your pin vise, apply a drop of burr lubricant, and gently rotate the cup burr over the wire tip until it is perfectly smooth and rounded. Finish by running the wire through nylon-jaw pliers to work-harden the curve, ensuring the ear hook will not pull open under the weight of the beads.
Step 2: The Wrapped Loop Technique
The wrapped loop is the most secure method for attaching beads to a custom beaded earring, as it prevents the wire from pulling out of the bead hole under tension.
Threading and Bending
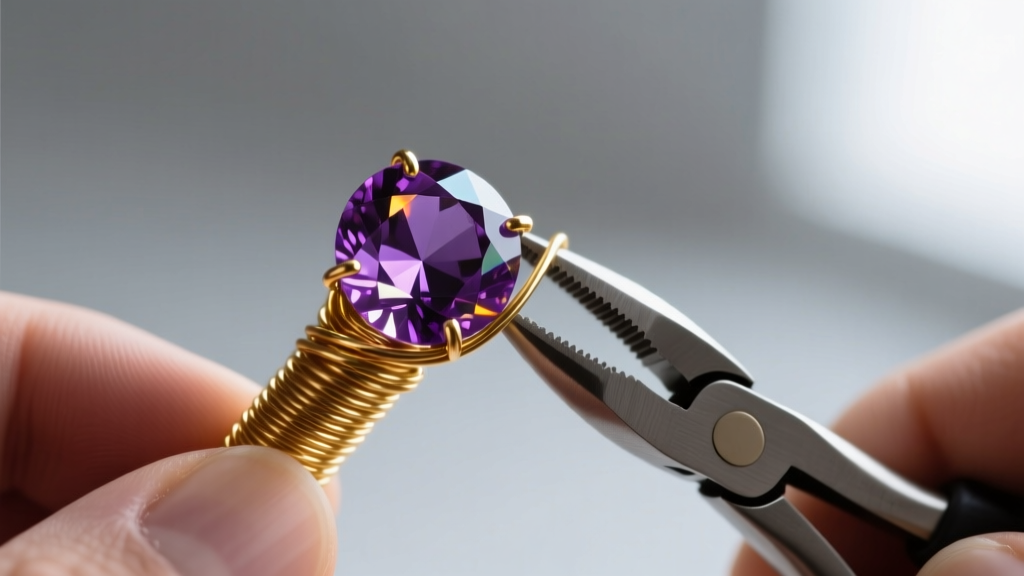
Cut a 4-inch piece of 24-gauge dead soft wire. Thread your chosen gemstone (sourced from wholesalers like Halstead Bead) onto the wire. Slide the bead down, leaving exactly 1.5 inches of wire above the bead. Grip the wire directly above the bead with your chain-nose pliers and bend it at a strict 90-degree angle.
Executing the Wrap
Using your fingers or a second pair of pliers, wrap the short tail tightly around the long stem of the wire, making exactly three complete rotations. Ensure each wrap sits flush against the previous one with no gaps. Trim the excess tail wire with your flush cutters, and use the tips of your chain-nose pliers to gently squeeze the final cut end flat against the stem so it will not snag on clothing or hair.
Pro-Tip: If you are using delicate stones like opal or turquoise, place a tiny drop of flexible jeweler's epoxy on the wire before sliding the bead down to the wrap. This cushions the bead against the metal and prevents the stone from cracking under the tension of the wrap.
Step 3: Final Assembly and Tension Testing
Open the simple loop you created on the 20-gauge ear wire using a twisting motion (never pull the loop apart laterally, as this distorts the circle). Slide the wrapped loop of your beaded component onto the ear wire. Close the ear wire loop securely, ensuring the two ends meet perfectly flush with no gaps that could catch on a sweater.
Perform a tension test by gently pulling the bead downward. The 24-gauge wrap should hold firm. If the wire slips, your 24-gauge wire may have been too hard (use dead soft next time) or your wraps were not pulled taut enough during the winding process.
Troubleshooting Common Beaded Earring Failures
Even experienced jewelers encounter structural issues. Here is how to diagnose and fix the most common failures when crafting a beaded earring:
- Bead Cracking During Assembly: This occurs when the wire gauge is too thick for the bead hole, forcing the stone to expand. Standard gemstone beads have a 0.8mm hole, accommodating up to 20g wire. However, freshwater pearls often feature 0.5mm drill holes. Always measure your bead holes with digital calipers and step down to 24g or 26g wire if necessary.
- Ear Wire Distortion: If your ear hook pulls open when putting the earring on, your wire is too soft. Switch to half-hard wire, or work-harden your dead soft wire by striking it lightly with a rawhide mallet over a steel bench block before assembly.
- Wire Snapping During Wrapping: Dead soft wire can become brittle if overworked. If you bend and unbend the wire repeatedly, it will experience metal fatigue and snap. Always execute your bends with confidence and minimize unnecessary manipulation. For advanced tension management techniques, consult the masterclasses available at Wire-Sculpture.
Conclusion
Mastering the fabrication of a hypoallergenic beaded earring bridges the gap between artistic expression and functional metallurgy. By strictly adhering to proper gauge selections, utilizing certified nickel-free metals, and executing mechanically sound wrapped loops, you can produce bespoke jewelry that is both visually stunning and entirely safe for sensitive skin. With these foundational techniques secured, you are now equipped to experiment with complex gemstone arrangements and advanced wire-weaving patterns.


