How to Make Leather Earrings Handmade: Step-by-Step Guide
Learn how to craft leather earrings handmade with our step-by-step guide. Discover the best leather weights, hypoallergenic hardware, and sealing tips.

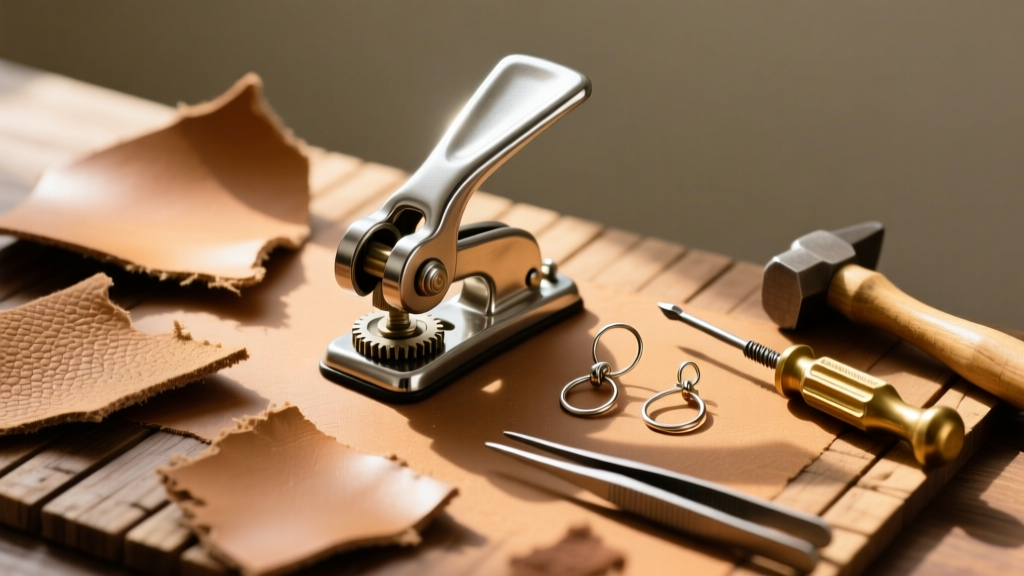
The Renaissance of Artisan Leather Jewelry
The demand for sustainable, lightweight, and highly customizable accessories has pushed leather earrings handmade by independent artisans to the forefront of jewelry trends in 2026. Unlike mass-produced acrylic or heavy metal alternatives, handcrafted leather earrings offer a unique tactile experience, dramatic movement, and an incredibly lightweight profile that prevents earlobe fatigue. Whether you are designing geometric dangles, intricate laser-cut studs, or bohemian fringe drops, mastering the fundamentals of leatherworking and jewelry assembly is critical for creating professional-grade pieces that retail for premium prices.
This comprehensive guide breaks down the exact material grades, hardware specifications, and step-by-step construction techniques required to elevate your leather crafting from a hobby to a professional jewelry line.
Selecting the Right Leather: Weights and Tanning Methods
Not all leather is suitable for jewelry. The drape, stiffness, and edge-finish potential of your earrings depend entirely on the tanning method and the thickness (weight) of the hide. According to Tandy Leather, leather weight is measured in ounces (oz), where 1 oz equals 1/64th of an inch in thickness.
| Leather Weight | Thickness (Inches) | Best Earring Applications | Characteristics |
|---|---|---|---|
| 1 - 2 oz | 1/64" - 2/64" | Fringe, ultra-lightweight dangles | Highly flexible, drapes like fabric, difficult to edge-burnish |
| 2 - 3 oz | 2/64" - 3/64" | Standard dangles, teardrops, layered geometric shapes | Ideal balance of stiffness and movement, takes dye and edge finish well |
| 3 - 4 oz | 3/64" - 4/64" | Structured studs, ear cuffs, small hoops | Firm body, excellent for stamping and tooling, holds rigid shapes |
| 4 - 5 oz | 4/64" - 5/64" | Heavy structural bases, thick huggies | Very stiff, requires skiving for earring posts, heavy on the earlobe |
Vegetable-Tanned (Veg-Tan) vs. Chrome-Tanned: For leather earrings handmade with premium finishing, vegetable-tanned leather is the gold standard. It is tanned using natural tannins from tree bark, allowing it to be dyed, tooled, and edge-burnished to a glass-like finish. Chrome-tanned leather is softer, more water-resistant, and available in vibrant pre-dyed colors, but its edges cannot be burnished and must be painted or bound.
Sourcing Hypoallergenic Jewelry Hardware
The fastest way to ruin a beautiful leather earring is to attach it to a cheap, nickel-plated ear wire that causes contact dermatitis. When sourcing findings, prioritize biocompatible metals. Rio Grande, a leading jewelry supplier, recommends the following metals for sensitive ears:
- Implant-Grade Titanium (ASTM F136): The absolute best choice for sensitive ears and fresh piercings. It is lightweight, completely nickel-free, and highly durable.
- Niobium: A highly reactive metal that can be anodized into vibrant colors. It is hypoallergenic and slightly heavier than titanium.
- Surgical Stainless Steel (316L): Acceptable for healed piercings, but contains trace amounts of nickel. Avoid for customers with severe metal allergies.
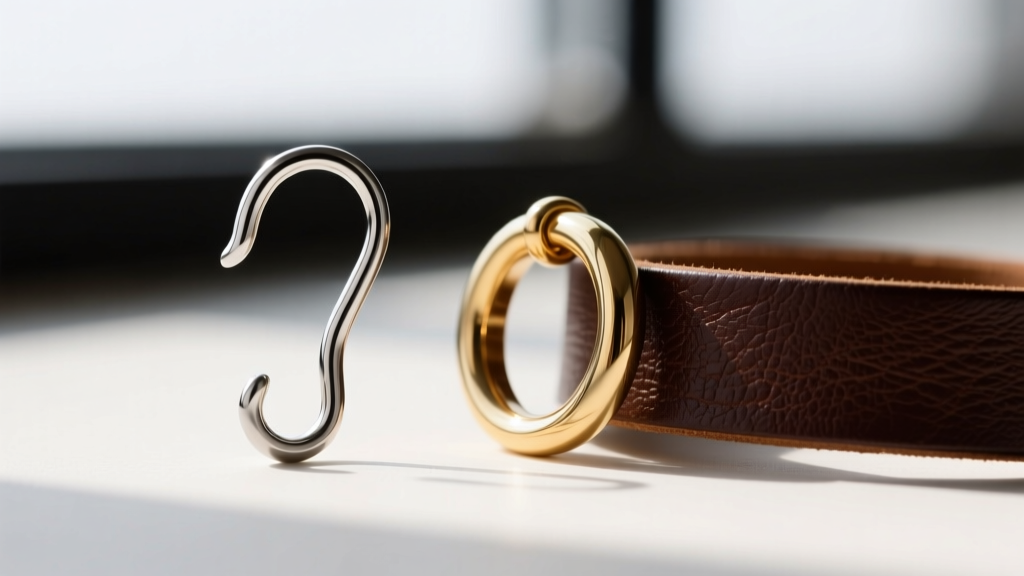
Gauge Sizing: Standard earlobe piercings are typically 20-gauge (0.81mm) or 18-gauge (1.02mm). Ensure your ear wires and the jump rings connecting them to the leather are 20-gauge or 22-gauge to ensure they pass through the earlobe effortlessly without stretching the piercing.
Step-by-Step: Crafting Your Leather Earrings Handmade
Step 1: Template Creation and Precision Cutting
Begin by designing your earring shapes using vector software like Adobe Illustrator or Affinity Designer. Cut these templates out of 1/8-inch acrylic or thick cardstock. Place the template on the flesh side (back) of your veg-tan leather and trace it with a silver leather marking pen or a scratch awl. Use a sharp head knife or a high-quality rotary cutter against a metal ruler to ensure perfectly straight, plumb edges. Dull blades will compress the leather fibers, resulting in ragged edges that are impossible to burnish smoothly.
Step 2: Skiving for Drape and Comfort
If you are working with 3-4 oz leather but want a softer drape for a dangle earring, you must skive (thin) the flesh side. Using a safety skiver or a traditional Japanese leather skiving knife, carefully shave down the back of the leather, leaving the top 1/3 of the grain layer intact. This reduces the weight and increases flexibility without sacrificing the structural integrity of the visible grain side.
Step 3: Punching and Hole Placement
Use a rotary leather punch or a hollow drive punch with a mallet to create the holes for your jump rings. Critical Rule: Never punch a hole closer than 3mm (1/8 inch) from the edge of the leather. Leather is a natural fiber matrix; if the hole is too close to the edge, the tension from the jump ring will eventually cause the leather to tear through, resulting in a lost earring. For most dangles, a 1/16-inch or 3/32-inch hole is sufficient to accommodate a 4mm or 5mm 20-gauge jump ring.
Step 4: Edge Burnishing and Sealing
The hallmark of high-end leather earrings handmade by professionals is the edge finish. Raw, fuzzy leather edges look amateurish and will absorb moisture, leading to warping.
- Sand: Lightly sand the edges with 400-grit, then 800-grit sandpaper to align the fibers.
- Apply Burnishing Agent: Apply a thin layer of Tokonole (a Japanese water-based burnishing gum) or pure beeswax to the edges.
- Burnish: Use a hard wooden slicker or a canvas cloth to rub the edge vigorously. The friction generates heat, melting the wax or gum into the fibers and sealing them into a smooth, glass-like surface.
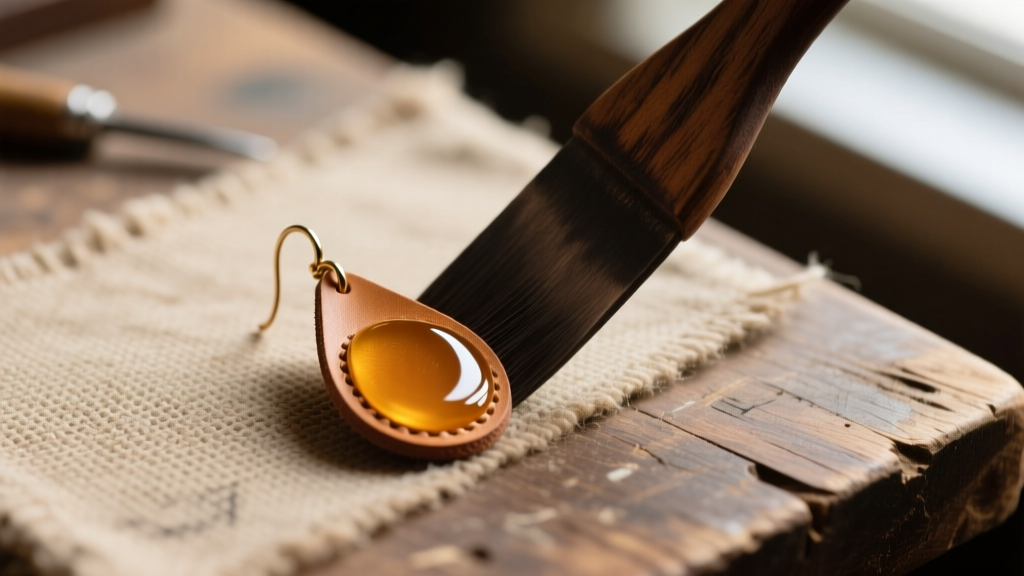
Assembly and Adhesives for Layered Designs
Many modern leather earring designs involve layering two or more pieces of leather (e.g., a suede backing on a veg-tan front). For this, you must use a flexible, high-strength contact cement. Barge All-Purpose Cement or Barge Infinity Cement are industry standards. Apply a thin, even coat to both the flesh sides of the leather pieces, let them become tacky (usually 15-20 minutes), and then press them together firmly. Use a J-roller to apply even pressure across the entire surface, ensuring no air bubbles are trapped. Once cured, trim the excess with a sharp blade and burnish the newly created composite edge.
To attach the hardware, open your jump rings using two pairs of chain-nose pliers. Always twist the jump ring open laterally (side-to-side) rather than pulling it apart outward, which distorts the circular shape and weakens the metal. Thread the jump ring through the leather hole, attach the titanium ear wire, and twist the jump ring closed until the ends click flush against each other.
Troubleshooting Common Leather Crafting Mistakes
Pro-Tip: Always test your dyes, sealants, and adhesives on a scrap piece from the exact same hide before applying them to your finished earring components. Hides can vary drastically in absorbency from the center to the belly.
- Warping after dyeing: Alcohol-based dyes can strip natural oils from veg-tan leather, causing it to curl. Always condition the leather with neatsfoot oil or a light leather balm after dyeing and before sealing.
- Cloudy edge finish: If your burnished edges look cloudy or chalky, you likely applied too much Tokonole or water. Let the piece dry completely, sand it lightly with 800-grit paper, and re-burnish with a dry canvas cloth.
- Tarnished hardware: If using brass or copper jump rings for aesthetic contrast, apply a micro-crystalline wax like Renaissance Wax to the metal components to prevent oxidation and skin discoloration.
Final Thoughts on Artisan Leather Jewelry
Mastering the craft of leather earrings handmade requires patience, precision, and a deep understanding of your materials. By investing in implant-grade titanium hardware, selecting the appropriate leather weights, and dedicating time to proper edge finishing, you can create heirloom-quality accessories that stand out in a saturated market. Whether you are selling at local artisan markets or launching a global e-commerce brand, these foundational techniques will ensure your jewelry is as durable and comfortable as it is beautiful.


