How to Make Native Beaded Hoop Earrings: A Step-by-Step Guide
Learn how to craft authentic-style native beaded hoop earrings. Our step-by-step guide covers materials, brick stitch fringe, and cultural context.

The Art and Heritage of Indigenous Beadwork
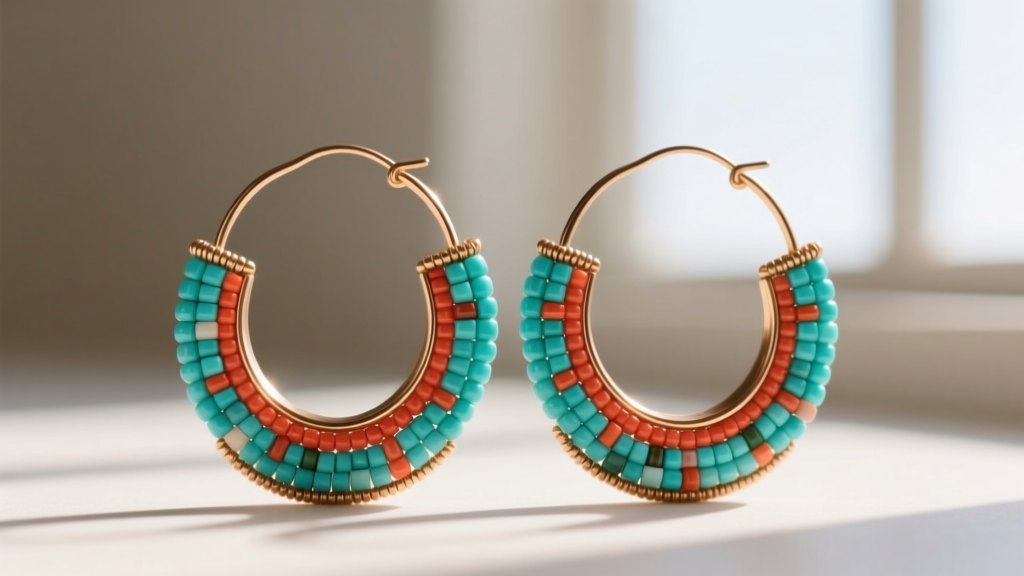
Native beaded hoop earrings represent a stunning intersection of traditional indigenous artistry and contemporary jewelry design. Long before the introduction of glass seed beads by European traders, Native American artisans crafted intricate adornments using porcupine quills, shells, and carved bone. Today, the vibrant geometric patterns and fringe work seen in powwow regalia and everyday indigenous fashion have translated beautifully into modern earring silhouettes. Crafting your own pair requires patience, precision, and a deep respect for the cultural origins of the designs.
In this comprehensive guide, we will walk you through the exact steps to create a pair of wrapped and fringed native beaded hoop earrings. We will cover the specific material grades required to prevent structural failure, the precise tension needed for seed bead wrapping, and the essential brick stitch techniques used to create cascading fringe.
Cultural Context and Ethical Crafting
Before picking up your needle, it is vital to understand the cultural weight of indigenous beadwork. If you are crafting these earrings for personal use, educational purposes, or to appreciate the technique, this guide serves as a respectful entry point into the craft. However, if you intend to sell your creations, you must be aware of the Indian Arts and Crafts Act of 1990. This federal truth-in-advertising law prohibits misrepresenting Native American-produced goods. Only verified members of state or federally recognized tribes can legally market jewelry as 'Native American-made'.
A Note on Ethical Sourcing: If you are looking to purchase rather than craft, always buy directly from indigenous artisans. Platforms like Etsy, local powwow vendors, and verified tribal cooperatives ensure that your money supports the communities who originated these breathtaking techniques.
For historical context on how trade beads revolutionized indigenous art forms, the National Museum of the American Indian offers extensive digital archives detailing the transition from quillwork to the glass seed bead mosaics we see today.
Essential Materials and Tool Kit
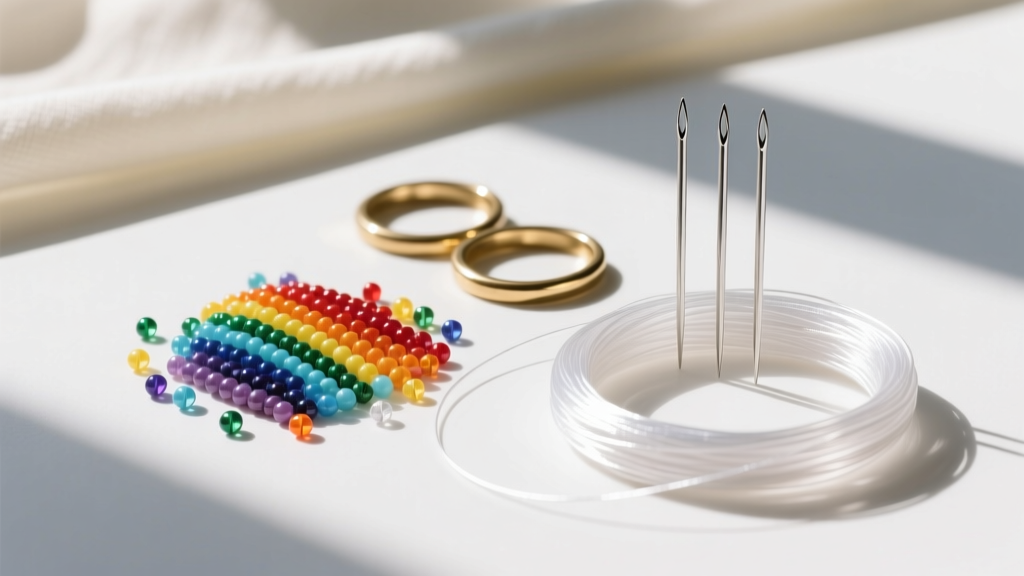
Creating durable, high-quality native beaded hoop earrings requires specific material grades. Using standard craft-store wire or cotton thread will result in warped hoops and frayed fringe. Below is the exact specification list for a professional-grade finish.
| Component | Specification | Purpose and Expert Notes |
|---|---|---|
| Hoop Base | 20-Gauge Brass or Copper (2-inch diameter) | 20g provides enough rigidity to hold the weight of glass beads without bending, while remaining light enough for the earlobe. |
| Seed Beads | Size 11/0 Miyuki Delicas or Czech Glass | Delicas offer uniform, cylindrical shapes perfect for tight wrapping. Czech glass provides a more traditional, slightly irregular organic look. |
| Fringe Beads | Size 11/0 or 8/0 Seed Beads | Size 8/0 creates a bolder, heavier fringe that swings beautifully, while 11/0 allows for highly detailed, intricate color banding. |
| Thread | Fireline Gel-Spun (6 lb. Test) | Unlike nylon threads (e.g., Nymo), Fireline does not stretch, requires no waxing, and resists fraying against the sharp edges of glass beads. |
| Needles | Size 12 Tulip or John James Beading | Size 12 is thin enough to pass through 11/0 beads multiple times without splitting the thread or breaking the needle eye. |
Step 1: Preparing and Wrapping the Hoop Base
The foundation of many native beaded hoop earrings is a fully or partially wrapped hoop. This technique protects the metal from tarnishing against the skin and provides a vibrant base color that contrasts with the fringe.
Anchoring the Thread
Cut a 2-yard length of Fireline 6 lb. thread. Thread your size 12 needle. Tie a secure surgeon's knot around the brass hoop base, leaving a 3-inch tail. Apply a microscopic drop of flexible jewelry adhesive (like E6000 Fabri-Tac) to the knot to ensure it never slips. Wrap the tail tightly around the hoop for three turns to hide it.
The 45-Degree Wrapping Technique
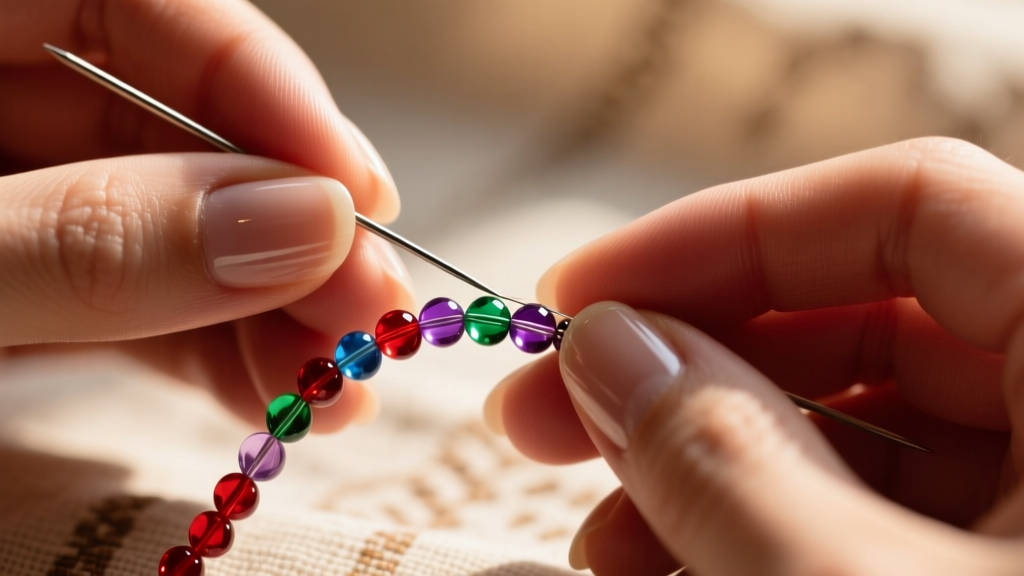
Pick up one size 11/0 seed bead. Pass the needle behind the hoop, pulling the thread taut. The bead should sit flat against the metal. Continue this process, ensuring each wrap sits exactly next to the previous one at a slight 45-degree angle. Crucial Tip: Maintain consistent, firm tension. If your tension is too loose, the beads will spin around the hoop. If it is too tight, the Fireline thread can snap or the brass hoop will warp inward. Wrap until you reach your desired stopping point or complete the full circle, finishing by weaving the thread back through the last five beads and trimming flush.
Step 2: Executing the Brick Stitch Fringe
The defining feature of native beaded hoop earrings is the cascading brick stitch fringe. This technique creates a flexible, fabric-like drape that moves dynamically with the wearer.
Creating the Ladder Stitch Base
To start the fringe, you need a base row. Pick up two size 11/0 beads. Pass the needle back through the first bead, then pull tight so they sit side-by-side. Pick up one more bead, pass through the previous bead from the top, and then through the new bead from the bottom. Repeat this ladder stitch until you have a base row of about 10 to 15 beads, depending on your desired fringe width. Attach this base row to the bottom center of your wrapped hoop by weaving the thread through the hoop's wrapping thread.
Decreasing Rows for the Triangle Shape
Brick stitch naturally creates a staggered, brick-like pattern. For the first decreasing row, pick up two beads. Pass your needle under the thread bridge between the first two beads of your base row, then pull tight. Pass the needle back down through the second bead you just picked up. Continue across the row. Because you are anchoring to the thread bridges rather than the beads themselves, each subsequent row will naturally lose one bead at the beginning and end, creating a perfect geometric triangle. Plan your color palette in advance, utilizing traditional indigenous palettes like Lakota blues and whites, or vibrant powwow pinks and yellows.
Step 3: Securing and Finishing the Ear Wire
Once your fringe is complete and all thread ends are woven back into the beadwork and trimmed, you must attach the ear wire. If you are using a continuous hoop, you will need to form a small loop at the top of the brass wire using round-nose pliers before you begin beading. If you are using a pre-made hoop with an ear wire, ensure the connection point is wrapped tightly with thread to prevent the metal from rubbing against and eventually cutting your Fireline thread over time.
Styling Native Beaded Hoop Earrings for Your Face Shape
Because these earrings carry significant visual weight and cultural vibrancy, styling them correctly ensures they complement rather than overwhelm your features.
- Round Faces: Opt for longer, narrower brick stitch fringe drops (2.5 to 3 inches). The vertical lines elongate the face and draw the eye downward, creating a balancing effect.
- Square Faces: Choose hoops with softer, rounded bead wrapping and medium-length fringe (1.5 inches). Avoid harsh, boxy geometric patterns in the beadwork; instead, use curved or diamond motifs to soften the jawline.
- Oval Faces: You have the versatility to pull off any style. Wide, heavily beaded hoops with dense, short fringe will highlight your natural symmetry.
- Heart-Shaped Faces: Select earrings that are wider at the bottom. A dramatic, wide triangle fringe adds visual volume to the lower half of the face, balancing a narrower chin.
Troubleshooting Common Beading Failures
Even experienced beaders encounter structural issues when crafting native beaded hoop earrings. Here is how to solve the most common problems:
Thread Fraying and Snapping
The Cause: Glass seed beads, particularly cheaper, mass-produced varieties, often have sharp, unfinished edges inside the bead hole. Passing Fireline thread through these repeatedly acts like a saw. The Fix: Always use a needle threader or pass through beads only when necessary. If you must pass through a bead multiple times to secure a fringe drop, use a size 13 needle to ream out the sharp glass edge gently before passing your structural thread through.
Hoop Warping Under Weight
The Cause: Using 22-gauge or 24-gauge wire for the hoop base. Size 8/0 glass beads are surprisingly heavy when compiled into a 3-inch fringe. The Fix: Never use anything thinner than 20-gauge brass or copper for the main structural hoop. If you want a lightweight feel, stick strictly to size 11/0 Delicas and limit the fringe length to 1.5 inches.
Uneven Fringe Tension
The Cause: Pulling the brick stitch thread bridges too tightly, causing the beadwork to pucker and curl inward. The Fix: Brick stitch requires a 'relaxed' tension. When you pull the thread under the bridge, stop the moment the bead clicks into place against its neighbor. Do not yank. Lay the beadwork flat on your mat every three rows to ensure it is hanging naturally without curling.
Final Thoughts on a Timeless Craft
Creating native beaded hoop earrings is a meditative, deeply rewarding process that connects you to centuries of indigenous artistic evolution. By respecting the cultural origins, sourcing high-quality materials, and mastering the precise tension required for brick stitch and hoop wrapping, you can craft heirloom-quality jewelry that honors the past while expressing your unique personal style.


