How to Match Earring Types to Your Face Shape and Ear Anatomy
Learn how to match different earring types to your face shape and ear anatomy. Step-by-step guide on gauges, materials, and styling.

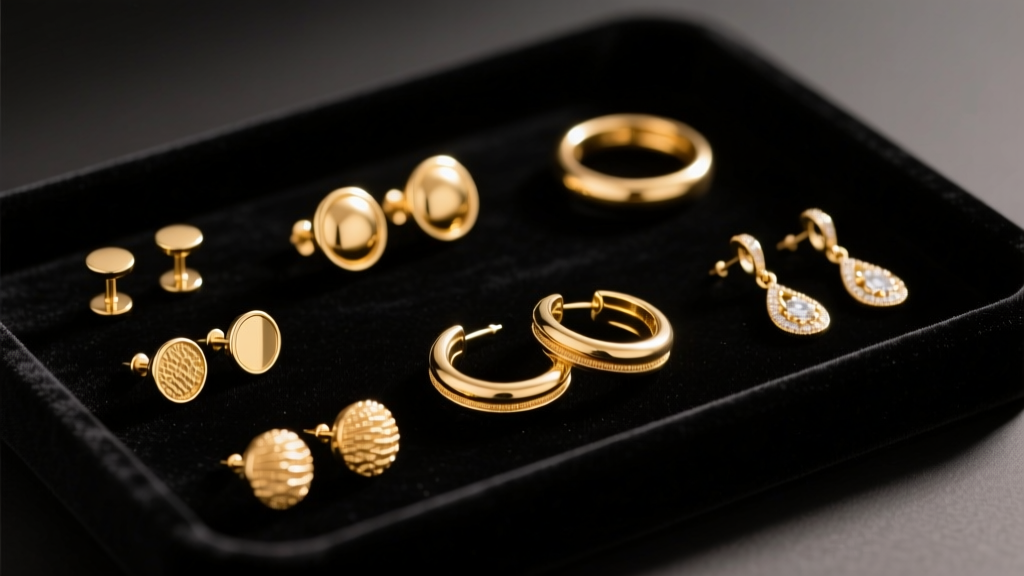
The Science and Art of Earring Selection
Choosing the right jewelry goes far beyond picking a shiny object you like. To truly elevate your personal style and ensure long-term comfort, you must understand how different earring types interact with your unique facial geometry and ear anatomy. Whether you are building a curated ear project or simply selecting everyday studs, a strategic approach prevents visual imbalance, healing complications, and metal sensitivities. This step-by-step guide will walk you through the exact mechanics of matching earring types to your individual features, utilizing professional piercing standards and aesthetic design principles.
Step 1: Identify Your Face Shape and Matching Earring Types
The visual weight and geometry of your earrings can either harmonize with your natural bone structure or create stark contrast. The goal is to balance your facial proportions by selecting earring types that offset your dominant features.
- Round Faces: Characterized by soft curves and equal width and length. Avoid large hoops and circular studs that echo the face's roundness. Instead, opt for elongated earring types like angular dangles, rectangular drops, or linear ear cuffs. These create a visual elongation, slimming the jawline.
- Square Faces: Defined by a strong, broad jawline and wide cheekbones. To soften these sharp angles, choose earring types with curved silhouettes. Medium-sized teardrop dangles, oval hoops, and rounded huggies work beautifully. Avoid stark geometric shapes or wide chandeliers that add horizontal bulk.
- Heart-Shaped Faces: Featuring a wider forehead that tapers to a narrow, pointed chin. The objective is to add visual weight to the lower half of the face. Chandelier earrings, wide teardrops, and bottom-heavy dangles are ideal. Avoid inverted triangles or top-heavy ear cuffs.
- Oval Faces: The most balanced and versatile face shape. Almost all earring types, from oversized hoops to delicate threadless studs, will complement an oval face. Experiment with bold, asymmetrical styling or heavy geometric shapes without fear of throwing off your natural proportions.
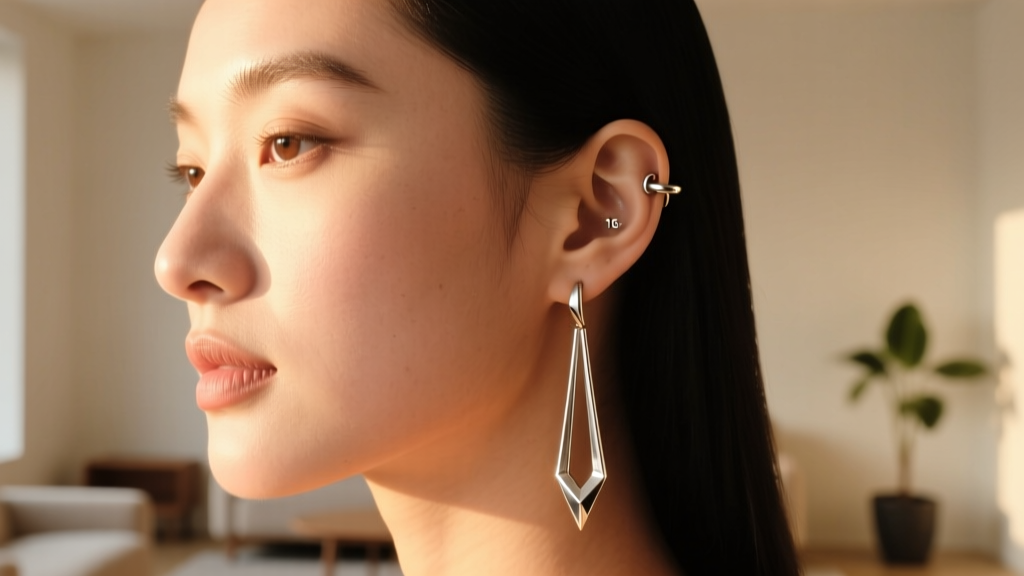
Step 2: Map Your Ear Anatomy and Piercing Placements
Understanding your ear's topography is critical when selecting cartilage jewelry. The thickness of your tissue, the depth of your conch, and the angle of your helix dictate which earring types will fit securely and heal properly. According to the Association of Professional Piercers (APP), improper jewelry fit is a leading cause of irritation bumps and delayed healing.
Standard Gauge Sizes and Post Lengths by Placement
When shopping for body jewelry, you must know your exact gauge (thickness) and post length. Guessing leads to pressure necrosis (if too tight) or snagging and migration (if too loose).
- Standard Lobe: Typically 20g (0.81mm) or 18g (1.0mm). Post lengths usually range from 6mm to 8mm for healed lobes.
- Helix / Forward Helix: Usually pierced at 16g (1.2mm). Initial post lengths are 8mm to 10mm to accommodate swelling, downsizing to 6mm or 7mm once healed.
- Tragus: Standardized at 16g. Because the tragus cartilage is thick, initial posts are often 8mm, downsizing to a snug 5mm or 6mm flat-back labret.
- Conch: Often pierced at 16g or 14g (1.6mm). The conch requires longer posts due to the depth of the ear's bowl. Healed conches typically require 7mm to 10mm posts, depending on individual anatomy.
- Rook / Daith: These require curved barbells or specific clicker rings. A standard rook barbell is 16g with a 6mm to 8mm internal length.
Step 3: Select the Right Materials for Your Healing Stage
The material of your chosen earring types dictates how your body's immune system responds to the jewelry. For fresh piercings or those prone to contact dermatitis, you must strictly avoid low-grade metals. Surgical steel (often labeled as 316L) contains up to 10% nickel, which can leach into the skin and cause severe allergic reactions over time.
| Material Grade | Best Use Case | Nickel Content | Price Range (Per Piece) |
|---|---|---|---|
| Implant-Grade Titanium (ASTM F-136) | Initial piercings, highly sensitive ears | 0% (Nickel-Free) | $30 - $80 |
| 14k / 18k Solid Gold (Nickel-Free) | Healed piercings, luxury curation | 0% (if alloyed correctly) | $150 - $800+ |
| Niobium | Hoops, clickers, anodized colors | 0% (Highly inert) | $40 - $100 |
| Surgical Steel (316L) | Healed, non-sensitive lobes only | 8% - 10% | $10 - $30 |
For high-end, long-term wear, brands like BVLA and Anatometal machine their jewelry from solid 14k gold and ASTM F-136 titanium, ensuring mirror-finish posts that will not harbor bacteria or scratch the delicate fistula of your piercing.
Step 4: The Styling and Curation Process
Once you understand your face shape, anatomy, and materials, you can begin the art of ear curation. A well-curated ear balances visual weight and utilizes different earring types to guide the eye across the ear's landscape.
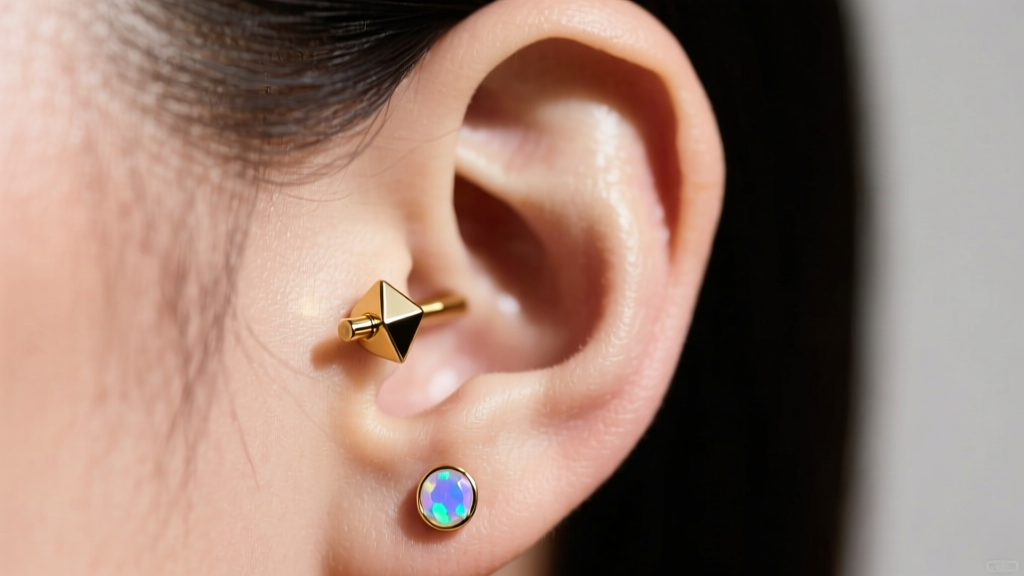
The Rule of Three and Visual Anchors
Professional piercers often employ the 'Rule of Three' when designing an ear layout. This involves selecting one 'anchor' piece, one complementary piece, and one accent piece.
- The Anchor: This is usually a larger, intricate piece placed in the conch or daith. It draws the eye and sets the thematic tone (e.g., a floral-motif 14k gold conch pin).
- The Complementary Piece: Placed in the helix or forward helix, this piece should share a metal tone or gemstone color with the anchor but feature a simpler design, such as a bezel-set diamond labret stud.
- The Accent: Placed in the tragus or rook, this is typically a minimalist piece, like a tiny 2mm gemstone or a plain titanium bead, which provides negative space and prevents the ear from looking cluttered.
"A successful ear curation isn't about filling every available hole. It's about understanding the negative space between the jewelry. A 3mm gap between a helix hoop and a forward helix stud can be just as impactful as the jewelry itself." — Maria Tada, Master Piercer and Jewelry Designer.
Common Mistakes to Avoid When Mixing Earring Types
Even with high-quality materials, poor styling choices or mechanical misunderstandings can ruin your aesthetic and damage your piercings. Avoid these frequent pitfalls:
- Using Butterfly Backs on Cartilage: Standard friction-back (butterfly) earring types are designed exclusively for standard lobe piercings. The sharp prongs on the back can scratch the ear's folds and trap dead skin cells. Always use flat-back labrets with threaded or threadless pins for cartilage.
- Ignoring Threading Types: Never use externally threaded jewelry (where the screw pattern is on the post) for cartilage. Pushing a threaded post through a 16g hole acts like a file, tearing the fistula tissue. Always insist on internally threaded or threadless (push-pin) jewelry.
- Overloading Stretched Lobes: If you have stretched your earlobes beyond 8g, the tissue becomes thinner and more prone to tearing. Avoid heavy, solid-metal dangle earring types. Opt for lightweight wood, horn, or hollow-tube gold designs to prevent gravity from thinning your lobes further.
- Mixing Clashing Metal Tones in Tight Spaces: While mixing gold and silver is a popular trend in general fashion, doing so in a tightly packed ear curation can look chaotic rather than intentional. Stick to a unified metal palette for the cartilage, and introduce mixed metals only in the lower lobe where there is more visual breathing room.
Final Thoughts on Earring Selection
Mastering the selection of earring types requires a blend of aesthetic intuition and anatomical precision. By respecting your face shape, adhering to strict gauge and material standards, and thoughtfully curating your layout, you transform your ears into a personalized canvas. Always consult with an APP-certified piercer for precise measurements and threading assessments before investing in fine body jewelry.


