Expert Care: Cleaning Threader Earrings Pearl Styles Safely
Learn how to safely clean threader earrings pearl styles without damaging the delicate nacre or tangling the fine chain with our expert guide.

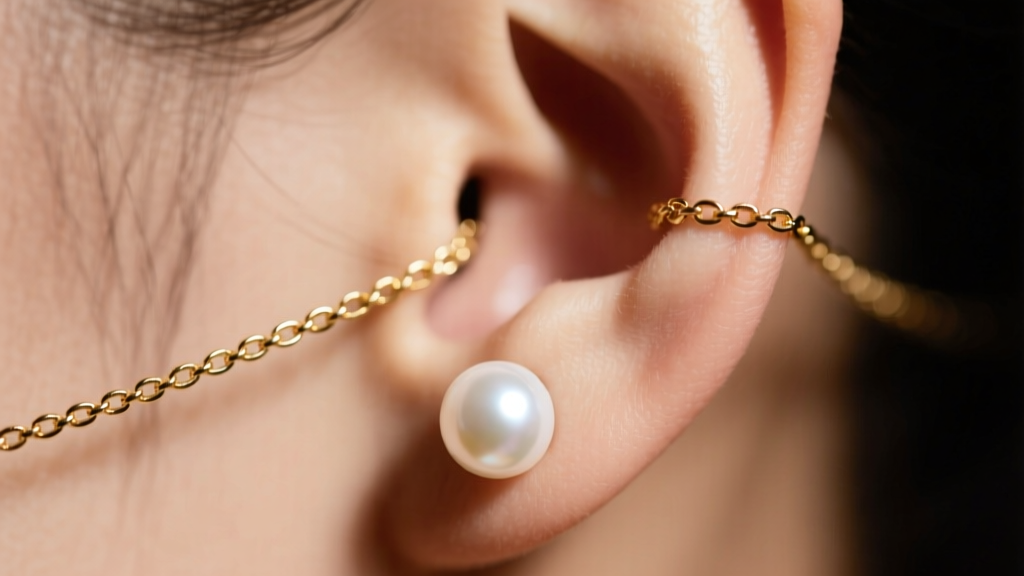
The Cleaning Conflict: Metal Chains vs. Organic Nacre
When it comes to jewelry maintenance, few designs present a paradox quite like the combination of threader earrings pearl settings. On one hand, you have the threader chain—typically crafted from 14k or 18k gold, or sterling silver, drawn into ultra-fine 22-gauge (0.64mm) or 20-gauge (0.81mm) cables. These chains require regular polishing and can technically withstand ultrasonic cleaning to remove stubborn tarnish. On the other hand, you have the pearl: an organic gemstone composed of calcium carbonate and conchiolin, ranking a mere 2.5 to 4.5 on the Mohs hardness scale.
The conflict is immediate and unforgiving. The very methods used to restore a brilliant shine to a silver or gold threader chain will irreparably destroy a pearl's delicate nacre. Ultrasonic cleaners use cavitation bubbles that can literally shatter the microscopic aragonite platelets of a pearl. Steam cleaners will cook the organic proteins inside the gem, causing it to chalk and crack. To properly maintain threader earrings pearl styles, you must adopt a bifurcated cleaning strategy that treats the metal and the gemstone as two entirely separate entities. According to the Gemological Institute of America (GIA), pearls require a gentle, chemical-free approach that prioritizes moisture retention and surface protection.
Step-by-Step Cleaning Routine for Pearl Threaders
Maintaining your threader earrings requires patience and the right tools. Never rush this process, as the fine chains are notoriously prone to micro-kinking, and the pearls are easily scratched. Follow this precise three-step protocol after every few wears.
Step 1: Detangling the Threader Chain
Because threader chains are designed to slide seamlessly through the ear piercing, they are incredibly thin and lack the structural rigidity of standard earring posts. When removed, they easily knot. Never pull on a knotted threader chain. Pulling will permanently stretch the metal links, creating weak points that will eventually snap.
- Lay the earring flat on a clean, well-lit surface.
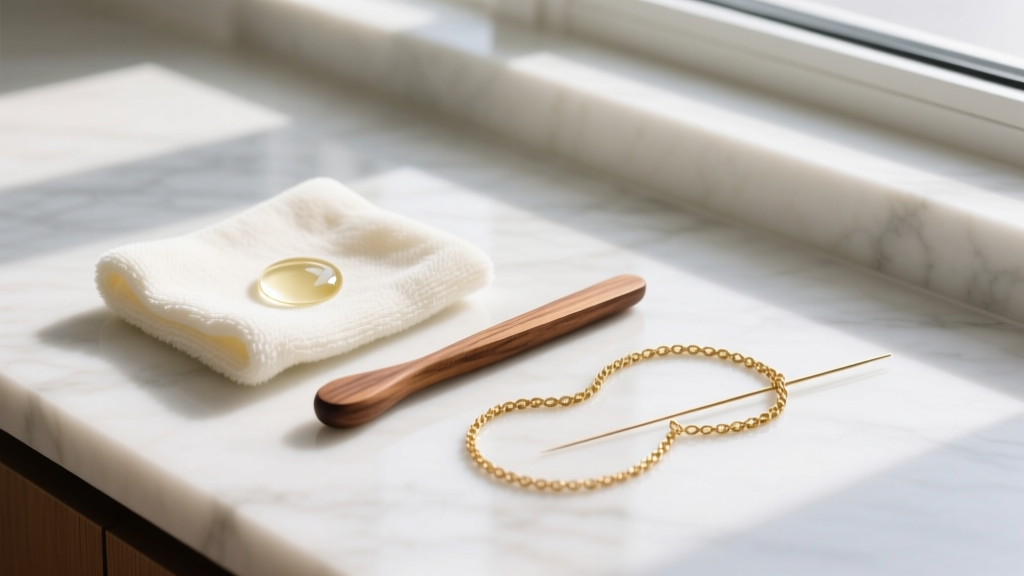
- Use a fine sewing needle, a straight pin, or a specialized jewelry detangling pick to gently work into the center of the knot.
- Apply a microscopic drop of mineral oil to the knot if it is stubborn. This lubricates the metal links without harming the pearl (provided the oil does not soak into the pearl's drill hole).
- Gently wiggle the needle to loosen the links, working from the outside in.
Step 2: Cleaning the Pearl Nacre
Pearls are highly porous and will absorb acids, oils, and chemicals. Human sweat, which has a slightly acidic pH, can slowly dissolve the nacre over time, leaving the pearl dull and chalky. The Jewelers of America recommends wiping pearls with a soft cloth after every wear, but for a deeper clean, follow these steps:
- Dampen a clean, lint-free microfiber cloth with distilled water. Avoid tap water, which can contain chlorine and heavy minerals.
- If the pearl has visible oils or makeup residue, add a single drop of mild, phosphate-free liquid castile soap to the damp cloth. Never apply soap directly to the pearl.
- Gently wipe the surface of the pearl. Do not scrub.
- Use a second dry microfiber cloth to immediately buff the pearl dry. Never let a pearl air-dry while wet, as water can seep into the drill hole and degrade the silk or nylon thread used in the setting, or cause the metal cup to oxidize against the nacre.
Step 3: Polishing the Threader Chain
Once the pearl is completely dry and set aside, you can address the metal chain. Sterling silver threaders will inevitably tarnish due to sulfur in the air, while gold threaders can accumulate skin oils and lotion buildup.
- Use a high-quality jeweler's polishing cloth (such as a Sunshine cloth) impregnated with micro-abrasives.
- Pinch the chain gently between the cloth and pull it through, applying light pressure.
- Critical Warning: Keep the polishing cloth at least an inch away from the pearl. The micro-abrasives and tarnish-removing chemicals in the cloth will strip the pearl's luster and leave permanent cloudy streaks on the nacre.
What to Avoid: The Pearl Threader Danger Zone
Many jewelry owners ruin their pieces by applying generic cleaning rules to specialized designs. The table below outlines common cleaning methods and why they fail when applied to threader earrings pearl combinations.
| Cleaning Method | Effect on Threader Chain (20G/22G) | Effect on Pearl Nacre | Verdict |
|---|---|---|---|
| Ultrasonic Cleaner | Excellent. Removes all dirt and tarnish from crevices. | Catastrophic. Cavitation shatters nacre and loosens adhesive settings. | NEVER USE |
| Steam Cleaning | Good. Blows out debris from chain links. | Severe. Heat cooks conchiolin protein, causing cracking and peeling. | NEVER USE |
| Commercial Silver Dip | Instantly removes heavy black tarnish. | Fatal. Acids instantly etch and dissolve calcium carbonate. | NEVER USE |
| Ammonia / Bleach | Can weaken fine metal links over time. | Destroys luster and causes irreversible yellowing. | NEVER USE |
| Mild Soap & Damp Cloth | Ineffective for heavy tarnish, but safe for daily oil removal. | Safe and recommended for routine maintenance. | APPROVED |
Storage Solutions to Prevent Chain Kinks and Nacre Dehydration
How you store your threader earrings pearl pieces is just as critical as how you clean them. Improper storage is the leading cause of both chain kinks and pearl degradation.
The Hydration Factor
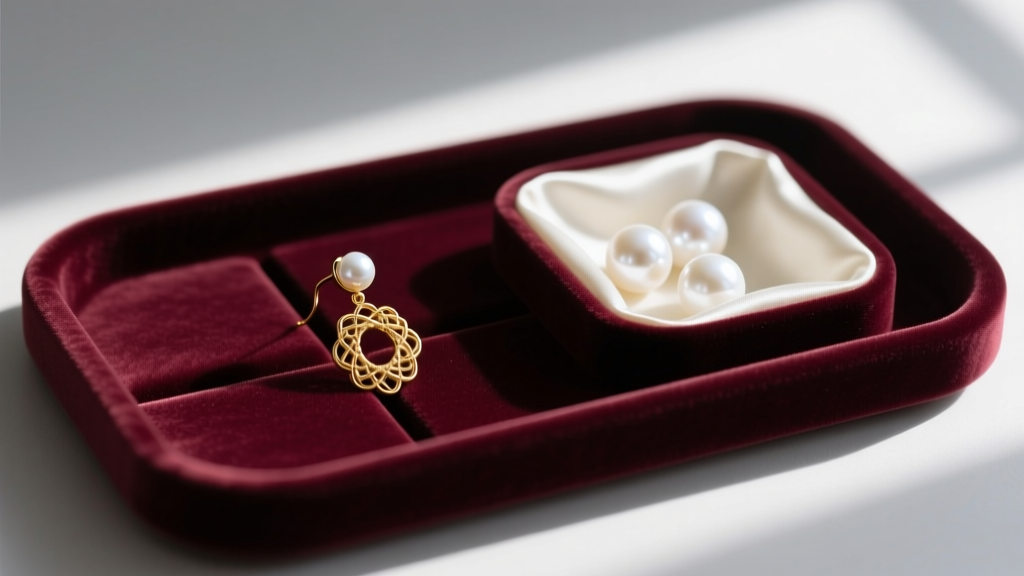
Pearls contain trace amounts of water. When stored in airtight environments—like plastic ziplock bags or sealed safety deposit boxes—the ambient moisture is drawn out of the gemstone, leading to crazing (fine surface cracks). Always store pearl jewelry in a breathable fabric pouch, such as silk or untreated cotton, which allows for minimal air exchange while protecting the soft nacre from being scratched by harder metals or gemstones.
Managing the Threader Chain
To prevent the 22-gauge chain from tangling in your jewelry box, you have two optimal storage choices:
- The Hanging Method: Use a specialized jewelry stand with thin hooks. Thread the chain through the hook so the pearl hangs freely at the bottom. Gravity keeps the chain perfectly straight and tangle-free.
- The Flat Lay Method: If using a jewelry box, lay the threader earring completely flat in a dedicated, velvet-lined groove. Ensure the chain is laid out in a gentle curve or straight line, never bunched up. Close the lid gently to ensure the chain is not caught or bent by the box's closure mechanism.
Troubleshooting Common Threader Earring Issues
Even with meticulous care, the unique mechanics of threader earrings pearl designs can present specific challenges. Here is how to troubleshoot the most common issues like a professional jeweler.
Problem: The Chain Will Not Pull Through the Piercing
Cause: This is usually caused by a micro-burr on the metal end-cap of the threader, or a microscopic kink in the first few links of the chain that catches on the inside of the earlobe fistula.
Solution: Inspect the tip of the threader under a 10x jeweler's loupe. If you see a rough edge or burr, gently burnish it smooth using an agate burnisher or a very fine-grit polishing paper. If the chain itself is kinked near the tip, use a needle to carefully straighten the link. Never force the chain through the ear, as this will cause tissue trauma and further damage the metal.
Problem: The Threader Keeps Slipping Out of the Ear
Cause: Threader earrings rely on the friction of the chain and the weight of the pearl to stay in place. If your earlobes are stretched, or if the chain has become highly polished and slippery from skin oils, gravity will pull the earring out.
Solution: Purchase clear silicone earring stoppers or specialized threader chains that feature a tiny, adjustable silicone o-ring. Slide the o-ring onto the back of the chain once it is threaded through your ear to act as a friction brake. Alternatively, look for threader designs where the chain is welded to a slightly thicker, textured post at the very top to provide natural resistance.
Problem: The Pearl Looks Dull and Chalky Despite Cleaning
Cause: If the nacre has been exposed to acidic sweat, hairspray, or perfume over a long period, the surface layer may be chemically etched. Cleaning will not restore etched nacre.
Solution: The pearl requires professional repolishing. A master jeweler can carefully remove the damaged outer microscopic layer of the nacre using a specialized, extremely fine abrasive tumbler or hand-polishing technique to reveal the fresh, luminous aragonite layers beneath. Note that this can only be done if the pearl has a thick enough nacre layer to withstand the process.


