How-To Guide for Men Wearing Earrings: Piercing, Gauge & Care
Master the art of men wearing earrings with our step-by-step guide. Learn about gauge sizes, implant-grade titanium, and aftercare protocols.


The Modern Standard for Men Wearing Earrings
The landscape of men's jewelry has undergone a massive evolution. In 2026, the era of the flimsy, 20-gauge fashion wire and the dreaded piercing gun is firmly behind us. Today, men wearing earrings are prioritizing anatomical precision, high-end material science, and curated ear stacks that rival bespoke tailoring. Whether you are looking to secure a classic lobe stud, map out a cartilage constellation, or transition to a stretched gauge, the foundation of a great piercing lies in the initial execution and the structural integrity of the jewelry. This comprehensive, step-by-step guide will walk you through the exact specifications, materials, and aftercare protocols required to build a flawless, irritation-free ear canvas.
Step 1: Selecting Placement and Structural Gauge
The most common mistake men make when getting their first or second piercing is accepting the default 20-gauge or 18-gauge wire often pushed by mall kiosks. Thin wires create a 'cheese-cutter effect'—the high pressure per square inch on a tiny surface area of the earlobe can cause the jewelry to slowly migrate and slice through the tissue over time. For a permanent, comfortable setup, structural integrity is paramount.
The 16-Gauge Standard
For most standard lobe and upper lobe piercings, 16-gauge (1.2mm) is the gold standard for men. It provides enough surface area to distribute the weight of heavier materials like solid gold or natural stone without risking migration. For cartilage, 16-gauge or 14-gauge is mandatory to ensure the fistula (the piercing channel) heals thick and resilient.
| Placement | Recommended Gauge | Average Healing Time | Best Initial Jewelry |
|---|---|---|---|
| Standard Lobe | 16g - 14g | 6 - 8 Weeks | Flat-Back Labret |
| Upper Lobe | 16g | 8 - 12 Weeks | Flat-Back Labret |
| Helix (Cartilage) | 16g | 6 - 12 Months | Flat-Back Labret |
| Tragus | 16g | 4 - 8 Months | Flat-Back Labret |
| Conch | 14g - 12g | 6 - 12 Months | Flat-Back Labret |
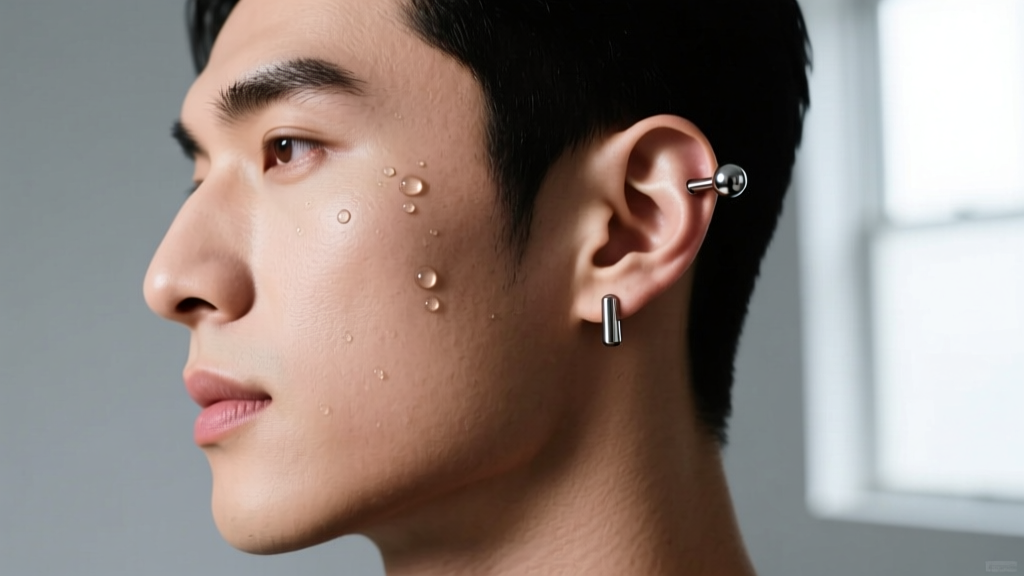
Step 2: Material Science (Why Surgical Steel is a Trap)
When men start wearing earrings daily, material biocompatibility becomes the deciding factor between a healed piercing and a chronic, weeping irritation bump. The term 'surgical steel' is largely a marketing fabrication. Most commercial 316L stainless steel contains 10% to 14% nickel. As your body heat and saline sweat interact with the metal, nickel ions leach into the fistula, triggering contact dermatitis.
The Big Three: Safe Metals for Fresh Piercings
- ASTM F-136 Implant-Grade Titanium: This is the absolute baseline for fresh piercings. It is completely nickel-free, lightweight, and can be polished to a mirror finish that resists bacterial adhesion. Brands like Neometal and Anatometal machine their titanium to aerospace tolerances.
- Niobium: A highly biocompatible, reactive metal that can be anodized into various colors using electricity rather than toxic dyes. It is slightly softer than titanium but excellent for custom-fitted rings.
- 14k or 18k Solid Gold: Must be specifically alloyed for body jewelry (usually with palladium or silver, never copper or nickel). Avoid gold-plated or gold-filled jewelry, as the microscopic layers will wear off inside the piercing channel, exposing base metals.
Step 3: The Piercing Protocol and Initial Jewelry
Never use a piercing gun. Guns rely on blunt force trauma, shattering the tissue and forcing a butterfly-back earring into the wound. Butterfly backs trap dead skin cells, sebum, and bacteria, creating a breeding ground for infection. Instead, visit an APP-certified professional who uses a single-use, sterilized hollow needle. The needle removes a microscopic crescent of tissue, leaving a clean, sharp channel that heals significantly faster.
Your initial jewelry should always be a flat-back labret (a straight post with a flat disc on the back). The post must be long enough to accommodate the initial swelling (usually 1/4 inch or 5/16 inch for lobes, 3/8 inch for cartilage). The flat disc sits flush against the back of the ear, preventing the jewelry from embedding into the skin or catching on hair and hoodie strings.
Step 4: The 6-Week Aftercare Framework
The most effective aftercare methodology recognized by professional piercers is LITHA: Leave It The Hell Alone. Over-cleaning is just as detrimental as under-cleaning. According to the Association of Professional Piercers, harsh chemicals like hydrogen peroxide, rubbing alcohol, and tea tree oil destroy newly forming epithelial cells and delay healing.
Your Daily Cleaning Routine
- Prep: Wash your hands thoroughly with antibacterial soap before touching your ear.
- Spray: Apply sterile, isotonic wound wash (0.9% sodium chloride with no additives) directly to the front and back of the piercing twice a day.
- Dry: Gently pat the area dry using a non-woven gauze pad or use a hair dryer on the cool setting. Avoid cotton swabs or tissues, which leave microscopic fibers tangled in the jewelry.
- Protect: Sleep on a travel neck pillow to keep pressure off the healing ear, and avoid submerging the piercing in pools, hot tubs, or lakes.
Expert Insight: If you notice crusting around the jewelry, do not pick it off dry. Soften the crust with sterile saline during your shower, and gently wipe it away with clean gauze.
Step 5: Downsizing and Troubleshooting Irritation
Around the 4-to-6-week mark for lobes (and 8-to-12 weeks for cartilage), the initial swelling will subside. At this point, the long initial post becomes a liability. Excess post length allows the jewelry to tilt and move, creating friction that leads to hypertrophic scarring (commonly mistaken for keloids). You must return to your piercer for a 'downsize'—swapping the long post for a shorter, snug-fitting one.
Infection vs. Irritation Bumps
Men wearing earrings often panic at the first sign of a bump, assuming it is an infection. True infections are rare and present with systemic symptoms: intense throbbing pain, dark red/purple swelling, and thick, foul-smelling yellow or green pus. If you suspect an infection, consult a doctor; Healthline's medical guidelines warn against removing the jewelry during an active infection, as the surface can heal over and trap an abscess.
Conversely, 95% of piercing issues are localized irritation bumps. These are small, flesh-colored or pink bumps sitting directly adjacent to the piercing hole, usually caused by sleeping on the ear, using harsh chemicals, or wearing poorly fitted jewelry. The cure for an irritation bump is not tea tree oil; it is correcting the angle of the jewelry, downsizing the post, and returning to a strict sterile saline routine.
Final Thoughts on Building Your Stack
Once your piercings are fully healed and downsized, the styling possibilities expand. You can transition from flat-back labrets to seamless clicker rings, threadless end ornaments featuring black onyx or lapis lazuli, or even subtle huggie hoops. By respecting the anatomy of the ear, insisting on ASTM F-136 titanium, and adhering to a disciplined aftercare protocol, you ensure that your jewelry remains a sharp, sophisticated asset to your personal style for decades to come.


