New Earring Care: A Beginner's Guide to Healing Piercings
Master new earring care with our beginner guide. Learn cleaning routines, safe metals, and how to avoid infection for fresh lobe and cartilage piercings.
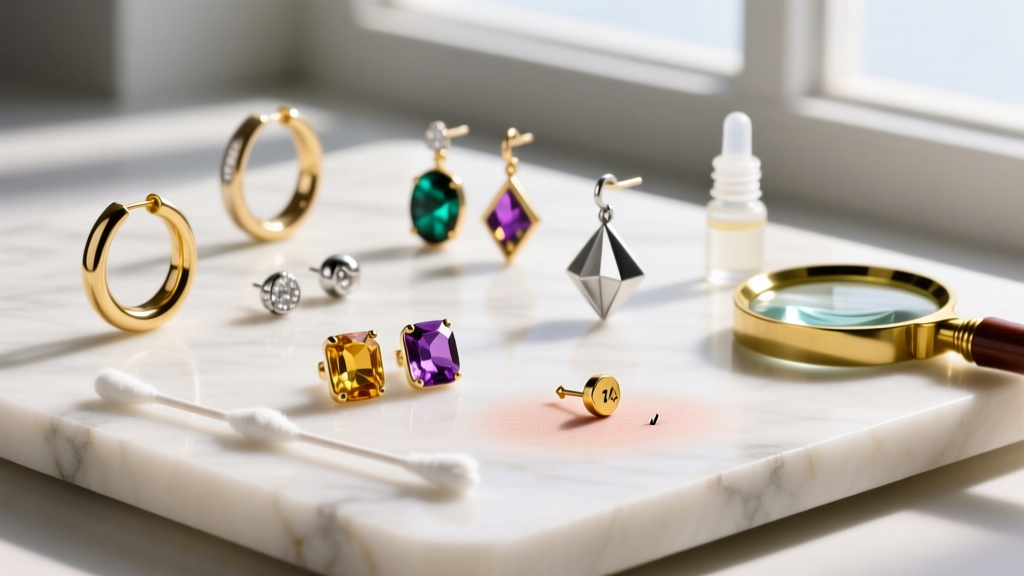
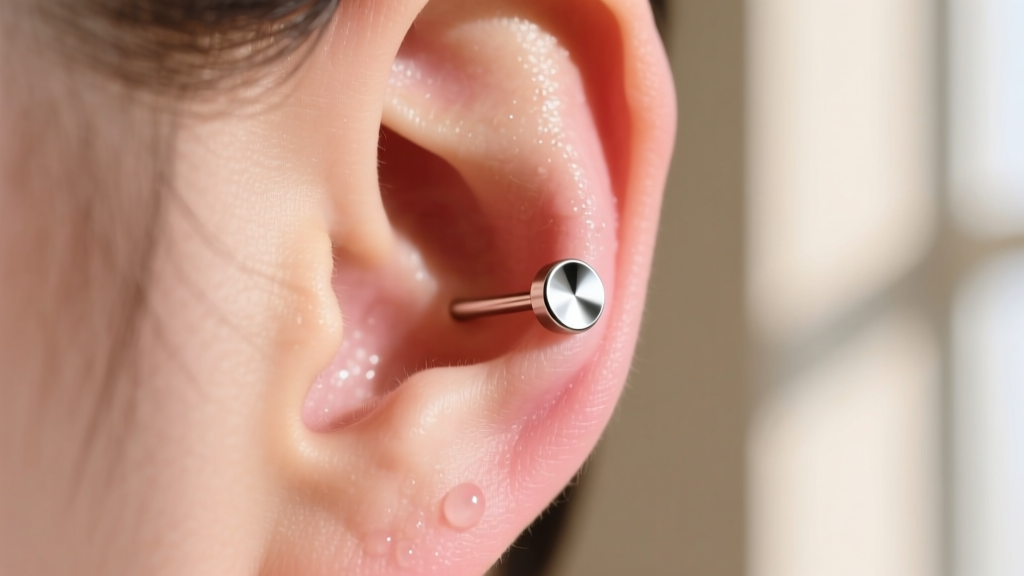
Getting your ears pierced is a thrilling milestone, whether you are opting for a classic lobe stud or a curated constellation of cartilage hoops. However, the actual piercing process is only ten percent of the journey. The remaining ninety percent relies entirely on your dedication to proper new earring care. A fresh piercing is not merely a hole in your skin; it is an acute micro-wound that requires a precise biological environment to heal correctly. Neglecting this delicate phase can lead to prolonged irritation, hypertrophic scarring, or severe bacterial infections.
As professional piercing standards have evolved, so too has our understanding of wound management. This beginner-friendly explainer will strip away the outdated myths and provide you with an actionable, science-backed framework for healing your new earrings flawlessly.
The Golden Rule of New Earring Care: Leave It Alone
The most common failure mode in early piercing aftercare is over-handling. Human hands are teeming with bacteria, including Staphylococcus aureus, which is notorious for causing localized skin infections. When you twist, turn, or slide your new earring back and forth, you are not "keeping the hole open" as outdated mall-kiosk advice once suggested. Instead, you are tearing the fragile fistula (the tube of new skin cells forming inside the piercing channel) and introducing external pathogens directly into the wound bed.
Your primary objective during the first six weeks is benign neglect. Do not touch your earrings unless you are actively cleaning them with freshly washed hands. Avoid sleeping on the piercing, as pressure can cause the jewelry to embed or heal at a crooked angle, leading to permanent migration.
Decoding Metals: What Should Actually Be in Your Ear?
The material sitting inside your fresh wound dictates how your immune system responds. Many commercial jewelry brands use the term "surgical steel" as a marketing buzzword, but this is a red flag for fresh piercings. Surgical steel (often 316L) contains nickel, a known contact allergen that can cause weeping, itching, and delayed healing. For optimal new earring care, you must insist on specific, biocompatible grades.
| Metal Type | Grade / Standard | Nickel Content | Verdict for Healing |
|---|---|---|---|
| Implant-Grade Titanium | ASTM F-136 | 0% (Nickel-Free) | The absolute gold standard for fresh piercings. Lightweight and highly biocompatible. |
| Niobium | Unalloyed (99.9%) | 0% | Excellent alternative to titanium; slightly softer but completely hypoallergenic. |
| Solid Gold | 14k or 18k (Yellow/White) | Varies by alloy | Safe if alloyed with biocompatible metals like palladium. Avoid rose gold (contains copper/zinc). |
| Surgical Steel | 316L / 316LVM | 8% - 12% | Not recommended for initial healing due to nickel leaching and microscopic surface porosity. |
| Plated / Filled Metals | Gold-Plated Brass/Silver | Unknown | Never use in fresh piercings. Plating wears off quickly, exposing reactive base metals to the wound. |
Furthermore, the style of the earring matters just as much as the metal. Traditional butterfly-back friction posts trap dead skin cells, sebum, and bacteria against the back of the earlobe, creating a breeding ground for infection. Modern professional piercers utilize flat-back labrets (either internally threaded or threadless push-pin styles) that sit flush against the tissue, eliminating pressure necrosis and bacterial harborage.
The Daily Cleaning Protocol (Step-by-Step)
Forget the harsh astringents, rubbing alcohol, hydrogen peroxide, and tea tree oil. These chemicals destroy the delicate, newly formed epithelial cells and dry out the wound, leading to excessive crusting and irritation bumps. According to the Association of Professional Piercers (APP), the only solution you need is sterile saline.
The 3-Step Saline Method
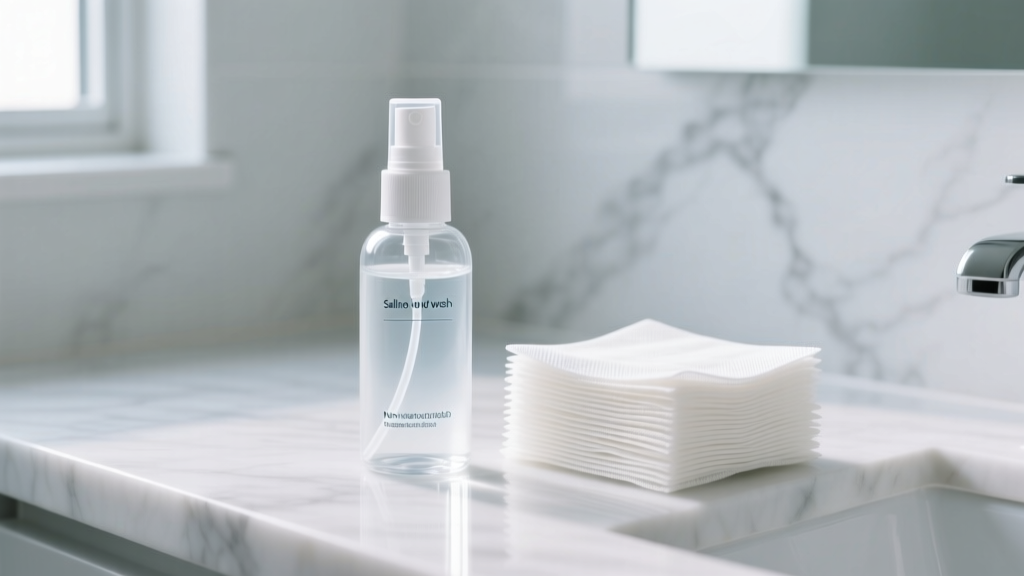
- Step 1: Spray. Use a sterile 0.9% sodium chloride wound wash with no additives (no benzalkonium chloride, no fragrances). Spray directly onto the front and back of the piercing twice a day—once in the morning and once before bed.
- Step 2: Soften. Allow the saline to sit for 30 to 60 seconds. This softens the natural lymphatic fluid (often called "crusties") that accumulates around the jewelry post. Never pick or scratch this fluid off dry, as it will reopen the wound.
- Step 3: Dry. Gently pat the area dry using non-woven sterile gauze. Avoid cotton balls or cotton swabs, as they shed microscopic fibers that can wrap around the jewelry post and become embedded in the healing fistula.
Lobe vs. Cartilage: Understanding Healing Timelines
Not all ear tissue heals at the same rate, and adjusting your expectations is a critical component of new earring care.
The Vascularity Difference
Earlobes are highly vascular, meaning they have a rich blood supply that delivers oxygen and white blood cells efficiently to the wound site. Because of this, standard lobe piercings typically reach initial stability in 6 to 8 weeks, though the internal fistula may take up to 4 months to fully mature.
Cartilage (such as the helix, conch, or tragus), on the other hand, is avascular. It lacks direct blood vessels and relies on the surrounding perichondrium (the connective tissue membrane) for nutrient exchange. Consequently, cartilage piercings are notoriously slow healers, requiring a minimum of 6 to 12 months of diligent aftercare before they are fully stabilized. Changing a cartilage stud at the 3-month mark is a guaranteed way to trigger severe swelling and irritation bumps.

Troubleshooting: Bumps, Crusties, and Redness
It is entirely normal for a new piercing to exhibit mild redness, localized swelling, and the secretion of pale yellow or whitish lymphatic fluid during the first few weeks. However, beginners often panic at the first sign of a "piercing bump" and mistakenly assume it is an infection.
Expert Insight: True piercing infections are surprisingly rare when proper hygiene is maintained. What most beginners identify as an "infection" is actually a hypertrophic scar or irritation bump. These are caused by mechanical stress—such as sleeping on the ear, snagging the jewelry on hairbrushes, or using jewelry posts that are too long for the swelling.
If you develop a bump, do not apply harsh chemicals. Instead, evaluate your environment: Are you sleeping on that side? Is your shampoo running down your ear in the shower without being rinsed properly? Is your jewelry post too long, causing it to wobble and batter the inside of the fistula? Addressing the mechanical irritation is the only way to resolve the bump. The American Academy of Dermatology emphasizes keeping the area clean and avoiding trauma as the primary treatment for localized piercing irritation.
When to See a Professional Piercer or Doctor
While irritation is common, genuine infections require immediate intervention. You should bypass your local piercing studio and consult a medical professional or visit an urgent care clinic if you experience any of the following systemic or severe localized symptoms:
- The jewelry becomes completely embedded and swallowed by the swelling tissue.
- You develop a fever, chills, or body aches alongside the ear pain.
- The redness spreads rapidly outward from the piercing site in hot, angry streaks.
- The piercing emits thick, foul-smelling pus that is dark green or brown (note: pale yellow/white fluid is normal lymph, not pus).
- The ear cartilage feels soft, mushy, or looks misshapen, which can indicate perichondritis (a serious cartilage infection).
For mechanical issues, such as needing to downsize a long post to a shorter one after initial swelling subsides (usually around week 3 or 4), always return to a certified professional piercer. They possess the sterilized tools and anatomical knowledge to swap the jewelry without damaging the fragile new tissue.
Final Thoughts on Long-Term Success
Mastering new earring care is an exercise in patience and discipline. By choosing implant-grade titanium flat-backs, adhering strictly to a sterile saline routine, and respecting the biological timelines of your specific tissue type, you set the foundation for a lifetime of healthy, beautiful ear styling. Treat your fresh piercing with the respect of a surgical wound, and it will reward you with a flawless canvas for your future jewelry curation.


