How to Safely Choose and Pierce Newborn Earrings: A Parent's Guide
Learn how to safely choose and pierce newborn earrings. This step-by-step guide covers hypoallergenic metals, safe clasps, and expert aftercare.

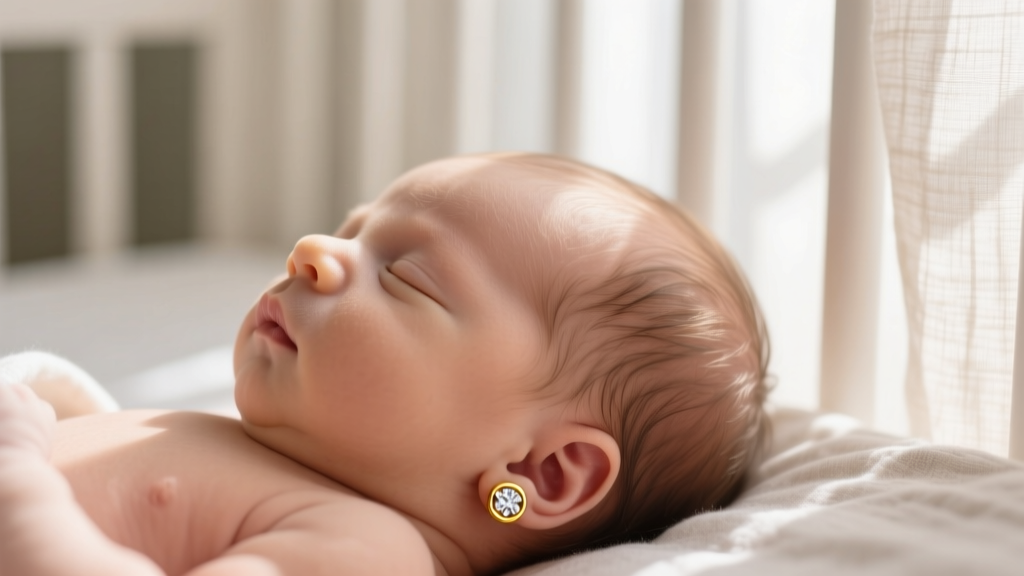
The decision to pierce a baby’s ears is a significant milestone for many families, often tied to cultural traditions or personal preferences. However, when it comes to newborn earrings, the margin for error is incredibly slim. Infant skin is highly reactive, their immune systems are still developing, and their tiny earlobes require specialized jewelry mechanics to avoid choking hazards and tissue damage. As a parent, navigating the sea of conflicting advice from mall kiosks, pediatricians, and professional piercers can be overwhelming.
This comprehensive, step-by-step guide cuts through the noise. We will walk you through the medical consensus on timing, the exact metallurgical grades required for infant skin, the safest jewelry mechanics, and a strict aftercare protocol to ensure your baby’s first earrings are as safe as they are beautiful.
Understanding the Timing: When is it Safe?
Before selecting jewelry, you must determine if your baby is physically ready. While some cultures pierce ears within days of birth, modern medical guidelines suggest a more cautious approach. The American Academy of Pediatrics (AAP) recommends waiting until a baby has received their first round of vaccinations, specifically the DTaP (diphtheria, tetanus, and pertussis) shot, which is typically administered at two months of age.
Waiting until the two-month mark provides a crucial layer of protection against tetanus, a rare but severe bacterial infection that can enter through any break in the skin. Furthermore, by eight to twelve weeks, infants have developed slightly more robust immune responses and are better able to tolerate the minor localized inflammation that accompanies the healing process. Some parents opt to wait until the child is old enough to express a desire for ear piercings, but if you are proceeding during infancy, the post-vaccination window is the safest baseline.
Step 1: Selecting the Right Metals (Avoiding Contact Dermatitis)
The most common cause of piercing complications in infants is allergic contact dermatitis triggered by nickel. Nickel is a base metal frequently alloyed with cheaper golds and standard "surgical steel" to increase durability. Because infant skin is highly permeable and reactive, you must strictly limit the metals used for newborn earrings to biocompatible, implant-grade materials.
The Biocompatible Metal Hierarchy
- Implant-Grade Titanium (ASTM F136): This is the gold standard for initial piercings. It contains zero nickel, is highly resistant to corrosion, and is the exact material used in orthopedic joint replacements. It is lightweight and completely inert in the human body.
- Niobium: Similar to titanium, niobium is a highly biocompatible, nickel-free reactive metal. It is softer than titanium, making it easy for professional piercers to customize the fit, though it is less commonly found in pre-made infant jewelry.
- 14k or 18k Solid Gold (Yellow or White): High-karat gold is generally safe, provided it is alloyed with biocompatible metals like silver or palladium. Warning: Avoid rose gold, as the copper used to create the pink hue can cause reactions, and avoid anything below 14k, as the higher percentage of unknown alloy metals increases the risk of nickel exposure.
Avoid "surgical steel" or "stainless steel" entirely. These are marketing terms, not regulated metallurgical standards, and almost always contain nickel. Also, avoid silver-plated or gold-plated jewelry; the microscopic friction of a healing piercing will wear away the plating within days, exposing the reactive base metal underneath.
| Metal Type | Nickel Content | Hypoallergenic Rating | Recommendation for Newborns |
|---|---|---|---|
| Implant-Grade Titanium (F136) | 0% | Excellent | Highly Recommended (Best Choice) |
| 18k Solid Yellow Gold | Trace/None | Excellent | Highly Recommended |
| 14k Solid White Gold | Varies (Check Alloy) | Good to Excellent | Recommended if Palladium-Alloyed |
| Surgical Stainless Steel | 8% - 12% | Poor | Strictly Avoid |
| Sterling Silver (925) | Trace (but oxidizes) | Fair | Avoid for Initial Healing |
Step 2: Choosing the Safest Earring Style and Mechanics
The physical design of the earring is just as critical as the metal. Traditional butterfly-back stud earrings pose two massive risks for infants: choking and embedding.
The Dangers of Butterfly Backs
Butterfly clasps rely on friction and feature tiny, sharp prongs. Babies frequently grab their ears, and a dislodged butterfly back is a severe choking hazard. Furthermore, the hollow design of a butterfly back traps dead skin cells, sebum, and moisture, creating a breeding ground for staphylococcus bacteria directly against an open wound.
The Solution: Flat-Back Labrets with Secure Ends
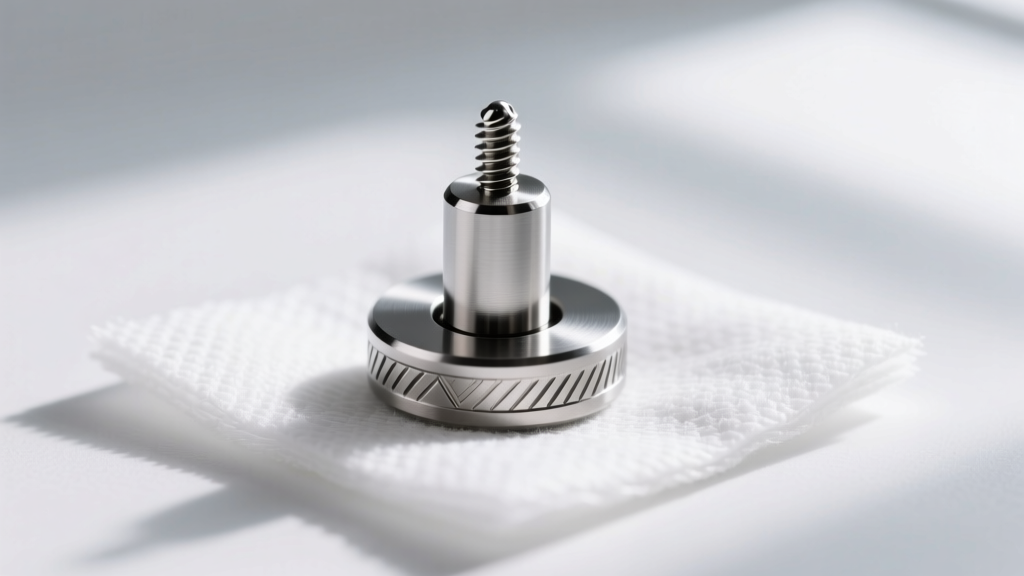
For newborn earrings, the safest design is an internally threaded or threadless flat-back labret.
- The Flat Back: A smooth, flat disc sits flush against the back of the earlobe. It eliminates the sharp post point that can scratch the baby’s neck or scalp while sleeping, and it prevents the jewelry from embedding into the tissue if swelling occurs.
- Secure Bezels: The front decorative end should either screw securely into the post (internal threading) or use a high-tension push-pin mechanism (threadless). A bezel setting is mandatory for gemstones; prong settings can snag on blankets and scratch the infant’s delicate skin.
Gauge and Post Length Specifications
While mall kiosks often use ultra-thin 22-gauge (0.6mm) pins, professional piercers recommend an 18-gauge (1.0mm) or 16-gauge (1.2mm) post for infants. A thicker gauge prevents the "cheese-cutter effect," where a thin wire slowly migrates and slices through the soft earlobe tissue under the weight of the jewelry. The initial post length should be 1/4-inch (6mm) to accommodate the inevitable swelling during the first two weeks. Once swelling subsides, you must return to the piercer to downsize to a 3/16-inch (5mm) post to prevent the jewelry from snagging on clothing.
Step 3: Finding a Professional Piercer vs. Pediatrician
Where you get the piercing done dictates the safety of the procedure. The Association of Professional Piercers (APP) strongly advises against the use of piercing guns, which are standard in pediatric clinics and mall jewelry stores.
Piercing guns utilize blunt force to shove a sharpened earring stud through the tissue, causing significant blunt-force trauma, bruising, and delayed healing. More alarmingly, the plastic components of piercing guns cannot be sterilized in an autoclave; they are merely wiped down with antiseptic, meaning microscopic blood and tissue from previous clients can be aerosolized into your baby’s fresh wound.
Instead, seek out an APP-certified professional piercer. A professional will use a single-use, sterilized hollow bevel needle. A hollow needle cleanly removes a microscopic crescent of tissue, creating a smooth, precise channel that heals significantly faster and with less trauma than a gun. They will also use surgical markers to ensure perfect anatomical placement, avoiding blood vessels and ensuring the angle is perpendicular to the earlobe.

Step 4: The Aftercare Protocol (First 6-8 Weeks)
Infant earlobes typically take 6 to 8 weeks to heal the initial fistula (the tube of skin lining the piercing channel). During this time, strict hygiene is non-negotiable.
- Sterile Saline Only: Clean the piercing twice daily using a sterile, additive-free 0.9% sodium chloride wound wash (brands like NeilMed or H2Ocean). Spray it directly onto the front and back of the lobe, then gently pat dry with a non-woven gauze pad. Avoid cotton balls, as the fibers can wrap around the post and cause severe irritation.
- Do Not Rotate: The outdated advice of "twisting the earring to prevent it from sticking" is entirely false. Rotating the jewelry tears the fragile, newly formed healing tissue and introduces surface bacteria into the wound.
- Manage Sleeping Positions: Try to keep the baby sleeping on their back. If they turn their head, the flat-back design of the jewelry will prevent pressure necrosis, but minimizing direct friction against the mattress is ideal.
- Bath Time Precautions: Keep the baby’s head out of the bathwater for the first few weeks. Wash their hair using a damp washcloth or a specialized infant bath visor to prevent shampoo and dirty bathwater from running over the fresh piercings.
Recognizing and Treating Complications
Even with perfect aftercare, parents must know how to differentiate between normal healing and complications.
Irritation vs. Infection
It is normal for the piercing to secrete a pale, crusty lymph fluid during the first few weeks. This is often mistaken for pus. True infection in infant piercings is rare if sterile techniques were used, but it presents with excessive heat, severe redness radiating outward, swelling that engulfs the jewelry, and thick yellow or green discharge. If you suspect an infection, consult your pediatrician immediately for a topical or oral antibiotic. Never remove the jewelry if an infection is suspected, as the hole can close rapidly, trapping the abscess inside the earlobe.
Embedding
If the initial post was too short, or if the baby experiences unexpected swelling, the flat back or the front bezel can sink into the skin—a condition called embedding. This is a medical urgency. If you notice the skin growing over any part of the jewelry, take the baby back to the professional piercer immediately to have the post swapped for a longer size.
Summary Checklist for Parents
- Wait until at least 2 months of age (post-first vaccinations).
- Use only ASTM F136 Titanium or 14k/18k Solid Gold.
- Choose an 18-gauge flat-back labret with a secure bezel end.
- Book an appointment with a professional piercer using a hollow needle.
- Clean twice daily with sterile saline; never twist the jewelry.
- Downsize the post length after 2 to 3 weeks to prevent snagging.
Choosing newborn earrings requires prioritizing safety, metallurgy, and anatomy over aesthetics. By following this step-by-step protocol, you ensure that your child's first jewelry experience is safe, comfortable, and sets the foundation for a lifetime of healthy, beautifully healed piercings.


