Omega Earrings Back Explained: A Beginner's Guide
Discover how the omega earrings back works, why it offers superior security for heavy jewelry, and expert tips for adjusting them for perfect comfort.

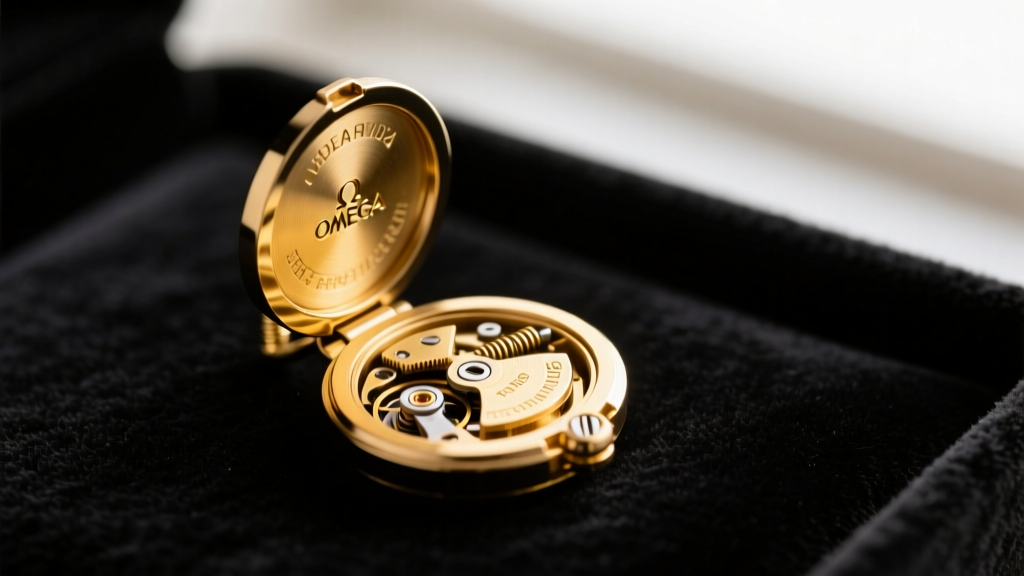
What Exactly Is an Omega Earrings Back?
When investing in fine jewelry, the clasp is just as critical as the gemstone or the precious metal itself. For heavy drops, vintage clips, and high-end statement pieces, the omega earrings back is widely considered the gold standard of earring closures. Named for its resemblance to the Greek letter Omega, this mechanism relies on a hinged, curved wire that snaps securely into a catch on the back of the earring.
Unlike standard friction push backs that rely solely on the tension of a metal scroll against a thin post, the omega back distributes the weight of the earring across a wider surface area of the earlobe. This makes it an essential feature for heirloom jewelry, chandelier earrings, and pieces featuring dense gemstones like cabochon turquoise or large-carat diamonds. According to the Gemological Institute of America (GIA), the structural integrity of a jewelry clasp is paramount in preventing the loss of high-value precious metals and stones, which is exactly where the omega mechanism excels.
The Anatomy of an Omega Closure
To understand why this closure is so secure, you need to look at its individual components. A well-crafted omega back is a marvel of micro-engineering, typically consisting of four distinct parts:
- The Post or Paddle: The part that either passes through a pierced earlobe or rests against a non-pierced lobe.
- The Hinge: A tiny, precision-machined barrel or pin joint that allows the omega wire to swing open and closed.
- The Omega Wire: The curved, U-shaped lever that provides the clamping tension. This wire is typically stamped from 0.8mm to 1.2mm thick sheet metal for durability.
- The Catch (or Notch): A small groove on the earring body where the tip of the omega wire snaps into place, locking the earring shut.
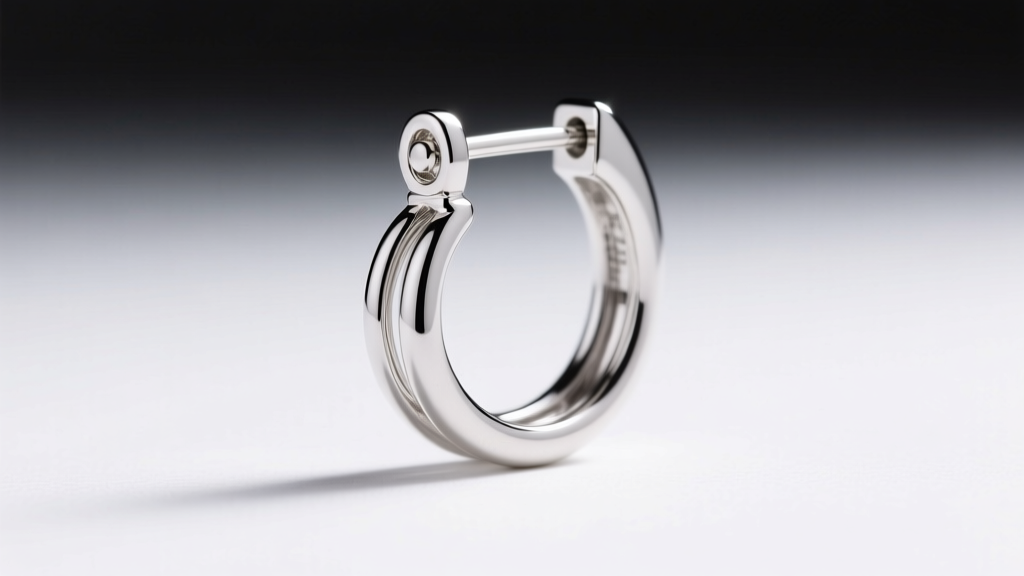
Omega Backs vs. Standard Earring Closures
How does the omega back compare to other common closures on the market? Below is a functional comparison to help you decide which mechanism suits your jewelry box.
| Closure Type | Security Level | Weight Capacity | Best Use Case |
|---|---|---|---|
| Omega Back | Very High | Heavy (15g+) | Vintage clips, chandelier drops, high-end gold |
| Friction Push Back | Moderate | Light (1g - 5g) | Standard diamond studs, small hoops |
| Screw Back | High | Medium (5g - 10g) | Valuable studs, children's earrings |
| Leverback | High | Medium (5g - 12g) | Dangle earrings, French wire hooks |
The Pierced vs. Non-Pierced Question
A common misconception among beginners is that omega backs are exclusively for non-pierced ears. In reality, the omega earrings back is highly versatile and manufactured for both audiences.
For Pierced Ears
Pierced omega earrings feature a standard metal post (usually 18-gauge or 20-gauge) that passes through the ear piercing. The omega wire then swings up behind the lobe, clamping gently against the post or the back of the ear to provide secondary support. This prevents the earring from drooping forward, a common issue with heavy gemstone studs.
For Non-Pierced Ears (Clip-Ons)
Non-pierced omega clips replace the sharp post with a smooth, padded paddle or a adjustable screw-backed dome. The tension of the omega wire presses this paddle against the front of the earlobe, securing the jewelry without the need for a piercing. Vintage costume jewelry from the 1950s and 1960s heavily utilized this exact mechanism.
Step-by-Step Guide to Adjusting Omega Tension
Over time, the omega wire can stretch or bend outward, causing the earring to feel loose or fail to snap into the catch. Fortunately, adjusting the tension is a straightforward process if you have the right tools. The Rio Grande jewelry supply experts strongly advise against using standard household tools on fine jewelry.
Expert Warning: Never use standard steel needle-nose pliers to adjust an omega wire. The hardened steel teeth will permanently scratch and mar soft precious metals like 18k gold, platinum, and sterling silver.
Required Tool: Nylon-jaw pliers or parallel pliers with a soft polymer coating.
- Open the Mechanism: Swing the omega wire completely open so it is parallel to the earring post.
- Grip the Wire: Gently grip the middle curve of the omega wire with your nylon-jaw pliers. Avoid gripping near the hinge, as this can snap the delicate pin.
- Apply Micro-Pressure: Squeeze the wire inward by a fraction of a millimeter. The goal is to increase the spring tension, not to bend the wire at a sharp angle.
- Test the Snap: Close the wire into the catch. It should produce a crisp, audible click. If it is too tight and pinches your earlobe, gently push the wire outward with your thumbs.
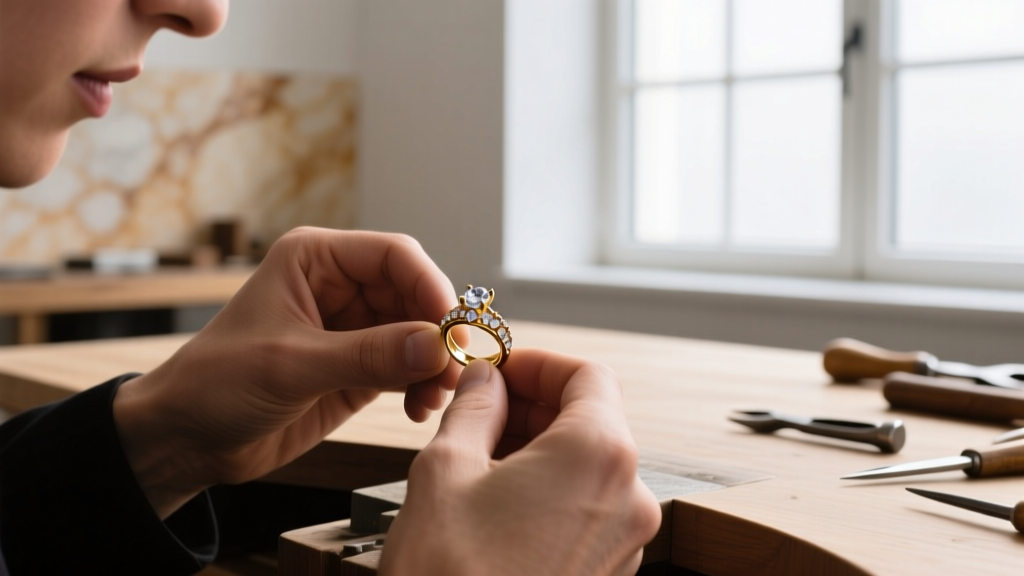
Troubleshooting Common Omega Back Failures
Even the finest jewelry requires maintenance. Here is how to troubleshoot the three most common issues associated with omega closures.
Issue 1: The Wire Refuses to Snap into the Catch
The Cause: This is usually caused by a buildup of skin oils, lotion, or debris inside the catch notch, or the omega wire has bent slightly out of alignment. The Fix: Use a soft-bristled toothbrush and a drop of mild dish soap to scrub the catch notch. Rinse thoroughly and dry. If cleaning does not work, use the nylon-jaw pliers to realign the tip of the wire so it sits perfectly centered over the notch.
Issue 2: The Earring Pinches the Earlobe
The Cause: The tension on the omega wire is too high, or the wire is bent too far inward, creating excessive clamping force. The Fix: Hold the earring body firmly and use your thumbs to gently press the center of the omega wire outward, away from the post. Test the fit on your ear. Repeat in micro-adjustments until the pressure feels secure but comfortable.
Issue 3: The Hinge is Stiff or Squeaks
The Cause: Microscopic dust or dried sweat has seized the hinge barrel. The Fix: Do not use WD-40 or household lubricants, as they contain solvents that can damage porous gemstones like pearls or opals. Instead, apply a microscopic drop of synthetic watch oil directly to the hinge pin using a fine needle. Swing the wire back and forth ten times to work the oil into the joint, then wipe away any excess.
Pricing Expectations and Material Considerations
Because the omega earrings back requires precise hinges and spring-tempered metals, it is significantly more expensive to manufacture than a simple push back. When shopping for omega-backed jewelry, pay close attention to the metal grade.
- Sterling Silver (925): Expect to pay between $40 and $150 for silver omega clips. Be aware that silver can tarnish in the hinge crevices, requiring regular cleaning.
- 14k and 18k Gold: The industry standard for fine jewelry. Gold provides excellent spring memory, meaning the wire will retain its tension for decades. Prices typically range from $300 to over $2,000, depending on the gemstones.
- Platinum: The ultimate choice for heavy, high-value diamond drops. Platinum is incredibly dense and durable, though its stiffness means adjustments should only be performed by a professional jeweler.
Avoid base metals or gold-plated brass for omega mechanisms. The plating will eventually wear off at the friction points of the hinge and catch, leading to corrosion, skin irritation, and eventual mechanical failure. Always invest in solid precious metals for mechanisms that rely on friction and tension to keep your valuable jewelry secure.


