How to Polish Silver Earrings at Home: Expert Troubleshooting Guide
Learn how to polish silver earrings at home safely. Expert troubleshooting for tarnished 925 sterling, oxidized finishes, and gemstone-set studs.

The Science of Silver Tarnish: Why Your Earrings Turn Black
Before learning how to polish silver earrings at home, it is crucial to understand what you are actually cleaning. Pure silver (999 fine silver) is highly resistant to tarnish, but it is far too soft for jewelry. To create durable earring posts—typically 20-gauge or 18-gauge to withstand the pressure of insertion—jewelers alloy it with copper. According to The London Assay Office, standard 925 sterling silver contains exactly 7.5% copper.
When this copper is exposed to moisture and sulfur compounds in the air (or in your skin's natural oils), it triggers a chemical reaction that forms silver sulfide (Ag2S). This manifests as a dull yellowish film that eventually deepens into a stubborn black crust. If you wear silver huggies or sleep in your studs, the accelerated friction and trapped humidity will drastically speed up this oxidation process. Effective troubleshooting requires matching your cleaning method to the specific type of tarnish and the earring's structural components.
Step-by-Step: How to Polish Silver Earrings at Home Safely
Not all silver earrings are created equal. A plain silver hoop requires a vastly different approach than a turquoise drop earring. Below are the two safest, most effective methods for home polishing.
Method 1: The Electrochemical Aluminum Bath (For Plain 925 Sterling)
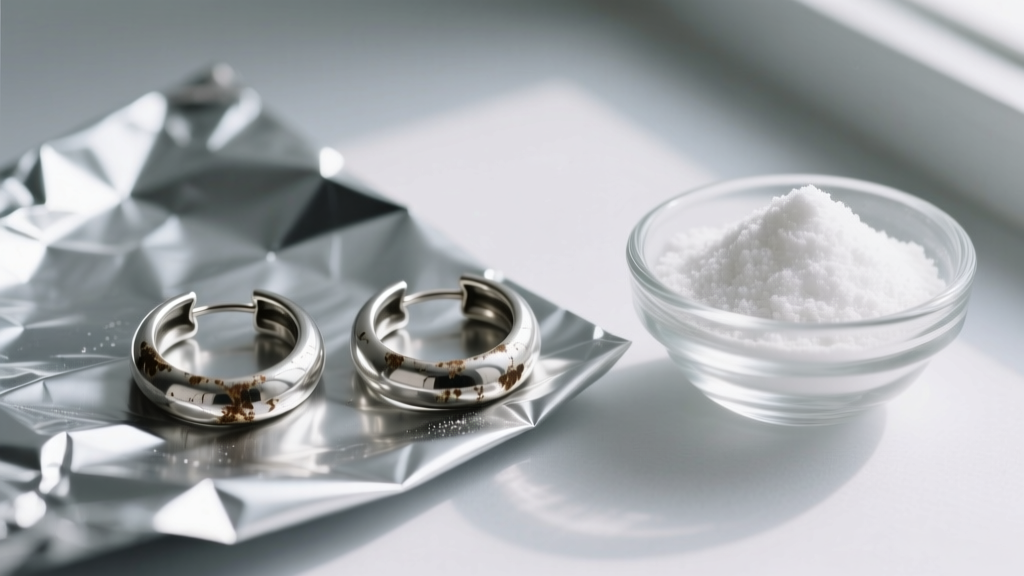
This method relies on ion exchange rather than abrasion, making it perfect for plain silver hoops, huggies, and ear cuffs with intricate filigree that a cloth cannot reach.
- Step 1: Line a glass or ceramic bowl with aluminum foil, shiny side facing up.
- Step 2: Add 1 tablespoon of baking soda (sodium bicarbonate) and 1 tablespoon of non-iodized salt.
- Step 3: Pour in 1 cup of boiling water and stir until dissolved. The mixture will fizz.
- Step 4: Submerge your plain silver earrings, ensuring they physically touch the aluminum foil.
- Step 5: Let them sit for 2 to 5 minutes. You may smell a faint "rotten egg" odor—this is the sulfur leaving the silver and binding to the aluminum.
- Step 6: Remove with wooden tongs, rinse thoroughly under cool distilled water, and buff dry with a microfiber cloth.
Method 2: The Gentle Surfactant Wash (For Gemstone & Pearl Studs)
The Gemological Institute of America (GIA) strictly warns against using chemical baths or harsh abrasives on porous gemstones. If your silver earrings feature pearls, opals, turquoise, or lapis lazuli, the baking soda bath will permanently etch and ruin the stones.
- Step 1: Mix three drops of mild, phosphate-free dish soap (like Dawn) into a bowl of lukewarm water.
- Step 2: Dip a soft-bristled baby toothbrush into the solution.
- Step 3: Gently brush the silver settings, avoiding aggressive scrubbing directly on soft gemstones.
- Step 4: Rinse quickly under a gentle stream of lukewarm water and pat dry immediately.
Troubleshooting Common Silver Polishing Disasters
Even with the best intentions, home polishing can go wrong. Here is how to troubleshoot the most frequent issues encountered when maintaining a jewelry collection.
Disaster 1: Stripped Oxidized (Blackened) Details
Many modern artisan studs and signet-style earrings feature intentional "oxidized" crevices—darkened areas that provide contrast and highlight the metalwork. The electrochemical aluminum bath will strip this intentional patina, leaving the earring looking flat and overly bright. The Fix: You cannot reverse this with household items. You must purchase a jeweler's "Liver of Sulfur" gel. Dip a cotton swab into the diluted solution, apply it strictly to the recessed areas, let it darken, and then gently polish the high spots with a Sunshine cloth to restore the contrast.
Disaster 2: Micro-Scratches from the "Toothpaste Myth"
Internet forums frequently recommend using toothpaste to polish silver. This is a catastrophic mistake. Toothpaste contains hydrated silica, which has a Mohs hardness of roughly 7. Silver sits at a mere 2.5 to 3 on the Mohs scale. Scrubbing silver with toothpaste acts like sandpaper, leaving thousands of micro-scratches that dull the metal's reflectivity over time. The Fix: To remove light scratching, use a professionally treated polishing cloth impregnated with jeweler's rouge (iron oxide). Rub in a single direction, never in circles, to minimize the visibility of existing grain lines.
Disaster 3: Stubborn Ear Post Buildup (The "Gray Crust")
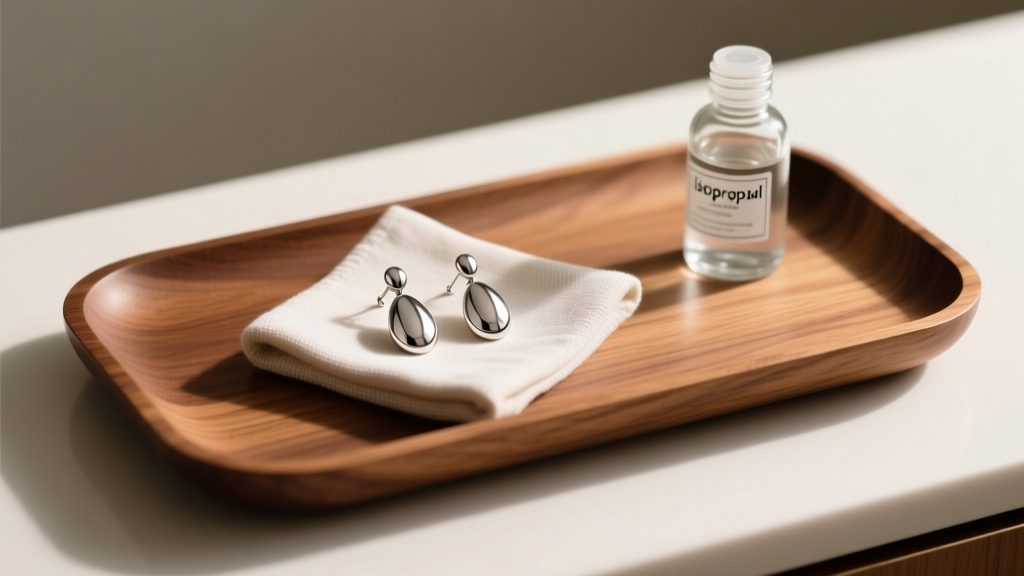
If the post of your earring and the butterfly backing are covered in a grayish-black, waxy crust, this is not just tarnish. It is a combination of sebum, dead skin cells, cosmetic residue, and copper oxidation. Polishing cloths cannot reach into the threading of a 20-gauge post. The Fix: Submerge only the metal posts and backs in a small cap of 91% isopropyl alcohol for 10 minutes. Use a disposable, clean mascara wand to brush out the threading. Never let isopropyl alcohol touch fracture-filled emeralds or dyed stones, as it will strip their treatments.
Material Comparison: What Works and What Ruins Silver
Choosing the wrong cleaning agent is the fastest way to destroy delicate jewelry. Use this troubleshooting matrix to ensure you are using the correct chemistry for your specific earrings.
| Cleaning Agent | Safe For | Unsafe For | Mechanism of Action |
|---|---|---|---|
| Aluminum Foil + Baking Soda | Plain 925 sterling chains, hoops, huggies | Pearls, opals, oxidized silver, enamel | Electrochemical ion exchange (reverses Ag2S) |
| Jeweler's Rouge Cloth | High-polish silver, gold vermeil accents | Matte finishes, brushed textures, soft gems | Mild mechanical abrasion (removes top tarnish layer) |
| 91% Isopropyl Alcohol | Earring posts, butterfly backs, ear cuff clasps | Porous stones, glued-in settings, acrylics | Solvent action (dissolves sebum and oils) |
| Commercial Silver Dip | Heavy, neglected tarnish on solid silver | Any gemstone, oxidized details, silver plate | Harsh chemical acid stripping (thiourea-based) |
Preventative Maintenance for 2026 and Beyond
As we move through 2026, sustainable jewelry care is about preventing tarnish before it starts, reducing the need for aggressive polishing that slowly wears away the silver layer over decades.
- Anti-Tarnish Strips: Place 3M anti-tarnish strips inside your jewelry boxes. These strips absorb airborne sulfur compounds before they can reach your earrings. Replace them every six months.
- The Chalk Trick: If you store your silver threader earrings or drop earrings in a ziplock bag, drop a piece of standard blackboard chalk inside. The chalk acts as a desiccant, absorbing ambient moisture that catalyzes the copper oxidation process.
- Pacific Silvercloth: For heirloom pieces or expensive cartilage cuffs, wrap them in Pacific Silvercloth. This specialized cotton is embedded with microscopic silver particles that tarnish instead of your jewelry, sacrificing itself to keep your earrings pristine.
- Wear Them Often: Ironically, the natural oils and gentle friction from your skin can help keep silver polished. Earrings worn daily rarely develop the heavy, blackened crust seen on pieces left sitting in humid bathroom drawers.
When to Stop and See a Professional Jeweler
While knowing how to polish silver earrings at home is a valuable skill, some situations require professional intervention. If your silver earrings are heavily plated (silver plate over brass) and the tarnish has turned a distinct coppery-pink color, the plating has worn through. No amount of polishing will fix this; the piece must be professionally re-plated. Additionally, if you own intricate silver ear cuffs with tension hinges or delicate 22-gauge threader chains that have become kinked and tarnished simultaneously, a jeweler's ultrasonic cleaner and professional steam polisher can restore them safely without risking structural damage to the delicate wirework.


