Mastering Polymer Clay Earring Ideas: Technical Maker Guide
Explore advanced polymer clay earring ideas with our technical deep dive. Learn baking schedules, weight limits, and hypoallergenic hardware integration.

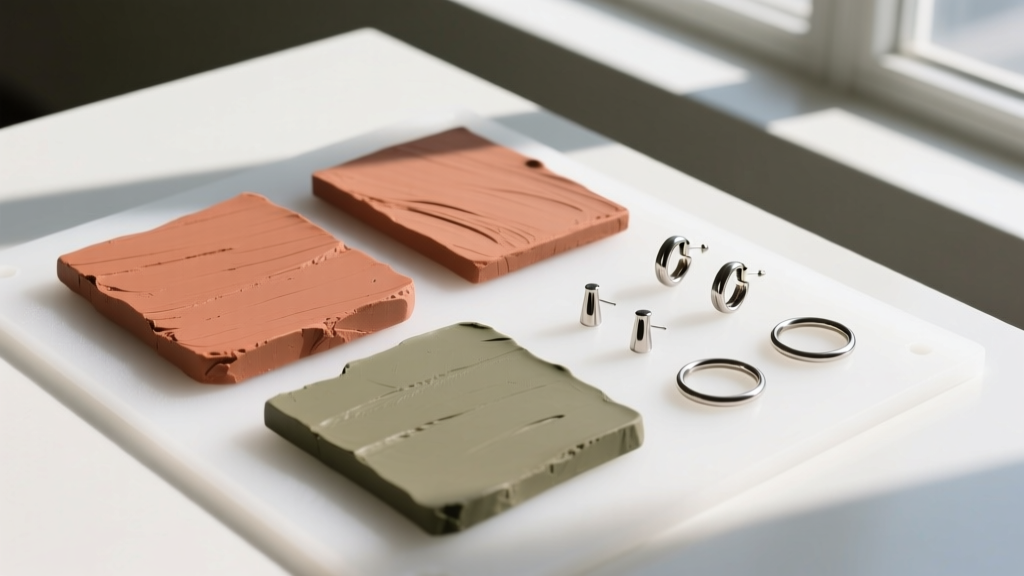
The Engineering Behind Polymer Clay Earring Ideas
Polymer clay has revolutionized the indie jewelry market, but as we navigate the accessory landscape in 2026, the line between casual crafting and professional-grade metallurgy requires a rigorous understanding of material science. When exploring advanced polymer clay earring ideas, the difference between a hobbyist piece and a premium, retail-ready product lies in structural engineering, weight distribution, and hypoallergenic hardware integration. This guide bypasses basic tutorials to deliver a technical deep dive into the chemistry, ergonomics, and thermal dynamics required to execute complex polymer clay designs that endure daily wear.
Material Science: Selecting the Right PVC Matrix
Not all polymer clays are created equal. The base formulation—primarily polyvinyl chloride (PVC) resin suspended in a plasticizer matrix—dictates the clay's flexibility, weight, and surface finish. Choosing the wrong clay for a specific earring architecture is the leading cause of structural failure.
| Clay Brand & Line | Bake Temp | Flexibility | Weight Profile | Best Application |
|---|---|---|---|---|
| Sculpey Soufflé | 275°F (135°C) | High | Ultra-Light | Large statement dangles, geometric arches |
| Fimo Professional | 230°F (110°C) | Low (Firm) | Standard | Intricate caning, mica shifts, fine detail |
| Cernit Number One | 265°F (130°C) | Medium-High | Standard | Translucent layers, petal-thin botanicals |
| Pardo Art Clay | 250°F (120°C) | High | Light | High-translucency, organic sculptural forms |
For makers focusing on lightweight, oversized polymer clay earring ideas, Sculpey Soufflé is the industry standard due to its aerated post-bake density. However, if your design relies on crisp, geometric edges or intricate mokume gane patterns, Fimo Professional’s higher firmness prevents distortion during the conditioning and cutting phases.
Weight Distribution and Lobe Ergonomics
The human earlobe can comfortably support approximately 7 to 10 grams before experiencing fatigue, micro-tearing, or long-term stretching. When designing dangles, the fulcrum point (where the jump ring connects the clay to the ear wire) must be perfectly centered. An off-center drill hole will cause the earring to tilt, placing uneven torque on the piercing and leading to premature hardware failure.
Always use a 1.5mm to 2.0mm drill bit for jump ring holes. Sand the interior of the hole with a rolled piece of 600-grit wet/dry sandpaper to remove microscopic burrs that can slowly saw through brass or gold-filled jump rings over time.
Hardware Integration and Adhesive Chemistry
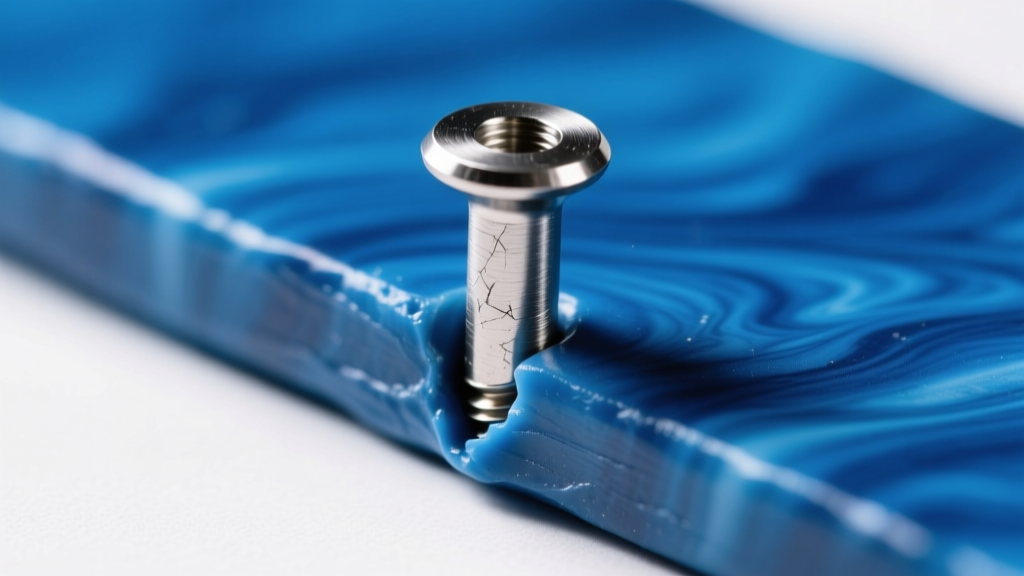
The most critical failure point in polymer clay jewelry is the bond between the clay and the metal hardware. Because metal and PVC expand and contract at vastly different rates during temperature fluctuations, embedding metal posts directly into the clay before baking is a structural liability. The professional standard is a post-bake surface adhesion protocol.
Surface Preparation and Scuffing
Baked polymer clay has a naturally smooth, slightly waxy surface tension that repels standard adhesives. Before applying any glue, you must mechanically abrade the bonding area. Use 400-grit sandpaper to scuff a 5mm circular area on the back of the earring. Wipe away all dust with 99% isopropyl alcohol to ensure a completely oil-free bonding surface.
Adhesive Selection
- E6000 Industrial Strength: The gold standard for flexibility. It requires a 24 to 72-hour cure time in a well-ventilated area due to VOCs. Its elastomeric properties absorb shock if the earring is dropped.
- UV Resin (Hard Formula): Excellent for creating a seamless, domed bond over a flat-back stud. Requires a 36W UV lamp and cures in 120 seconds. Note that UV resin can yellow over time if exposed to direct sunlight.
- Liquid Polymer Clay (Bakeable): Brands like Sculpey Bake & Bond act as a chemical bridge. Apply the liquid clay to the scuffed surface, press the metal post into it, and rebake at the clay's standard temperature for 20 minutes to fuse the layers.
For hypoallergenic requirements, always pair your clay designs with 20-gauge or 21-gauge titanium or niobium stud posts. Ensure all materials comply with the ASTM D-4236 Standard for art material safety, ensuring no toxic plasticizers leach during prolonged skin contact.
Thermal Dynamics: Precision Baking Schedules
Polymer clay does not cure through evaporation; it cures through a thermal cross-linking process. If the temperature is too low, the plasticizers do not fully fuse, resulting in brittle clay that will snap under minimal pressure. If the temperature spikes, the PVC degrades, releasing hydrochloric gas and causing surface scorching.
Expert Maker Rule: Never trust the built-in dial of a toaster oven or home range. Internal temperature spikes of up to 50°F are common during the heating element's cycling phase. Always use an independent, digital oven thermometer placed directly on the baking tile.
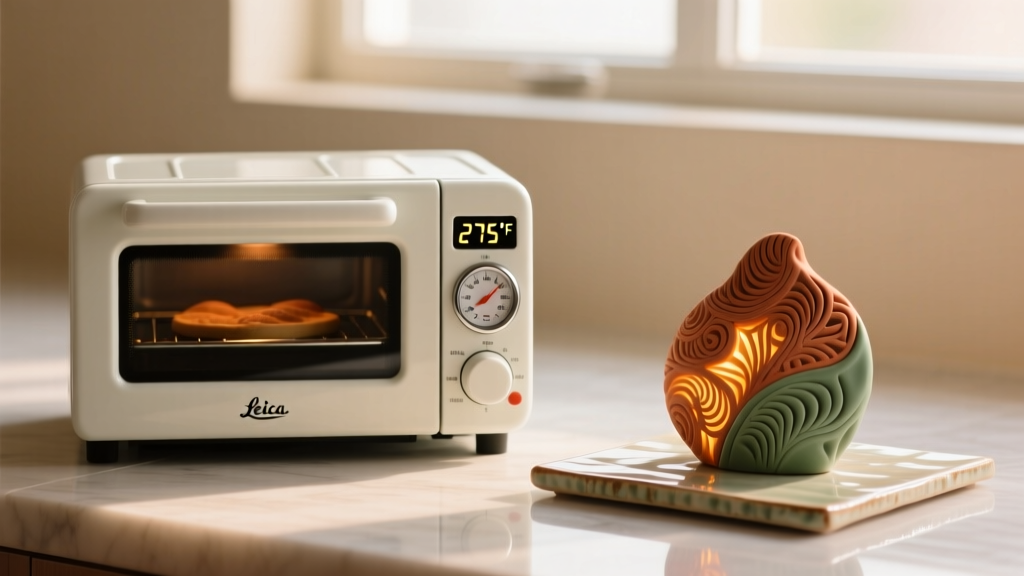
Always bake your clay on a smooth, unglazed ceramic tile or a dedicated glass baking dish. Metal pans conduct heat too rapidly, causing the bottom of the clay to scorch while the top remains under-cured. To prevent thermal shock and surface pitting, tent your clay with a loose sheet of aluminum foil or a dedicated baking pan to deflect the radiant heat from the oven's exposed elements. For thick architectural pieces exceeding 6mm in depth, extend the baking time by 15 minutes per additional 1/4 inch of thickness, as outlined in the official Sculpey baking guidelines.
Sealing, Sanding, and Surface Tension
Not all polymer clay earring ideas require a topcoat. Matte clays like Soufflé are often left bare to preserve their velvety texture. However, if your design incorporates metallic leafing, mica powders, or requires high-glass shine, a protective sealant is mandatory.
The Wet-Sanding Progression
Before applying any polyurethane or UV resin topcoat, the surface must be flawlessly smooth. Sand the baked clay under a gentle stream of water using a progressive grit sequence: 400, 600, 800, and finally 1200-grit wet/dry sandpaper. The water acts as a lubricant, preventing the sandpaper from clogging with PVC dust and eliminating deep, unidirectional scratch marks. Buff the dried clay with a microfiber cloth and a small amount of automotive polishing compound to achieve a glass-like finish before sealing.
Troubleshooting Common Structural Failures
- Cracking Post-Bake: Usually caused by underbaking or an armature (wire core) that was too rigid, preventing the clay from flexing naturally. Use 24-gauge armature wire and leave a 2mm buffer of clay around the wire.
- Posts Popping Off: Result of inadequate surface scuffing or using cyanoacrylate (Super Glue), which dries brittle and shatters upon impact. Switch to E6000 or Bake & Bond.
- Surface Pitting/Bubbling: Caused by trapped air pockets during the conditioning phase or moisture on the clay surface. Always condition clay thoroughly, and if using liquid colorants, ensure they are alcohol-based, not water-based.
By treating polymer clay not just as an artistic medium, but as a complex PVC matrix requiring precise thermal and chemical handling, makers can elevate their polymer clay earring ideas into durable, professional-grade accessories that stand the test of time.


